When mounting racks on fat tire bikes with long wheelbases, you must consider clearance, frame width, and attachment points to avoid compatibility traps. Wider tires and extended frames often interfere with standard racks, causing rubbing or insecure mounting. Measure your bike’s clearances carefully, look for racks designed for fat bikes, and consider modifications like spacers or adjustable mounts. If you want to guarantee a stable, secure fit, explore how to work around these common pitfalls—you’ll find the solutions you need below.
Key Takeaways
- Measure tire clearance and frame width carefully to prevent rubbing or insecure mounting due to wider tires.
- Choose racks with adjustable arms, wider platforms, and reinforced mounts designed for fat tires and long wheelbases.
- Use spacers, shims, or specialized adapters to accommodate frame geometry and ensure stable attachment.
- Verify rack weight capacity and compatibility with your frame material for safe, long-lasting support.
- Regularly inspect hardware, tire pressures, and alignment to avoid contact issues and maintain secure mounting.
Why Fat Tires and Long Wheelbases Make Rack Mounting Tricky
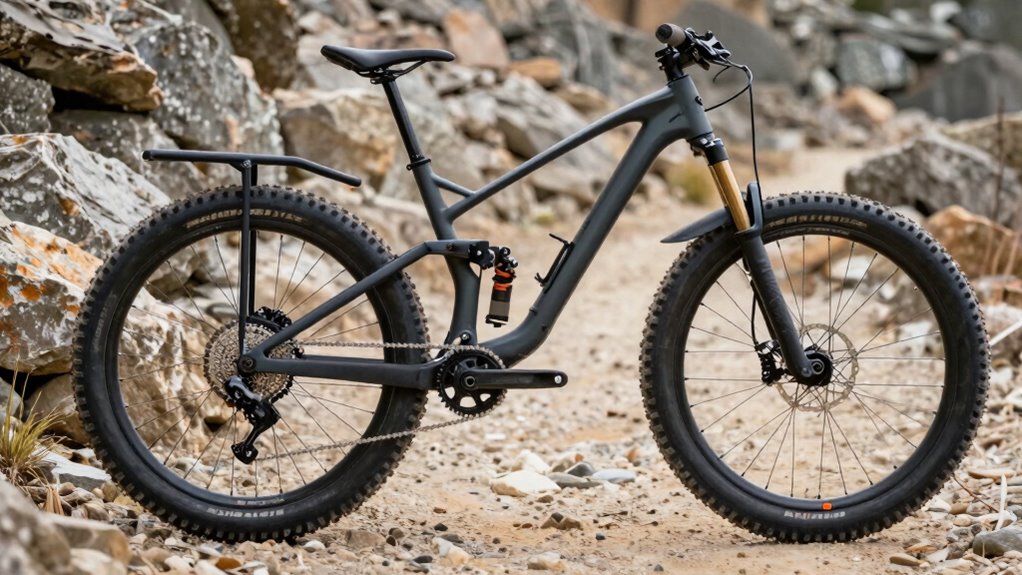
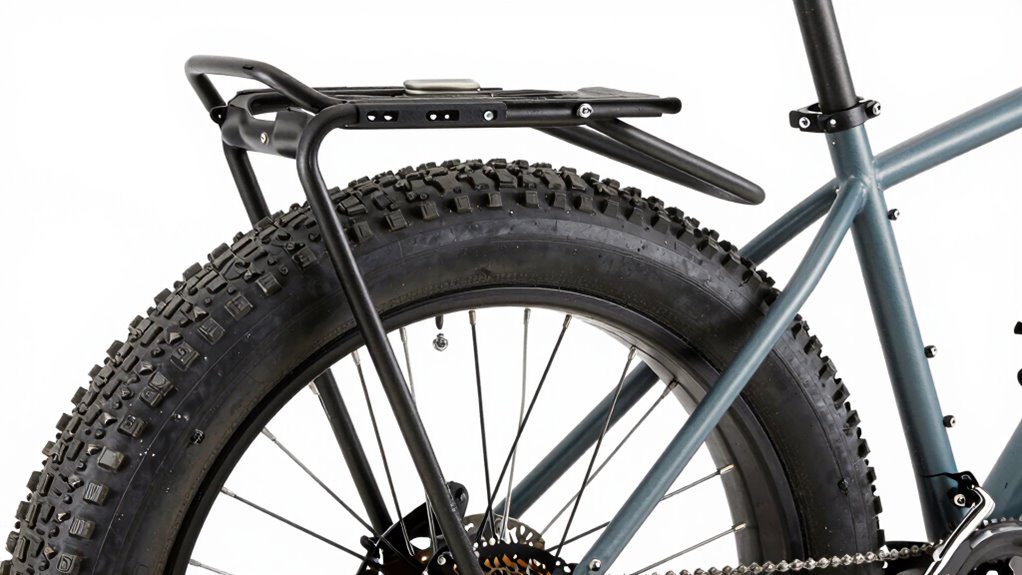
Fat tires and long wheelbases can complicate rack mounting because they take up more space and affect how the rack attaches to your bike. The frame geometry of bikes with wider tires often results in different attachment points, making it harder to find a secure fit. Additionally, higher tire pressure in fat tires can push against rack components, creating clearance issues. If your bike’s frame design isn’t compatible with standard racks, mounting becomes even trickier. You might need specialized racks or adapters to guarantee a proper fit. Keep in mind that wider tires and longer wheelbases change the overall dimensions, which can limit your options for attaching racks safely. Considering Free Floating designs can also help improve compatibility with diverse bike geometries and tire sizes. Recognizing rack compatibility issues specific to fat tires and long wheelbases ensures a smoother setup process. Being aware of these factors and consulting mounting specifications can help you avoid mounting failures that compromise safety and convenience.
Common Challenges Mounting Racks on Wide-Tire Bikes
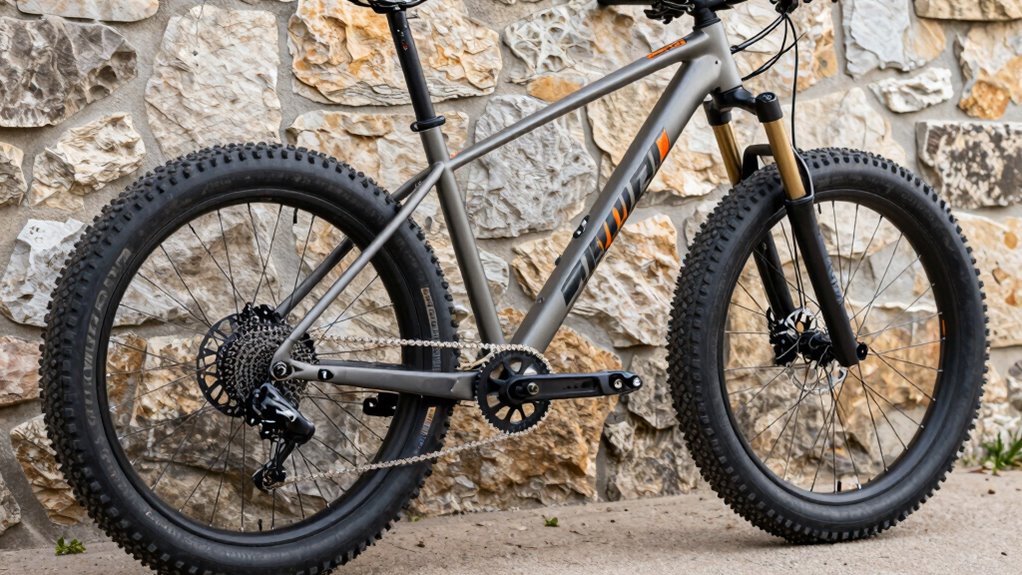
Mounting racks on wide-tire bikes often presents unique challenges because the increased tire width can interfere with attachment points and clearance. You may find that traditional racks don’t fit well, risking contact with the tires or damaging delicate frame paint. Color matching rack components can be tricky, especially if you want a seamless look. Additionally, frame paint may chip or peel when installing or removing racks due to tight clearances. You might also encounter:
Mounting racks on wide-tire bikes can cause fit, clearance, and color-matching challenges.
- Limited space around mounting points
- Difficulty securing racks without tire contact
- Compatibility issues with certain frame shapes
- Challenges in matching rack color to frame paint
- Need for specialized adapters or custom solutions
- Understanding frame compatibility is key to avoiding these fitting issues. Ensuring proper rack selection can significantly reduce installation problems and protect your bike’s integrity. Considering component compatibility during installation can also prevent potential issues and prolong the lifespan of your setup.
Understanding these challenges helps you select racks that fit properly and protect your bike’s aesthetics while ensuring durability and functionality.
How to Measure Frame Clearances for Rack Compatibility
Start by measuring your tire clearance to make certain the rack won’t interfere with your wheels. Next, check your frame widths at key mounting points to confirm compatibility. Finally, assess the mounting points themselves to see if they provide enough support for your chosen rack. Incorporating connected equipment and apps can also help monitor and optimize your setup for better performance and safety.
Measure Tire Clearance
To guarantee your rack fits properly, you need to accurately measure your tire clearance. Start by checking the space between your tire and the frame at the widest point, considering tire pressure, which affects tire width. Keep in mind that lower pressure can cause tires to bulge more, reducing clearance. Measure from the rim to the frame, noting rim width, as wider rims can increase tire width. To get an accurate reading, use a ruler or calipers for precise measurement. Measure both the front and rear clearance. Check the clearance at different tire pressures. Account for tire deformation under load. Confirm the measurement includes the widest part of the tire, especially with wider rims. Remember that accurate measurements and precise assessments can help you evaluate compatibility more reliably. Additionally, understanding your frame geometry can aid in predicting how tires will behave under load and during different riding conditions. This ensures your rack will accommodate your tires without rubbing or interference. Being aware of tire deformation during ride conditions can further prevent potential fit issues, especially when considering the impact of digital distractions on your focus during technical measurements.
Check Frame Widths
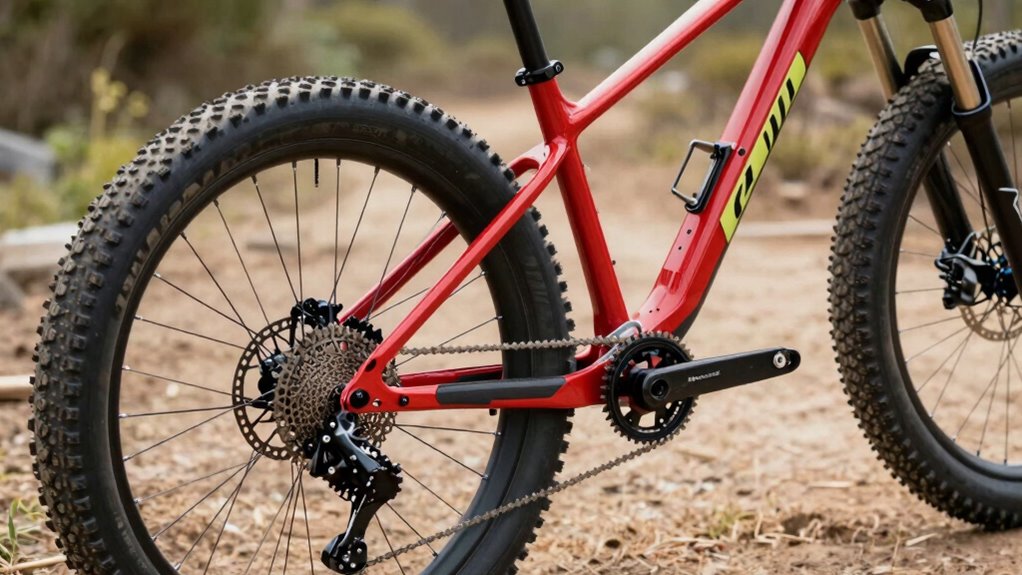
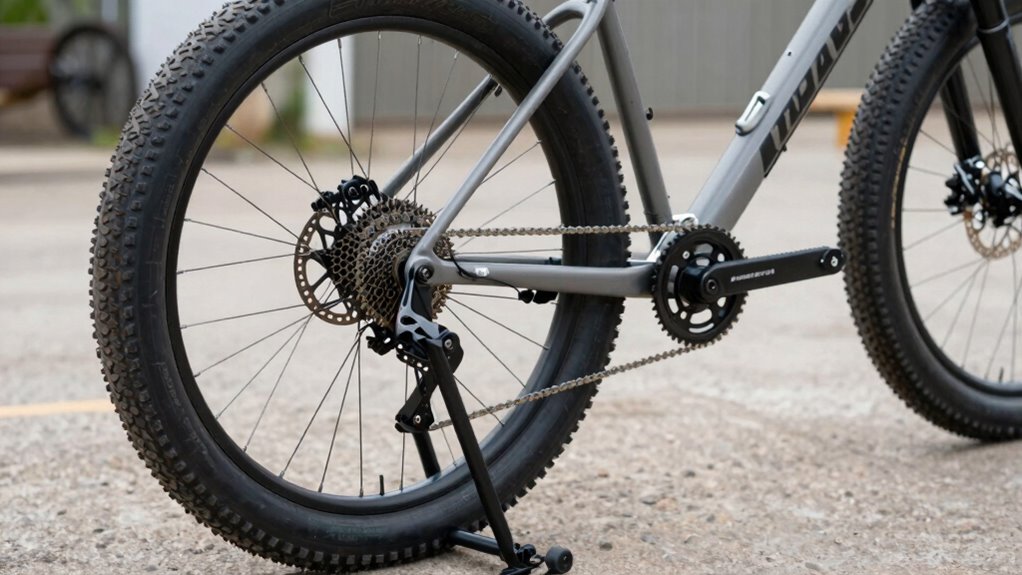
Measuring your frame width accurately is key to guaranteeing your rack fits properly. To do this, locate the points where the rack mounts or attaches to your bike, typically near the seat stays or chainstays. Use a ruler or caliper to measure the widest part of the frame at these mounting locations. Keep in mind that tire clearance can influence frame width measurements—if your tires are wider, you’ll need extra space for proper fit. Make sure your measurements account for the maximum tire size you plan to use. If the frame width exceeds the rack’s maximum capacity, the rack might not mount securely or could interfere with your tires during rides. Precise measurement prevents compatibility issues and ensures a safe, stable rack fit. Additionally, understanding your frame geometry can help you better assess compatibility with various racks and accessories.
Assess Mounting Points
How can you accurately evaluate your bike’s mounting points to guarantee rack compatibility? First, check the frame material, as some materials like carbon or aluminum may have limited attachment options. Measure the distance between mounting eyelets or braze-ons to ensure they match your rack’s specifications. Consider the rack weight, since heavier racks require sturdy, well-placed points for support. Additionally, verify the following:
- Compatibility with your bike’s long wheelbase or fat tires
- Presence of dedicated rack mounts or eyelets
- Frame geometry that allows clearance for the rack
- Strength of mounting points for added weight
- Ease of access for secure attachment and removal
- Frame material limitations can influence the type of rack mounts that are feasible, so understanding your frame’s composition helps in choosing the right rack support system. Checking for mounting point durability ensures that your frame can securely handle the rack’s load without damage or instability. Evaluating load capacity is essential to prevent overloading and potential damage to your bike’s structure. Furthermore, installation ease can save time and effort during setup, making your ride more enjoyable. Moreover, considering manufacturer specifications can help identify recommended rack types compatible with your bike model.
This thorough assessment guarantees your rack fits securely without risking damage to your frame or compromising load stability.
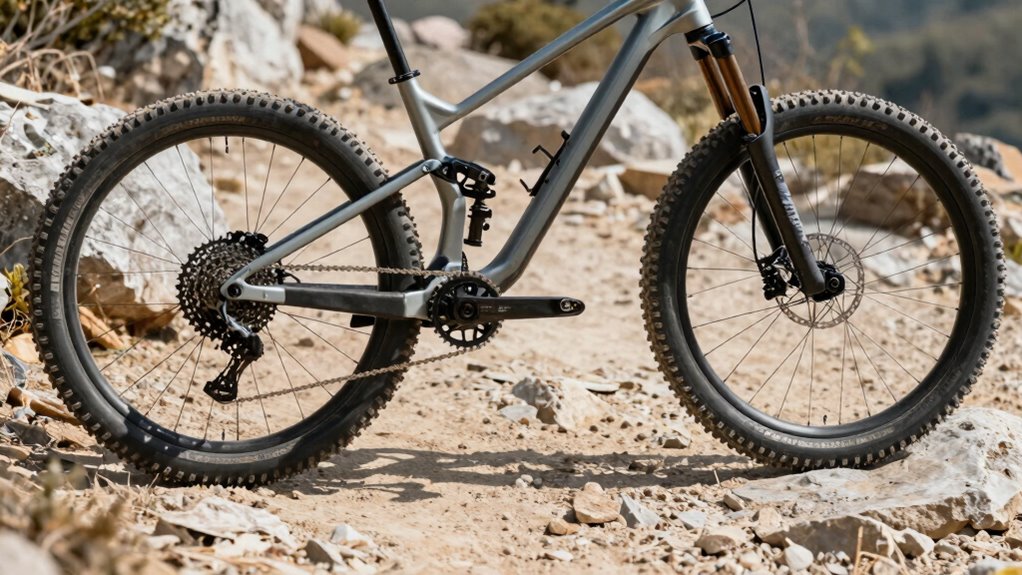
Choosing Racks Built for Fat Tires and Extended Wheelbases
When selecting racks for fat tires and extended wheelbases, you need to check compatibility dimensions and clearances carefully. Look for specialized rack features that accommodate wider tires and longer frames without interfering with your bike’s components. Ensuring these factors match your bike’s specifications helps you avoid fit issues and makes for a smoother ride. Additionally, paying attention to rack mounting compatibility ensures secure attachment and optimal performance. Considering market trends and emerging innovations can also help you choose more adaptable rack options that future-proof your setup. Staying informed about compatibility standards can further simplify the process and prevent potential mismatches. Being aware of industry standards can assist you in selecting racks that align with current safety and quality benchmarks.
Compatibility Dimensions and Clearances
Choosing the right rack requires paying close attention to compatibility dimensions and clearances, especially if your bike has fat tires or an extended wheelbase. To guarantee a proper fit, measure your bike’s width, length, and tire clearance accurately. Check the rack’s mounting angles to confirm they align with your frame’s geometry, preventing interference. Material durability is vital for supporting heavier loads without bending or breaking. Consider these factors:
- Adequate space for fat tires without rubbing
- Adjustable mounting angles for custom fit
- Sufficient clearance from brake and derailleur components
- Compatibility with extended wheelbases
- Strong, durable construction to withstand weight and rough terrain
Additionally, understanding bike frame geometry can prevent compatibility issues and improve overall stability during rides. For fat-tire bikes or those with extended wheelbases, selecting a rack with adjustable mounting options can greatly enhance fit and security. Proper installation techniques help ensure the rack remains secure and functions as intended. These elements help you avoid mismatches and guarantee your rack fits securely and functions reliably.
Specialized Rack Features
To guarantee your bike rack accommodates fat tires and extended wheelbases, look for models specifically designed with these features in mind. Specialized rack features often include wider platforms and reinforced mounts to handle larger tires and longer frames. Consider racks made from durable frame materials like aluminum or steel, which offer strength without excessive weight. These materials also resist corrosion, ensuring longevity. Additionally, pay attention to rack aesthetics; sleek designs with adjustable arms or extra clearance provide a cleaner look and better fit. Some racks feature integrated straps or hooks tailored for fat tires, making installation easier. By choosing racks with these specialized features, you ensure a secure, stable transport while maintaining a clean, professional appearance on your bike.
How to Adjust or Modify Racks for Better Fitment
Adjusting or modifying your bike rack can considerably improve its fit and stability. To achieve this, focus on adjustment techniques and modification tips that cater to your bike’s unique geometry. Start by checking the mounting points and tightening or loosening bolts as needed. Consider adding spacers or shims to fill gaps or prevent wobbling. Use adjustable straps or bungee cords to secure uneven surfaces. If necessary, modify the rack’s arms or mounting brackets for better clearance around fat tires or long wheelbases.
- Add spacers or shims for a snug fit
- Use adjustable straps for better security
- Reinforce weak mounting points
- Extend or shorten rack arms as needed
- Replace incompatible mounting hardware
Top Features to Look for in a Fat Tire Bike Rack
When shopping for a fat tire bike rack, prioritizing key features guarantees a secure and compatible fit. Look for racks made from durable frame materials like aluminum or steel, which provide strength without adding excessive weight. These materials also resist corrosion, extending the rack’s lifespan. Additionally, check for high-quality paint finishes that protect against rust and scratches, especially if you ride in harsh weather conditions. A good rack should have adjustable straps or mounting points to accommodate wide tires and long wheelbases. Compatibility with your bike’s frame materials ensures a secure attachment, preventing shifts or damage during transit. By focusing on sturdy construction and weather-resistant finishes, you’ll select a rack that offers both durability and a secure, stable fit for your fat tire bike.
Tips to Prevent Rubbing, Shifting, and Stability Problems
Even with a well-chosen rack, issues like rubbing, shifting, and instability can still occur if you don’t take proper precautions. To prevent these problems, start by adjusting your bike accessories for a secure fit. Ensure your tire pressure is correct–underinflated tires can cause rubbing, while overinflated ones reduce stability. Regularly check the alignment of your bike and rack to avoid shifting during rides. Use spacers or shims if needed to prevent contact between tires and rack components. Additionally, tighten all mounting hardware securely to reduce movement. Remember, proper maintenance and vigilant inspection minimize rubbing, shifting, and stability issues, making your rides safer and more comfortable.
Real-World Fixes for Rack Compatibility Failures

Real-world fixes for rack compatibility failures often involve practical modifications and troubleshooting steps. First, examine your bike frame geometry; a longer or slacker seat tube angle can create clearance issues. Adjusting or repositioning the rack mounts might help, especially if you have adjustable or modular racks. If you encounter persistent fit problems, consider switching rack material choices—lightweight aluminum racks are often more flexible and easier to adapt than rigid steel ones. You can also add spacers or shims to improve clearance and stability. Sometimes, simply repositioning the rack or using different mounting points on your frame solves the problem. These troubleshooting steps help you customize your setup, ensuring your rack fits securely without interfering with your bike’s geometry or performance.
Expert Tips for Seamless Rack Integration on Fat Bikes

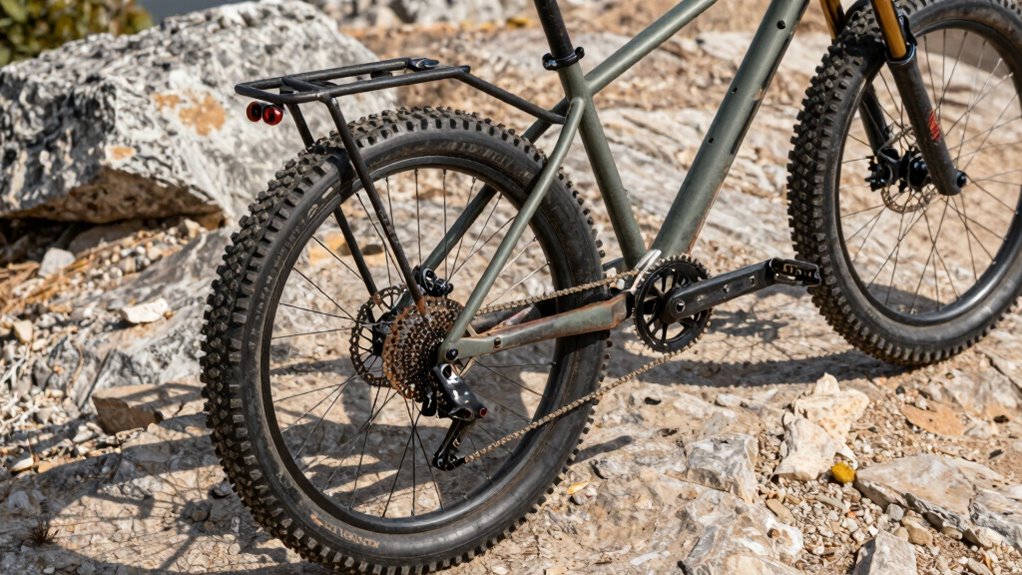
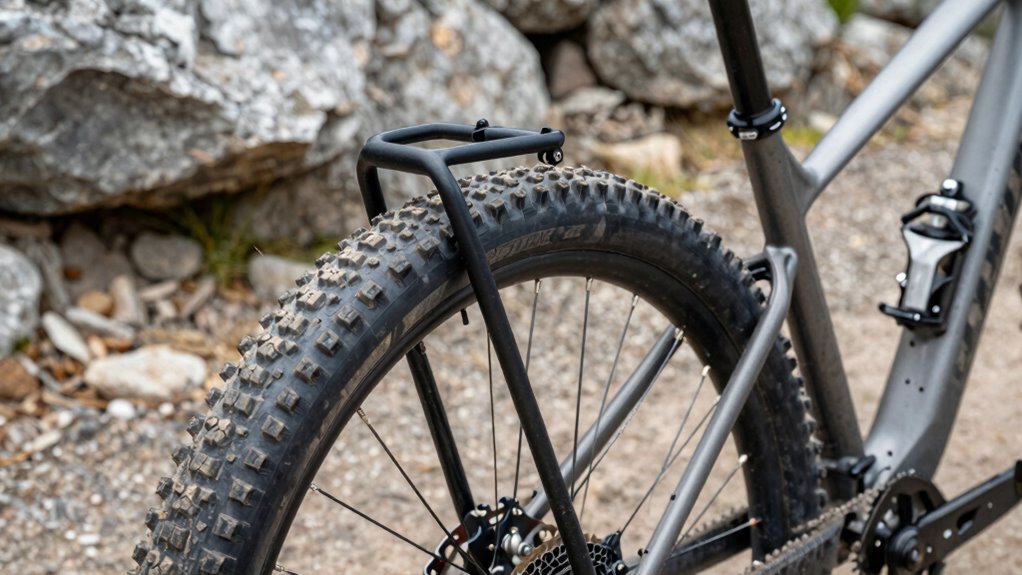
Integrating a rack seamlessly on a fat bike requires attention to detail and strategic adjustments to accommodate its wide tires and unique frame geometry. Start by selecting racks designed for fat bikes, ensuring they offer proper accessory mounting options. Check the frame geometry to confirm the rack’s compatibility, especially around the rear stays and fork. Consider these expert tips:
Seamless fat bike rack installation requires careful selection and precise fitting to accommodate wide tires and frame design.
- Use adjustable brackets to fit wide tire clearance
- Opt for lightweight, corrosion-resistant materials
- Verify mounting points won’t interfere with frame components
- Ensure the rack’s weight capacity matches your cargo needs
- Test fit before full installation to prevent frame stress or misalignment
Frequently Asked Questions
Can I Install a Standard Bike Rack on a Fat Tire Bike?
You can install a standard bike rack on a fat tire bike, but you need to verify the mounting bracket and tire clearance first. Many racks are designed for narrower tires, so make certain there’s enough space between the tire and the rack. Measure your tire width and compare it to the rack’s clearance specifications. If needed, look for racks specifically made for fat tires to ensure a secure fit and safe ride.
Are There Universal Racks Compatible With All Long Wheelbase Bikes?
You might think a universal rack exists for all long wheelbase bikes, but don’t be fooled. While some racks claim universal compatibility, they often don’t meet standard rack standards for long wheelbases or fat tires. To avoid surprises, always check the rack’s specifications and compatibility with your bike’s unique frame and wheel size. Remember, a perfect fit depends on confirming the rack adheres to standard mounting points and size requirements.
How Do Different Tire Pressures Affect Rack Mounting?
Higher tire pressure reduces tire squish, which can increase rack clearance and make mounting easier. Conversely, lower tire pressure causes tires to expand more, potentially decreasing rack clearance and making installation tricky. You should always check your tire pressure before mounting a rack to guarantee proper fit. Adjusting tire pressure helps you avoid interference with the rack and ensures a secure, stable setup, especially on bikes with wider tires or long wheelbases.
What Tools Are Necessary for Rack Modifications on Fat Bikes?
Think of rack modifications as building a custom bridge for your fat bike. You’ll need basic tools like a wrench, Allen keys, a hacksaw, and possibly a drill. These tools help you apply modification techniques such as cutting, adjusting, and securing mounting points. With patience and the right tools, you can guarantee your rack fits perfectly, avoiding compatibility issues and creating a stable, reliable setup for your adventures.
Do Weight Limits Vary Between Racks for Fat Tires and Standard Bikes?
Yes, weight limits can vary between racks for fat tires and standard bikes. The rack material influences its weight capacity—aluminum racks are lighter but may have lower limits, while steel racks tend to be sturdier with higher capacities. Always verify the specific rack’s weight capacity to make certain it can handle your gear and bike size, especially for fat tires, which add extra weight and stress on the rack.
Conclusion
Think of mounting racks on fat tires and long wheelbases like fitting a puzzle piece—it takes patience and the right fit. By understanding the challenges and choosing racks designed for your bike’s specs, you’ll enjoy a seamless ride without rubbing or shifting issues. With a little adjustment and attention to detail, you can turn your bike into a perfectly balanced hauling machine—like a well-tuned instrument ready to hit the road smoothly.