
Thru-axle adapters may be small, but they’re essential for a smooth trainer experience. If they don’t fit properly, you’ll struggle with unstable rides, slipping, or even damage to your bike or trainer. Compatibility issues often come from mismatched sizes or incompatible standards. To prevent this, verify compatibility and follow proper installation steps. If problems persist, continuing will help you understand how to troubleshoot, maintain, and choose the right adapters for reliable training sessions.
Key Takeaways
- Incorrect or incompatible thru-axle adapters can cause instability, slipping, or misalignment during indoor trainer sessions.
- Proper measurement and compatibility checks are essential to prevent adapter-related issues that derail training.
- Regular inspection and maintenance of adapters help avoid wear or damage that could compromise trainer safety.
- Using the wrong adapter for your bike’s axle type or width can lead to poor fit and unstable rides.
- Upgrading or replacing worn adapters ensures consistent performance and prevents training interruptions.
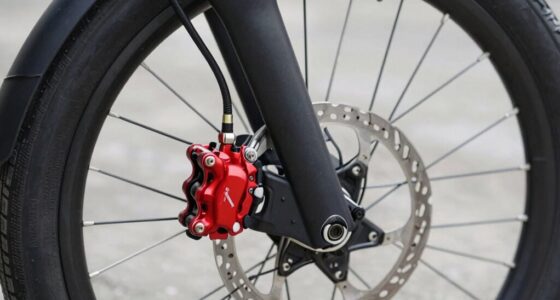
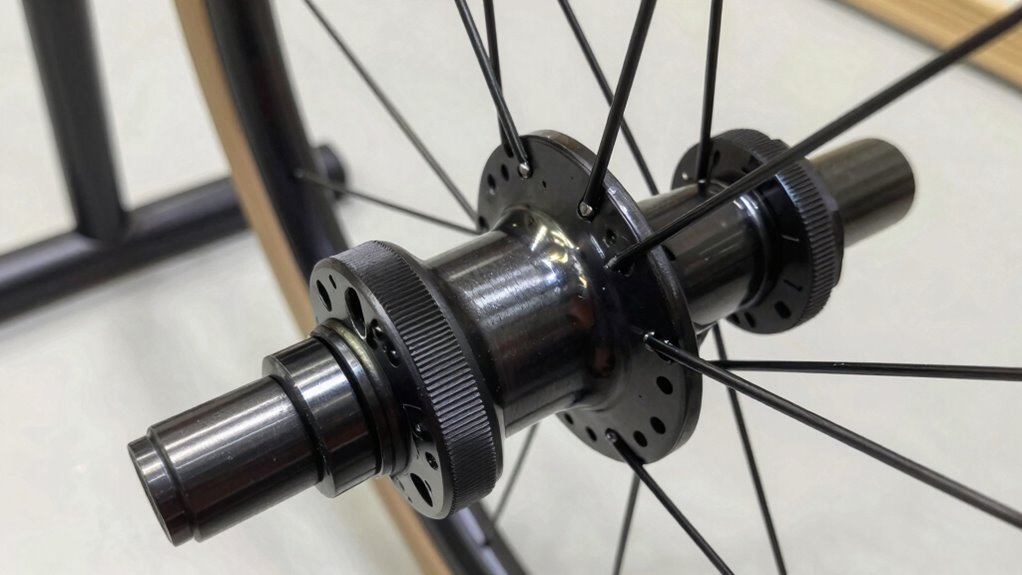
thru-axle bike trainer adapter
As an affiliate, we earn on qualifying purchases.
As an affiliate, we earn on qualifying purchases.
Why Do You Need a Thru-Axle Adapter for Indoor Cycling?

Have you ever wondered why a thru-axle adapter is indispensable for indoor cycling? It’s because a proper bike fit is essential for accurate power measurement and comfort. Many modern bikes have thru-axles that don’t fit standard trainers directly, making an adapter necessary. Without it, your bike may not sit securely, leading to unstable rides and skewed data. The adapter ensures your bike’s frame aligns correctly on the trainer, maintaining the right tension and stability. Proper bike compatibility is essential for a safe and effective indoor cycling experience. Using a thru-axle adapter guarantees your bike fits perfectly, so you can focus on your ride without worrying about slipping or misalignment. Ensuring trainer compatibility helps prevent unnecessary wear and tear on your equipment, extending its lifespan. Additionally, the right adapter can improve overall ride stability, making your training sessions smoother and more efficient. When selecting an adapter, consider the bike frame design to ensure a precise fit, further enhancing overall safety and performance. Proper indoor cycling setup also minimizes the risk of injury and maximizes training effectiveness, making your workouts safer and more productive. Ultimately, it makes indoor cycling safer, more effective, and more enjoyable.
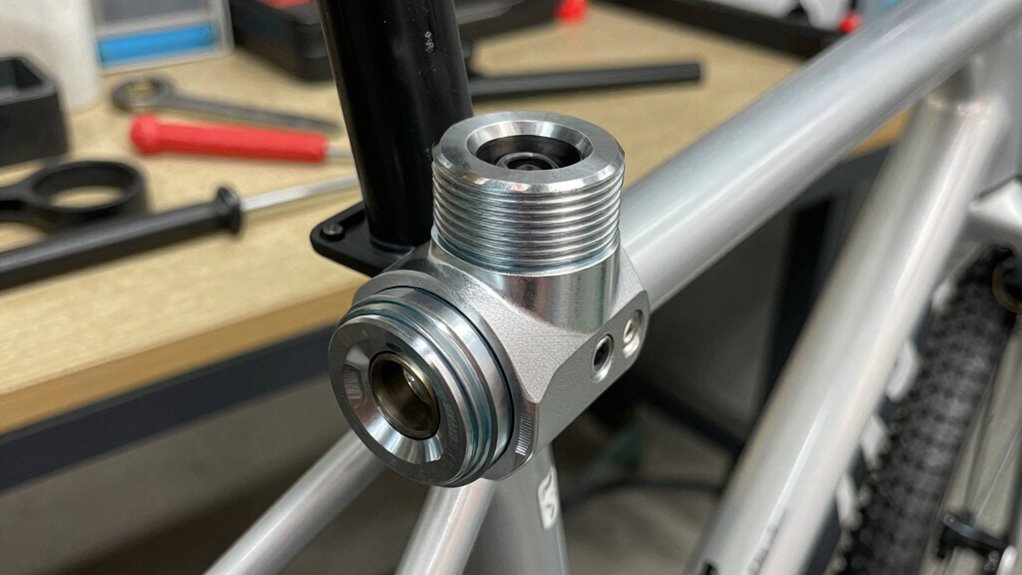
indoor cycling thru-axle adapter
As an affiliate, we earn on qualifying purchases.
As an affiliate, we earn on qualifying purchases.
How to Choose the Right Thru-Axle Adapter for Your Bike and Trainer
To find the right thru-axle adapter, you need to guarantee it fits your bike’s specifications and works smoothly with your trainer. Pay attention to compatibility tips, like axle diameter and length, to avoid issues. Also, consider the material and durability to ensure the adapter lasts through many rides.
Compatibility With Bike
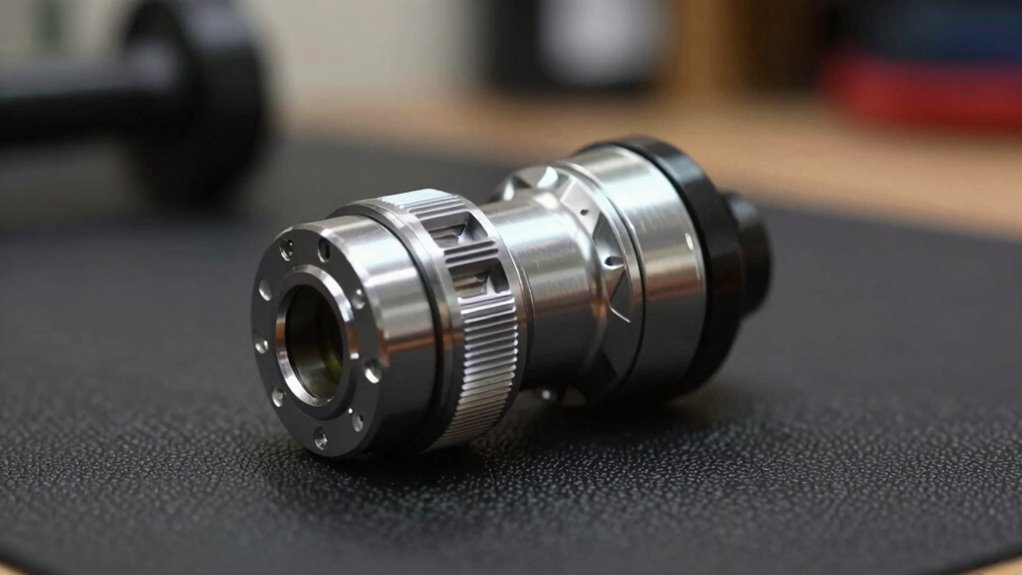
Choosing the right thru-axle adapter for your bike and trainer depends on understanding your bike’s axle specifications. Start by checking your bike frame to identify the axle type and diameter. The axle width is also vital, as it determines whether the adapter will fit correctly between your bike’s dropouts and the trainer’s mount. Measure your axle length accurately or consult your bike’s manufacturer specifications. Different bikes have varying standards, so confirm the adapter matches your specific axle type—whether it’s a thru-axle with a quick-release or a solid bolt-on. Compatibility hinges on matching both the axle’s diameter and width to avoid improper fit or stability issues. Taking these steps helps guarantee a secure connection and a smoother trainer experience.
Trainer Compatibility Tips
Selecting the right thru-axle adapter requires careful attention to your bike’s specifications and your trainer’s requirements. First, verify your bike’s thru-axle diameter and spacing to ensure compatibility. Check your trainer’s specifications for supported axle types and widths. An incompatible adapter can cause stability issues, affecting your riding posture and comfort during workouts. Consider how the adapter impacts bike storage; a secure fit prevents unnecessary wear or damage. Also, choose an adapter that maintains your natural riding position, avoiding strain on your neck or back. Proper compatibility ensures a seamless connection between bike and trainer, making your indoor rides more effective and enjoyable. Additionally, selecting an adapter that aligns with your bike’s repair fundamentals can prevent potential damage and ensure safer use. Ensuring the correct installation is also vital to avoid issues like wobbling or slipping, which compromise safety. Taking the time to match your bike’s details with your trainer’s capabilities can help prevent compatibility issues and ensure a smooth, safe, and efficient training session. Paying attention to component compatibility can further reduce the risk of malfunction or damage during use. Furthermore, understanding the adapter materials can influence durability and weight, impacting overall performance.
Material and Durability
When evaluating thru-axle adapters, considering the material and durability is essential for guaranteeing long-lasting performance and safety. High material quality means the adapter can withstand repeated use and stress without cracking or deforming. Look for adapters made from sturdy materials like aluminum or reinforced composites, which offer strength without excessive weight. Durability testing by manufacturers provides insight into how well the adapter holds up over time and under different conditions. An adapter that passes rigorous durability tests is less likely to fail during a workout, preventing potential accidents. Investing in a well-made, durable adapter ensures you won’t have to replace it frequently, making your trainer sessions safer and more reliable.
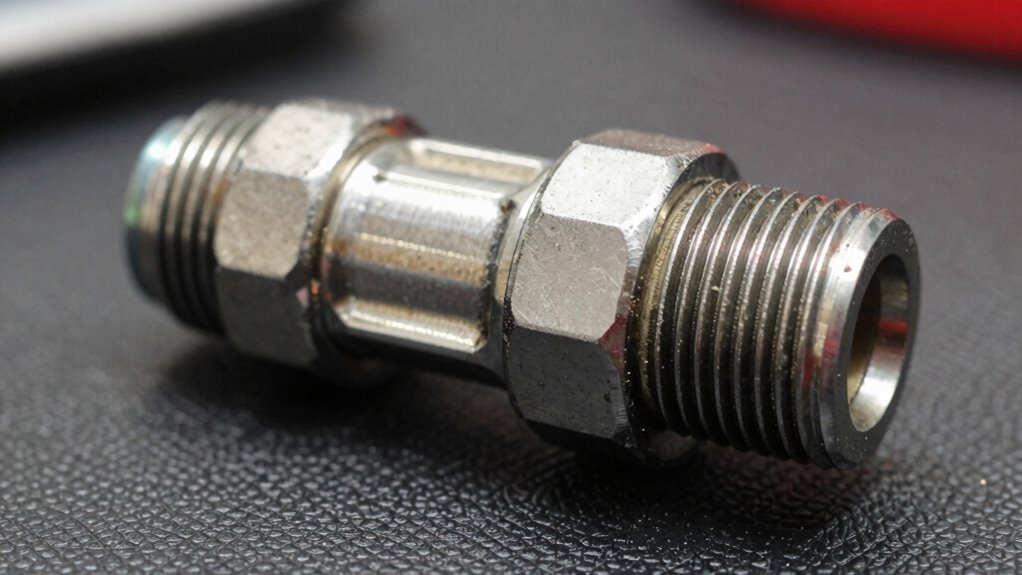
bike trainer compatibility adapter
As an affiliate, we earn on qualifying purchases.
As an affiliate, we earn on qualifying purchases.
Common Compatibility Problems and How to Spot Them

Compatibility issues with thru-axle adapters often stem from subtle design differences that can be easy to overlook. One common problem is mismatched axle widths, which can prevent the adapter from fitting securely or aligning properly with your trainer. Make sure to verify the exact axle width of your bike and choose an adapter designed for that measurement. Quick release compatibility is another key factor; some adapters don’t work with certain quick release standards, leading to an unstable setup or inability to attach the wheel correctly. Carefully check your bike’s specifications and the adapter’s compatibility notes before purchasing. Recognizing these potential issues early can save you time and frustration, ensuring your trainer night goes smoothly without unexpected derailments. Additionally, paying attention to adapter design details can help prevent compatibility pitfalls before they occur. Being aware of standard measurements and how they vary between manufacturers can further assist in selecting the right adapter for your setup. It’s also helpful to consult manufacturer specifications to confirm compatibility before making a purchase, and understanding the compatibility guidelines can provide added assurance.
thru-axle trainer mount adapter
As an affiliate, we earn on qualifying purchases.
As an affiliate, we earn on qualifying purchases.
How to Install Your Thru-Axle Adapter in Simple Steps
To install your thru-axle adapter, start by gathering the necessary tools to make the process smooth. Next, remove your existing axle carefully, ensuring your bike is secure. It’s important to check the specifications of your bike and adapter to ensure compatibility before proceeding. Confirming component compatibility helps prevent potential issues during installation. Additionally, consulting the wiring basics related to your bike’s components can be useful if your setup involves electronic shifting or brake systems. Understanding safety precautions is also vital to avoid damage or injury during the process. Following industry best practices ensures a secure and effective setup. Finally, attach the thru-axle adapter following the manufacturer’s instructions to complete the setup.
Gather Necessary Tools
Before you start installing your thru-axle adapter, gather all the tools you’ll need to make the process smooth and hassle-free. Proper bike maintenance and trainer setup rely on having the right equipment on hand. Usually, you’ll need a set of Allen wrenches or hex keys, a torque wrench for precision, and possibly a quick-release lever or other small tools specific to your bike’s components. Check your bike’s specifications and the adapter instructions to guarantee you have everything. Having these tools ready saves time and prevents frustration during installation. Confirm that your work area is clean and well-lit, so you can easily access and handle each part. Being prepared makes the process quicker and ensures your trainer setup is secure and safe. Additionally, understanding bike parts and accessories can help you troubleshoot any issues that arise during installation. Also, familiarity with proper tool usage ensures you can work efficiently without damaging your bike or components. Moreover, consulting manufacturer guidance or instruction manuals can provide valuable tips specific to your setup. Having a comprehensive tool kit on hand further simplifies the process and minimizes the risk of missing essential items. Recognizing common installation challenges can help you address potential problems before they occur.
Remove Existing Axle
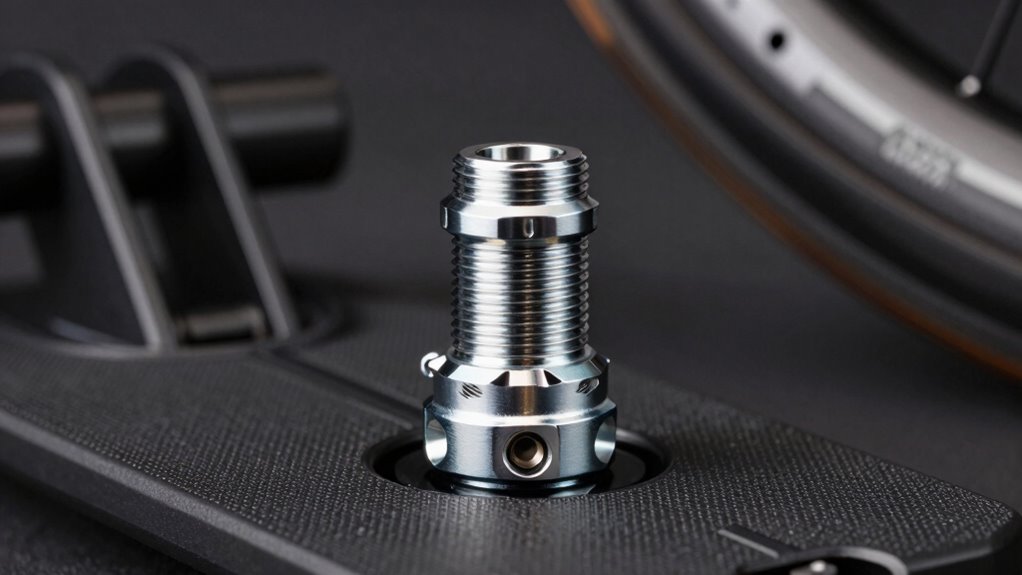
Removing your existing axle is a straightforward step that sets the foundation for installing your thru-axle adapter. Start by loosening the axle nuts or quick-release skewer, depending on your bike’s setup. Carefully slide out the axle, taking care not to damage any surrounding components. This process is part of bike disassembly, so keep track of small parts like spacers or washers. If your bike has disc brakes, make sure to gently disconnect or secure the rotor to avoid damage. Once the axle is removed, inspect the dropouts and clean any dirt or debris. With the old axle out, you’re ready to move on to installing the thru-axle adapter, ensuring a secure fit for your trainer setup.
Attach Thru-Axle Adapter
Once you’ve removed your old axle, it’s time to attach the thru-axle adapter. First, check your bike’s axle length to ensure compatibility and proper fit. Insert the adapter into the fork dropouts, aligning it carefully. Make sure the adapter’s diameter matches your bike’s thru-axle specifications. If your trainer requires quick release compatibility, verify that the adapter is designed to work with quick-release hubs or if an additional adapter is needed. Tighten the thru-axle securely, ensuring it’s snug but not overtightened to avoid damage. Double-check that the adapter is flush with the fork and wheel. Proper installation guarantees stable, safe riding and prevents issues during your workout. Be sure to verify your compatibility before finalizing the setup to ensure a smooth ride. Once everything’s in place, you’re ready to hit the trainer with confidence.
What To Do If Your Adapter Doesn’t Fit or Keeps Coming Loose?
If your thru-axle adapter doesn’t fit properly or keeps coming loose, don’t overlook the issue, as it can compromise your ride’s safety and performance. An improper adapter fit increases safety concerns and risks damage during training. To fix this, consider these steps:
- Double-check compatibility with your bike and trainer.
- Tighten all mounting points securely but avoid over-tightening.
- Inspect the adapter and axle for wear or damage; replace if necessary.
- Use thread-locking compound if the adapter tends to loosen over time.
Addressing fit issues promptly ensures your setup remains stable and safe. Remember, a loose or ill-fitting adapter isn’t just a minor inconvenience—it’s a safety concern that can lead to accidents or damage.
How to Maintain Your Thru-Axle Adapter and Pick Reliable Brands

Maintaining your thru-axle adapter regularly is essential to guarantee it stays secure and functions properly during every ride. Incorporate routine bike maintenance by inspecting the adapter for signs of wear or looseness before each session. Keep threads clean and lightly lubricated to prevent corrosion and ensure smooth tightening. When choosing a brand, prioritize reliability; reputable manufacturers often use higher-quality materials and strict quality control, reducing the risk of failure. Read reviews and seek recommendations from trusted sources to identify consistent performers. Avoid cheap or unknown brands that may compromise safety or durability. By staying proactive with maintenance and selecting reliable brands, you ensure your thru-axle adapter remains secure, prolongs its lifespan, and keeps your training sessions smooth and worry-free.
When Should You Replace or Upgrade Your Thru-Axle Adapter
You should consider replacing or upgrading your thru-axle adapter when you notice signs of damage, excessive wear, or difficulty securing it properly. A worn or damaged adapter can compromise stability on your bike frame and affect your trainer model’s performance. Keep an eye out for cracks, warping, or stripped threads that hinder proper fit. If the adapter no longer fits snugly or causes wobbling, it’s time for an upgrade. Additionally, if you switch to a different bike frame or trainer model, compatibility issues may require a new adapter. Regular inspection ensures safety and ideal trainer use.
- Visible cracks or deformation
- Difficulty attaching or removing the adapter
- Wobbling or instability during rides
- Upgrading bike frame or trainer model
Frequently Asked Questions
Can I Use the Same Thru-Axle Adapter on Multiple Bike Brands?
You can’t use the same thru-axle adapter across multiple bike brands because bike frame compatibility varies. Each brand often has unique thru-axle dimensions and thread patterns. Check the adapter materials to guarantee durability and proper fit. Always verify your bike’s specifications before switching adapters, so you avoid mishaps and ensure a secure, safe fit during your trainer sessions. Different brands require specific adapters for a seamless, safe workout.
Are There Safety Risks With Using Incompatible Thru-Axle Adapters?
Like a puzzle piece that doesn’t quite fit, incompatible thru-axle adapters can pose serious safety risks. Using the wrong adapter risks compromising your bike’s stability, leading to accidents or damage. Always check adapter safety and compatibility risks before mounting your bike. If you ignore these details, you might find yourself in a vulnerable position, risking injury or equipment failure. Prioritize proper fit to keep your rides safe and smooth.
How Long Do Thru-Axle Adapters Typically Last?
Thru-axle adapters typically last several years, but their durability lifespan depends on usage and maintenance. You should check them regularly for signs of wear or damage, and replace them if they become cracked or bent. Generally, the replacement frequency is every few seasons or when you notice a decrease in fit or stability. Proper care and proper fit help extend the lifespan and keep your trainer safe and reliable.
Do All Trainers Require Thru-Axle Adapters for Compatibility?
Did you know that over 60% of trainers need thru-axle adapters for mounting compatibility? Not all trainers require them; it depends on your bike’s thru-axle size. Check your trainer’s specifications to guarantee compatibility. Adapter durability varies, so investing in a high-quality one can save you hassle and extra costs. Always verify your bike and trainer compatibility before riding to avoid surprises during your workout.
Can a Thru-Axle Adapter Affect the Accuracy of Power Measurements?
A thru-axle adapter can affect your power measurement accuracy if it’s not compatible with your trainer or bike. Poorly fitting adapters may introduce slight inconsistencies or shifts, impacting data precision. To guarantee reliable power readings, make sure your adapter is compatible with both your bike and trainer. Proper installation and quality adapters help maintain measurement accuracy, so always double-check compatibility before use.
Conclusion
Remember, choosing the right thru-axle adapter, installing it correctly, and maintaining it regularly guarantee a smooth indoor cycling experience. Stay attentive to compatibility issues, troubleshoot problems promptly, and upgrade when necessary. Prioritize reliable brands and proper care so your trainer stays secure, your rides stay consistent, and your progress stays steady. With the right approach, you’ll keep your focus on the ride, not on the tiny parts that keep everything running smoothly.