
To set your rack position correctly and say goodbye to heel strike, focus on foot alignment, stability, and ankle mobility. Start by ensuring your feet are shoulder-width apart with your toes slightly pointed out, and use visual cues or floor markings for consistency. Adjust the bar height so you can maintain a straight, upright posture without overextending your ankles. Proper hand and elbow positioning also help keep your weight balanced. Continue optimizing your setup, and you’ll improve your technique and prevent heel strike more effectively.
Key Takeaways
- Ensure proper foot placement using visual cues like floor markings or tape for consistent, stable rack positioning.
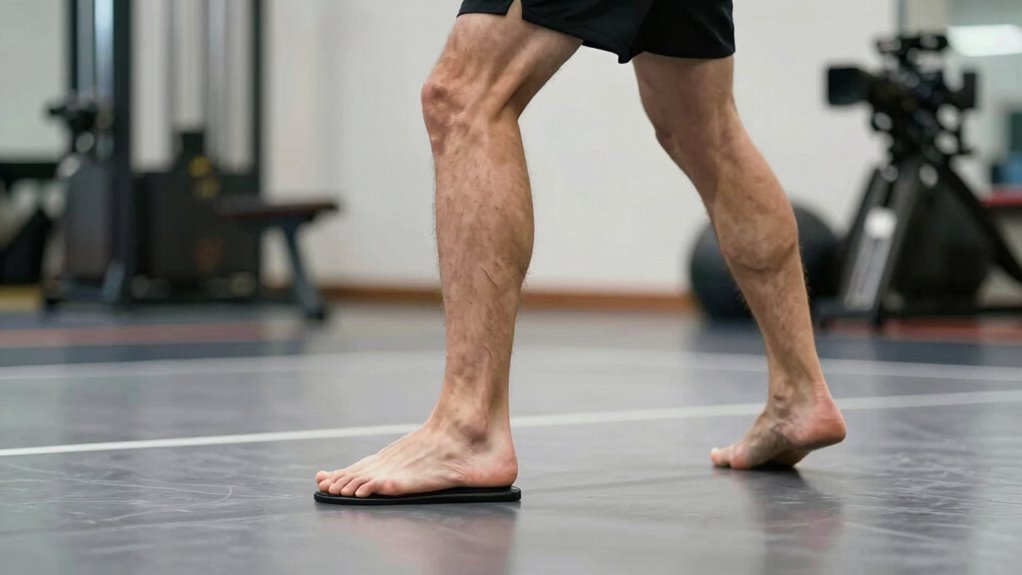
- Maintain ankle mobility with stretching and mobility exercises to promote correct landing and prevent heel strike.
- Adjust heel height or use supportive footwear to improve balance and reduce impact during setup.
- Keep the feet shoulder-width apart to enhance stability and alignment during rack positioning.
- Verify proper body alignment—shins, hips, shoulders—relative to the bar to facilitate safe, heel strike-free lifts.
Recognizing Heel Strike and Why It’s Dangerous

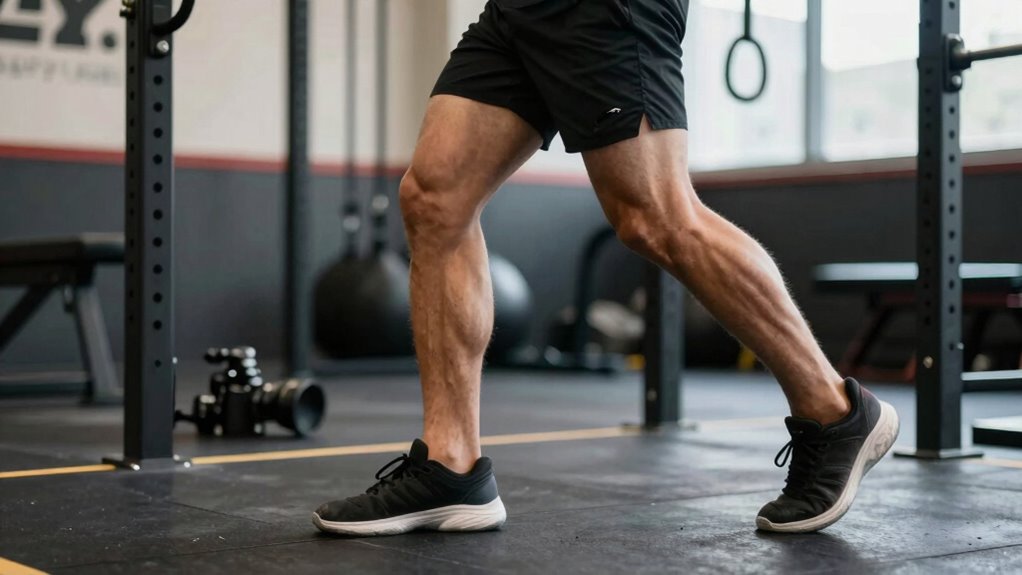
Heel strike occurs when your heel makes initial contact with the ground during your stride. This moment is vital because it affects your overall running form and injury risk. Proper foot stability is essential here; if your foot lacks stability, you may land heavily on your heel, increasing impact forces. Limited ankle flexibility can also contribute to poor heel strike, as stiff ankles prevent a smooth, natural landing. Recognizing this early contact helps you identify if your gait is putting unnecessary stress on your joints. Over time, heel striking can lead to issues like shin splints, knee pain, or stress fractures. Being aware of how your heel hits the ground allows you to make adjustments for safer, more efficient running. Incorporating safe techniques and mindful routines can help improve your gait and reduce injury risk. Regularly assessing your gait can also help in correcting biomechanical issues, further preventing injuries. Paying attention to your foot strike pattern can help you develop a more efficient and injury-resistant running style. Additionally, understanding running biomechanics can provide further insights into optimizing your gait and preventing injury.
Assessing Your Current Rack Setup for Heel Strike
Start by examining your current rack position to see how your feet are aligned during lifts. Look for heel strike indicators like feeling unstable or noticing weight shifting forward. Then, assess your rack setup to identify any misalignments that could contribute to heel strike issues. Remember, a well-placed rack can promote proper foot positioning and enhance your overall lifting technique home organization strategies. Ensuring your setup aligns with proper projector placement principles can significantly improve your lifting stance and stability. Additionally, adjusting equipment arrangement can help optimize your ergonomic posture and prevent heel strike from occurring. Paying attention to power tool ergonomics can also guide you in creating a more supportive and effective rack setup. Proper footwear selection may also be beneficial in addressing heel strike concerns.
Examine Your Current Position
Before making adjustments to your rack setup, conducting a thorough assessment of your current position is essential to identify any misalignments or inefficiencies. Check your ankle flexibility, ensuring your ankles move freely without tightness that could cause heel strike issues. Notice how your core stability influences your overall posture; a weak core can lead to poor alignment and increased heel contact. Observe your foot placement and how your body feels during movement. Are you overreaching or misaligned? Pay attention to any discomfort or instability that signals a need for correction. By honestly evaluating your current setup, you gain a clear understanding of what’s working and what needs improvement. This step lays the foundation for a more effective rack position, reducing heel strike and enhancing your overall performance. Additionally, understanding plant properties can help you optimize your stance and movement efficiency, since proper foot biomechanics contribute significantly to a smoother, more efficient lift.
Identify Heel Strike Indicators
To effectively identify heel strike indicators, pay close attention to how your body responds during movement. Notice if your heels make contact with the ground too early or too forcefully, which can signal poor ankle mobility or improper footwear choice. Limited ankle mobility often causes you to land with a flatter foot or shift weight forward, leading to heel strike issues. Your footwear also plays a role; shoes that lack proper support or cushioning may contribute to misalignment or abrupt heel contact. Observe how your heels behave during your workouts or lifts. If you notice a heavy or inconsistent heel strike, it’s a sign to reevaluate your setup. Recognizing these indicators helps you adjust your position and footwear to promote a smoother, more efficient heel progression. Being aware of art care and living practices can also contribute to overall movement health and injury prevention. Additionally, understanding proper footwear selection can help prevent heel strike problems and improve your overall biomechanics. Paying attention to movement patterns and biomechanics can further enhance your ability to identify and correct heel strike issues early on. Incorporating regular mobility exercises can also improve ankle flexibility, reducing the likelihood of heel strike problems. Engaging in ankle mobility drills can further support optimal heel strike mechanics.
Assess Rack Alignment
Evaluating your rack alignment is essential to guarantee your heel strike pattern is effective and safe. Start by checking your ankle mobility; limited flexibility can cause misalignment and affect your strike. Ensure your ankles move freely through their full range to maintain proper positioning. Next, assess your footwear choice—wearing shoes with inadequate support or improper fit can skew your setup and lead to discomfort or injury. Stand in front of the rack and observe how your feet align with the barbell. Your shins, hips, and shoulders should be in a straight line, and your heels should feel stable. Adjust your foot placement or footwear if necessary to optimize ankle mobility and achieve a balanced, effective rack position. Proper alignment sets the foundation for a safe and efficient heel strike. Additionally, understanding vetted product designs can help you choose supportive footwear that enhances your overall lifting technique, as proper footwear support plays a crucial role in maintaining correct biomechanics during lifts. Ensuring your footwear has appropriate cushioning and stability can further improve your performance and reduce injury risk. Incorporating correct biomechanics into your assessment can help identify subtle misalignments before they lead to injury or inefficient movement. Regularly checking your support footwear can also prevent wear and tear that might compromise your stability and safety during lifts.
How to Adjust Your Foot Placement for Better Stability
To improve your stability, focus on maintaining consistent foot placement each time you set up. Adjust your heel height to find a balanced position that feels secure and comfortable. Using visual guides, like markings or tape on the platform, can help you replicate the ideal stance accurately. Incorporating adaptive lighting can also enhance visibility and ensure proper alignment in your training space. Additionally, paying attention to foot placement techniques can make a significant difference in your overall stability and performance. Ensuring proper postural alignment during setup can further optimize your stability and reduce the risk of injury. Being aware of cloud computing considerations can help you understand the broader operational impacts of your training environment, especially when integrating digital tools or data tracking. Moreover, practicing consistent stance can reinforce muscle memory and improve your overall control.
Foot Placement Consistency
Ensuring consistent foot placement is key to maintaining stability during your set rack position. When your footing remains steady, your entire lift improves. To achieve this, pay attention to your footwear choices, which influence grip and support. Your ankle mobility also plays a critical role in maintaining alignment and preventing imbalance. Here are some tips to enhance consistency:
- Use footwear with a solid, non-slip sole for reliable footing
- Keep your feet shoulder-width apart to promote balance
- Practice ankle mobility drills to improve range of motion
- Mark your starting foot position on the floor for repeatability
Focusing on these elements helps you develop muscle memory, ensuring your foot placement stays consistent, and your set rack remains stable and secure.
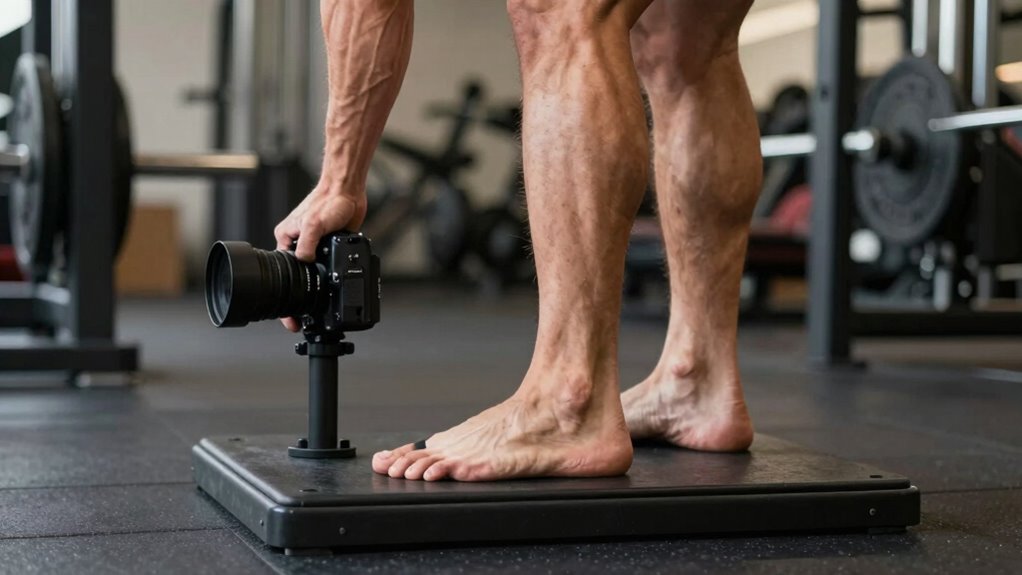
Adjusting Heel Height
Adjusting your heel height can substantially improve your stability during a set rack position. If your ankles lack mobility, raising or lowering your heels using specialized shoes or heel lifts can help find a more balanced stance. Proper shoe selection plays an essential role; choose footwear with a heel height that supports your ankle’s range of motion and gives you a secure footing. Experiment with different heel heights to see what feels most stable and comfortable. Keep in mind that overly high heels can shift your center of gravity, while too flat shoes may limit ankle mobility, causing instability. By fine-tuning your heel height, you optimize your foot placement and enhance overall stability during lifts, reducing the risk of injury and improving performance.
Using Visual Guides
Using visual guides can substantially improve your foot placement and overall stability during a set rack position. By aligning your feet with markers or visual cues, you can develop consistent habits that enhance ankle flexibility and guarantee proper footwear choice. This consistency helps prevent imbalance and reduces injury risk. To maximize this technique, consider these tips:
- Use tape or floor markings to identify ideal foot positions.
- Observe and replicate your foot placement in every set.
- Adjust footwear to support ankle flexibility and stability.
- Practice in front of a mirror to ensure proper alignment.
These visual guides serve as a mental and physical reference, helping you fine-tune your setup for better control and safety during lifts. This approach promotes muscle memory and improves overall stability.
Setting Your Bar Height to Prevent Heel Strike

To prevent heel strike during your lifts, setting your bar height correctly is essential. Proper bar height ensures you can unrack and rerack safely, maintaining barbell safety and reducing the risk of injury. If the bar is too low, you may have to rise onto your toes or overextend to lift it, increasing heel strike chances. Conversely, a bar too high can force you into awkward positions, compromising form. Adjust the rack so the bar rests just below or at shoulder level for squats or at mid-shin for deadlifts. This setup allows a natural, powerful lift without heel contact issues. Correct bar height keeps your workout motivation high, as you perform lifts confidently and safely, optimizing both performance and injury prevention.
Proper Hand and Elbow Position in Your Squat or Deadlift Rack
Your hand placement and elbow alignment play a vital role in maintaining stability during squats and deadlifts. Properly positioned hands help you grip the bar securely, while aligned elbows keep your shoulders safe and engaged. Focus on these details to improve your form and lift more effectively.
Optimal Hand Placement
Proper hand and elbow placement are essential for maintaining stability and preventing injury during squats and deadlifts. Your hand grip should be firm yet comfortable, avoiding excessive tension that can strain your wrists. Confirm your wrist flexibility allows you to keep a neutral position, reducing the risk of discomfort or injury. Focus on these key points:
- Use a grip that feels secure without over-tightening
- Adjust your hand width for ideal control and comfort
- Keep your wrists straight, leveraging flexibility to avoid hyperextension
- Maintain consistent elbow positioning, either slightly tucked or aligned with your torso
Elbow Alignment Tips
Maintaining correct elbow alignment is essential for stability and injury prevention during squats and deadlifts. Proper elbow positioning helps keep your shoulders engaged and reduces strain. Focus on maintaining good elbow flexibility to avoid overextension or collapse. Your grip width influences your elbow angle; a wider grip may require more elbow mobility. Keep your elbows tucked in slightly, pointing downward, to create a strong rack position. Use the table below to understand how grip width affects elbow alignment:
| Grip Width | Elbow Flexion | Stability Impact |
|---|---|---|
| Narrow | More flexion | Greater control |
| Moderate | Balanced | Optimal for most |
| Wide | Less flexion | Increased strain |
| Very Wide | Minimal | Risk of injury |
Adjust your grip to find the elbow angle that offers stability and comfort.
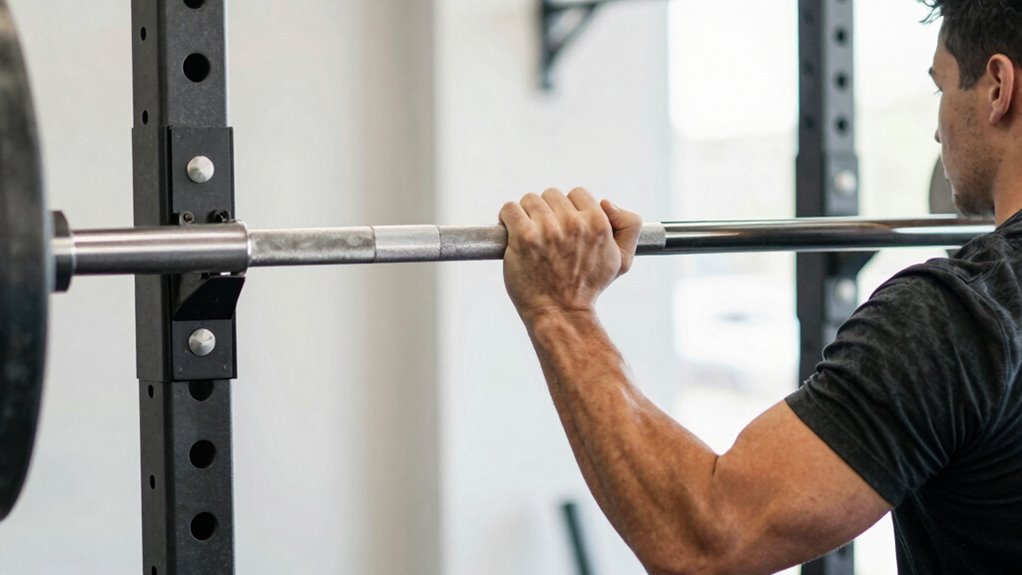
Using Landmarks and Visual Cues to Align Your Rack Properly

Using landmarks and visual cues is essential for aligning your rack accurately and ensuring safety during lifts. Focus on consistent visual references to optimize your setup. For example, check your ankle flexibility; it influences your foot positioning and stability. Your footwear choice also matters—wear shoes that provide a stable base and don’t distort your alignment. To fine-tune your rack:
- Align the barbell with eye level or a specific wall marker
- Use the knurling marks on the bar as reference points
- Ensure your feet are positioned symmetrically relative to the rack
- Observe your overall posture in a mirror or via a camera
These cues help you maintain proper alignment, prevent injury, and maximize lifting efficiency. Regularly evaluating these landmarks ensures your setup remains consistent and safe.
Step-by-Step: Achieving a Safe and Effective Rack Position
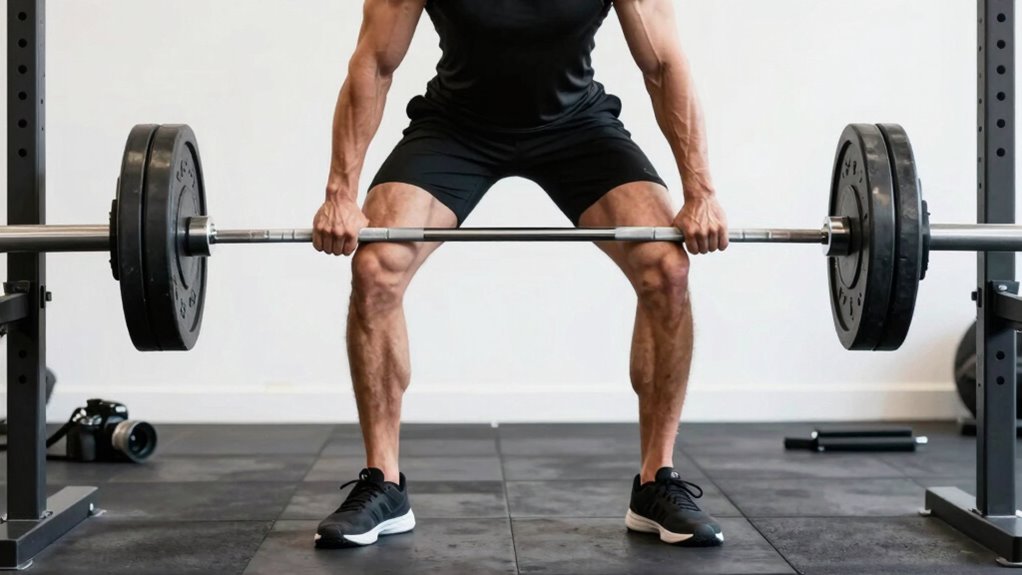
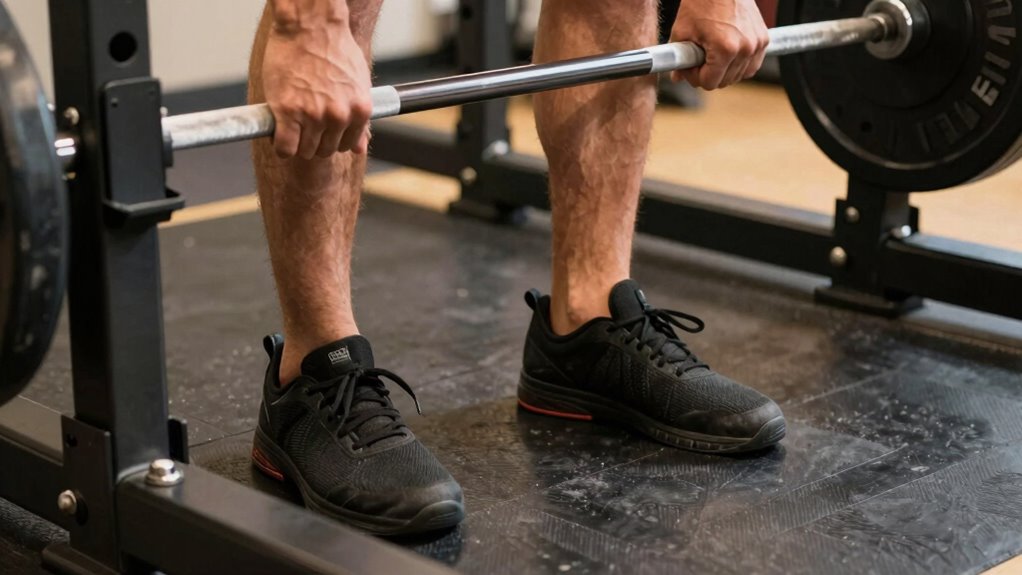
To achieve a safe and effective rack position, start by setting your feet properly—shoulder-width apart with toes slightly pointed outward—to establish a stable base. Focus on ankle mobility, ensuring your ankles move freely for proper positioning. Choose footwear that provides support and grip; flat, stable shoes help maintain balance. Next, position the bar over your mid-foot, keeping your chest up and shoulders back. Engage your core and keep your elbows high. Adjust your grip as needed, maintaining wrist comfort. Use the following guide:
| Step | Action | Key Focus |
|---|---|---|
| 1 | Set feet | Stability, ankle mobility |
| 2 | Place bar | Over mid-foot |
| 3 | Position hands | Grip width, wrist comfort |
| 4 | Engage core | Maintain posture |
| 5 | Keep elbows high | Rack control |
What to Do if Heel Strike Still Happens: Troubleshooting Tips
If heel strike continues despite setting up a proper rack position, it’s often due to limited ankle mobility or improper foot alignment. Check your barbell grip to guarantee it’s secure but relaxed, preventing unnecessary tension. Focus on maintaining correct shoulder positioning; it helps keep your chest up and balance centered. To troubleshoot, consider these tips:
Heel strike may persist due to limited ankle mobility or foot alignment—adjust stance and mobility for better lift efficiency.
- Adjust foot placement to achieve better alignment and stability
- Incorporate ankle mobility exercises outside training
- Slightly widen your stance to improve balance
- Use heel wedges or raised platforms if ankle mobility is limited
Addressing these issues helps optimize your setup, reducing heel strike. Remember, small adjustments to your barbell grip and shoulder positioning can considerably improve your rack and lift efficiency.
Mobility Exercises to Improve Your Rack Position and Prevent Heel Strike

Improving your ankle mobility is essential for achieving a proper rack position and preventing heel strike during lifts. Focus on exercises like ankle circles, dorsiflexion stretches, and calf raises to enhance ankle flexibility. These movements help you move more freely through your ankle joint, reducing the tendency to heel strike. Additionally, working on hip flexibility with hip openers or pigeon stretches allows your hips to stay in a better position during lifts, supporting overall posture. Incorporate dynamic stretches before your workout and static holds afterward to maximize mobility gains. Consistent practice of these mobility exercises will help you achieve a more upright rack, minimize heel strike, and improve your lifting form. Prioritize ankle mobility and hip flexibility to set a solid foundation for safe, effective lifts.
Tips for Maintaining Consistent Technique and Preventing Future Heel Strike Issues
Maintaining consistent technique during lifts is essential for preventing heel strike and ensuring safe, effective performance. To do this, focus on improving ankle flexibility, which allows a more natural foot position under the bar. Regularly assess your shoe selection; choose footwear that offers stability and proper support for your foot mechanics.
Consistent technique prevents heel strike; improve ankle flexibility and select stable, supportive footwear for safer lifts.
To stay consistent:
- Incorporate ankle mobility exercises into your warm-up routine
- Opt for shoes with a flat, firm sole to improve grip and stability
- Track your technique and make adjustments based on feedback
- Avoid switching footwear styles frequently to maintain familiarity
Frequently Asked Questions
How Often Should I Check My Rack Setup for Heel Strike?
You should check your rack setup for heel strike before every workout to guarantee proper barbell safety and ideal posture correction. Regularly inspecting your position helps prevent injury and maintains correct form, especially when lifting heavy weights. Make it a habit to verify your stance and rack height each session, so you stay aligned and avoid unnecessary strain or heel strike issues. Consistent checks keep your training safe and effective.
Can Shoe Type Affect Heel Strike During Squats or Deadlifts?
Ever wonder if your shoe type influences your heel strike during squats or deadlifts? It definitely can. Lightweight footwear can promote a more natural heel position, while heavier shoes with stiff material might restrict movement, causing a different heel strike pattern. The shoe material also matters—firm, dense materials support stability, but softer soles may allow more heel movement. Choose your footwear wisely to maintain proper form and prevent injury.
What Are Common Signs Indicating Improper Rack Positioning?
You’ll notice improper rack positioning if your ankles feel tight or if you struggle to achieve full squat depth. Signs include your heels lifting off the ground, instability, or discomfort in your ankles. Limited ankle mobility can prevent proper positioning, causing you to lean forward or shift weight. To fix this, make sure your rack is set at the right height and work on ankle flexibility, which helps maintain stability and ideal squat form.
Should I Use Accessories Like Heel Wedges to Prevent Heel Strike?
Think of heel wedges as your secret weapon—yes, they can help prevent heel strike by improving your ankle mobility and stability. Their benefits include better squat depth and reduced heel pain. If you prefer, accessory alternatives like lifting shoes or adjusting your stance can also offer support. Ultimately, choose what feels most natural and effective for your body, making every lift safer and more efficient.
How Do I Know if My Mobility Exercises Are Effective?
You’ll know your mobility exercises are effective when your mobility testing shows improved range of motion and less discomfort. Track your progress regularly and note any increased ease in movement or reduced stiffness. As you advance your exercise progression, pay attention to how your body responds—better flexibility, stability, and control indicate successful results. Consistent improvements over time confirm your mobility exercises are working as intended.
Conclusion
By fine-tuning your rack position, you’re gently guiding your lifts toward smoother, more confident movements. Small adjustments can make a big difference, turning potential pitfalls into opportunities for growth. Keep paying attention to your form and stay patient with the process. With consistent effort, you’ll find yourself gliding past those tricky heel strikes, releasing a new level of stability and strength. Trust the journey—your perfect lift is just a few mindful tweaks away.