
To adjust your bike brakes for maximum safety, start by inspecting brake pads for wear and alignment. Check cable tension, confirming levers stop about 1.5 inches from the handlebars when pulled. Fine-tune spring tension for even pad spacing, and align the calipers to confirm pads engage the rim correctly. Regularly test brake function and inspect for wear or damage. With these tips, you can enhance your braking performance and stay safe on the road; continue exploring to learn more helpful techniques.
Key Takeaways
- Regularly inspect brake pads for wear, replacing them before reaching wear limits to ensure optimal braking power.
- Adjust brake cable tension so the lever stops about 1 ½ inches from the handlebars when fully squeezed for effective response.
- Ensure brake pads are aligned evenly with the rim or rotor for maximum stopping power and to prevent uneven wear.
- Test the brake function after each adjustment to confirm proper operation and smooth engagement of the brakes.
- Seek professional help if you notice unresponsive brakes, unusual noises, or visible damage for safety assurance.
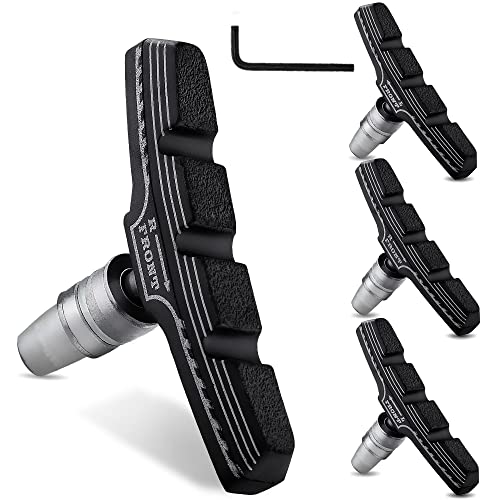
Hapleby 4PCS Premium Bike Brake Pads, Professional Mountain Bicycle V-Brake Pads, Bike Brake Blocks Kit, for Free Hex Wrench
【HARD-WEARING MATERIAL】 The brake pads are made of hyathetic fiber and nitrile rubber, they have supreme durable and…
As an affiliate, we earn on qualifying purchases.
As an affiliate, we earn on qualifying purchases.
Importance of Regular Brake Adjustments

When you ride your bike, the significance of regular brake adjustments can't be overstated. Properly adjusting your brakes guarantees that your brake pads maintain ideal contact with the rim or disc, greatly enhancing your safety.
Worn brake pads can severely reduce braking power, increasing your risk of accidents. You should regularly inspect and replace them before they reach their wear limits.
Additionally, don't overlook the brake cable; loose cables can lead to ineffective braking, leaving you with little to no response when squeezing the lever. Achieving equal spacing and alignment of your brake pads is vital for balanced braking force.
Routine maintenance, including cleaning and lubricating components, prolongs their lifespan and assures smooth, reliable operation during every ride.

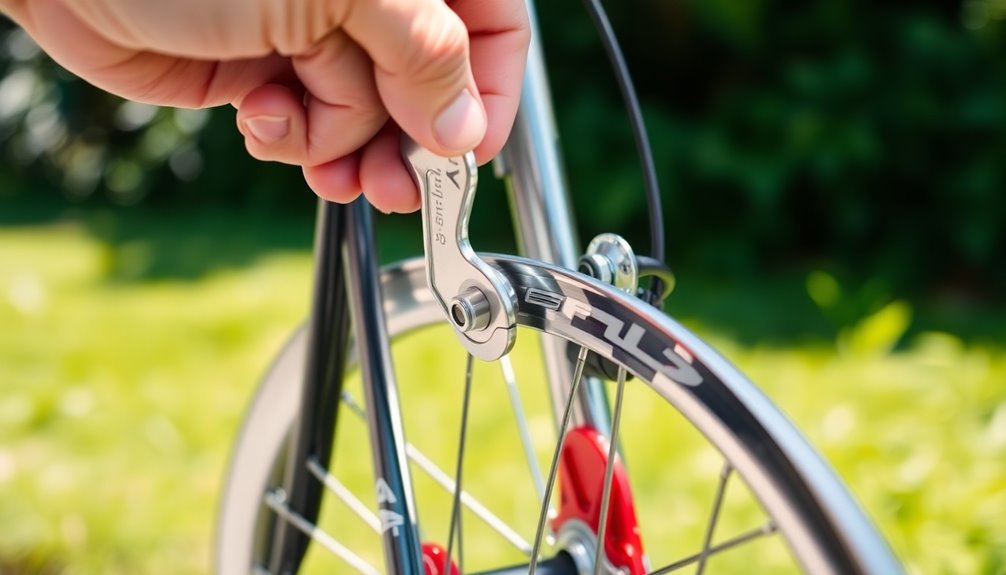
M7 Bike Brake Cable Handle Lever Adjusting Screws, 4 Pack 7mm Bike Brake Adjuster Screw Bicycle Brakes Lever Grip Fastener Bolt Aluminum Alloy Bicycle Parts Brakes Cable Adjuster for Mountain Bikes
Mountain Bike Parts – Package includes 6 adjusting brake barrel bolts with silver and black finishe, providing ample…
As an affiliate, we earn on qualifying purchases.
As an affiliate, we earn on qualifying purchases.
Inspecting Brake Pads for Wear

When you inspect your brake pads, look for visible wear lines and grooves to determine if they need replacing.
It's essential to replace them before they're worn past the line to maintain your bike's braking efficiency.
Also, make sure they're properly aligned to avoid uneven wear and maximize your stopping power.
Visual Wear Assessment
Visual wear assessment of your bike's brake pads is essential for maintaining safety while riding. Regularly check for visible wear lines; if your brake pads are worn past these lines, it's time for a replacement. Look for uneven wear or grooves, as these can indicate they're no longer in good condition. Verify both brake pads make contact with the rim when you squeeze the brake lever to maintain balanced braking power. Also, inspect for contaminants like dirt or oil that could reduce grip, and watch for signs of cracking, as these pose a significant safety risk.
| Brake Pad Condition | Visible Wear | Action Needed |
|---|---|---|
| Good | No | Keep riding |
| Moderate | Yes | Adjust bike brakes |
| Worn | Past line | Replace immediately |
| Contaminated | N/A | Clean or replace |
| Damaged | Cracked | Replace immediately |
Replacement Timing Guidelines
Regularly inspecting your brake pads for wear is essential for ensuring safe rides.
Check for wear lines; if your pads are worn past these lines, replace them immediately for maximum braking performance. If you notice grooves on the side without a wear line, it's time to replace those pads as well.
Aim to inspect your brake pads at least once a month, especially before long rides or during weather changes. Uneven wear or grinding noises are clear signs that your brake pads should be replaced promptly to maintain safety and prevent damage to the braking system.
Proper Pad Alignment
Verifying proper pad alignment is essential for effective braking performance. Regularly inspect your brake pads for visible wear, particularly checking for wear lines. If they're worn past these lines, replace them immediately.
Also, look for grooves on the sides; if these are present without a wear line, it's time for new pads. When you squeeze the brake lever, make sure both pads contact the rim simultaneously to guarantee even braking force and prevent pulling to one side.
Adjust the spacing so the pads sit a few millimeters away from the rim to avoid rubbing. Finally, check for proper alignment with the wheel arc to prevent contact with the tire or spokes, ensuring peak braking performance.
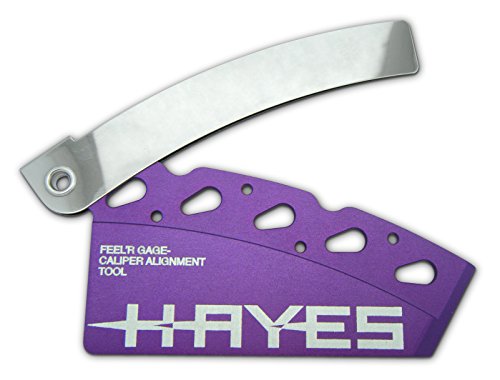
Hayes Brake Pad & Rotor Alignment Tool
Hayes
As an affiliate, we earn on qualifying purchases.
As an affiliate, we earn on qualifying purchases.
Adjusting Brake Cable Tension

Adjusting brake cable tension is essential for safe and effective braking. Start by pulling the brake levers; they should stop about 1 ½ inches from the handlebars when fully squeezed.
If you need minor adjustments, use the barrel adjusters on the brake levers. Turning them counter-clockwise will tighten the tension, while turning clockwise will loosen it.
For significant adjustments, unscrew the bolt holding the brake cable on the caliper, pull the cable taut, and re-tighten the bolt.
Always inspect your brake cables for fraying or looseness, as these can lead to ineffective braking.
After making adjustments, retest the brake lever to verify it operates smoothly and doesn't hit the handlebars, confirming the brake pads engage properly.

Birzman Brake Pad Wear Indicator – BM20-BPWI-CC
Quick check of brake pad wear to determine replacement or not. Laser engraved indication of the minimum thickness…
As an affiliate, we earn on qualifying purchases.
As an affiliate, we earn on qualifying purchases.
Fine-Tuning Recoil Spring Tension

After you've set the brake cable tension, it's time to fine-tune the recoil spring tension for peak performance.
Locate the adjustment near the caliper pivots; it's usually a small screw or knob. Turn it clockwise to increase recoil spring tension, pulling the brake pads away from the rim to prevent dragging.
Adjust counter-clockwise on the side that isn't pulling away enough to achieve equal spacing from the rim.
- Feel the thrill of smooth rides
- Guarantee your safety with responsive brakes
- Maintain consistent brake performance
- Enjoy stress-free descents
- Ride confidently, knowing your brakes work
Make adjustments in half-turn increments and test the brake function after each tweak.
Make precise adjustments in half-turn increments and evaluate brake performance after each change for optimal safety and responsiveness.
Regular checks keep your bike's brake responsiveness sharp!
Caliper Adjustment for Optimal Performance

To guarantee your brakes perform at their best, you'll want to start by loosening the caliper bolt with an Allen wrench.
This lets you adjust the caliper's position for better alignment with the rim or disc.
After that, check the cable tension and test the brake alignment to make sure everything's working smoothly.
Caliper Bolt Loosening Technique
Loosen the caliper bolt carefully with an Allen wrench, taking care not to remove it completely. This keeps everything in place while you make the necessary adjustments.
- Feel the thrill of safe rides
- Enjoy smooth, responsive braking
- Avoid dangerous surprises on the road
- Experience the freedom of confident cycling
- Secure your peace of mind while riding
Next, pull the brake cable outward to tighten it as you adjust the caliper. Align the brake pads evenly with the rim for ideal performance, ensuring the lever movement is unobstructed.
After making minor adjustments, retighten the caliper bolt securely.
Finally, test the brake function to confirm that the pads engage the rim correctly, giving you the safety you need on every ride.
Cable Tension Adjustment
With the caliper bolt securely tightened, it's time to focus on cable tension for ideal brake performance.
First, check that the brake lever stops about 1.5 inches from the handlebars when pulled, guaranteeing proper tension.
For minor adjustments, loosen the bolts on the barrel adjuster at the brake lever by turning it counterclockwise to increase tension or clockwise to decrease it.
If you need a significant adjustment, unscrew the bolt holding the brake cable on the caliper, pull the cable taut, and then re-tighten the bolt securely.
After adjusting your brake, regularly inspect the cable for fraying.
Finally, squeeze the lever multiple times to test the brake response and guarantee effective engagement without hitting the handlebars.
Testing Brake Alignment
Verifying your bike's brakes are properly aligned is vital for safe riding, as misalignment can lead to uneven wear or reduced stopping power.
Start by visually inspecting the brake caliper to make certain it's centered over the rotor. If it's not, loosen the caliper bolts and pull the brake lever tightly while aligning the caliper. After that, retighten the bolts while keeping pressure on the lever.
To maintain peak performance, remember to:
- Regularly check brake responsiveness
- Confirm equal spacing between the brake pads
- Adjust one bolt at a time for precision
- Test for smooth engagement
- Make incremental adjustments if misalignment persists
Your safety depends on these small but essential steps!
Balancing the Braking Force

Balancing the braking force between your front and rear brakes is essential for maintaining control and safety while riding. To achieve balanced braking, start by checking your brake cables and adjusting the tension. Use the barrel adjusters to fine-tune the cable, guaranteeing both brakes engage simultaneously. Regularly inspect your brake pads for even wear and alignment with the rim or rotor. Remember to adjust the spring tension on both calipers for consistent force on each pad. Additionally, make sure your braking setup is inspected as part of your regular night riding equipment to ensure optimal safety during evening rides.
| Task | Description |
|---|---|
| Check Brake Cables | Confirm proper tension for balanced stopping |
| Inspect Brake Pads | Look for even wear for maximum safety |
| Adjust Spring Tension | Equalize force on both brake calipers |
Tips for Maintaining Brake Responsiveness

To keep your bike brakes responsive, regularly inspecting and maintaining them is essential for safety and performance. Here are some tips to guarantee your brakes function efficiently:
- Check brake pads for wear; replace them if they exceed wear lines.
- Maintain proper cable tension to prevent levers from hitting the handlebars.
- Squeeze the brake lever to test responsiveness; it should stop about 3.8 cm from the handlebars.
- Confirm brake pads are centered and aligned with the rim or rotor for simultaneous contact.
- Keep brake cables clean and lubricated, checking for fraying or damage.
Tools Needed for Brake Adjustments
When adjusting your bike brakes, having the right tools at your fingertips can make all the difference. Essential tools include hex keys, which are vital for most brake adjustments, and a Phillips-head screwdriver for securing bolts.
Depending on your bike's braking system, you might also need torx keys or flat wrenches. Access to bike repair stations can provide these necessary tools, ensuring you're fully equipped for effective adjustments.
Proper tool preparation not only streamlines the adjustment process but also enhances safety and performance. By having the correct tools on hand, you can efficiently perform adjustments, reducing the risk of brake failure during your rides.
Prioritize these tools to keep your bike's braking system in top shape.
Seeking Professional Help When Necessary

While adjusting your bike brakes can often be a straightforward task, there are times when seeking professional help is the safest option.
Adjusting bike brakes can be simple, but sometimes professional help is the best choice for safety and effectiveness.
If you're unsure about brake adjustments or face complex issues, a professional bike mechanic can guarantee your safety and proper brake functionality. Specialized services like hydraulic brake bleeding or disc brake alignment can be tricky, so don't hesitate to consult a pro.
Consider these signs that it's time to visit a bike shop:
- Unresponsive brakes
- Unusual noises during braking
- Difficulty in brake lever pull
- Visible wear or damage
- Frequent brake problems
Regular maintenance at professional bike shops can catch issues early, and many offer visual guides to help you understand your braking system better.
Frequently Asked Questions
How Do You Adjust Bike Brake Strength?
To adjust bike brake strength, start by checking the cable tension.
Make certain the brake levers sit about 1 ½ inches from the handlebars when pulled fully.
Use the barrel adjuster on the brake lever for minor tweaks—turn it clockwise to increase tension.
For bigger adjustments, loosen the caliper bolt, pull the cable tight, and re-tighten.
Finally, guarantee both brake pads hit the rim evenly and test responsiveness after your adjustments.
How Can I Make My Mountain Bike Brakes More Sensitive?
Imagine riding a motorcycle without brakes—it'd be terrifying!
To make your mountain bike brakes more sensitive, start by adjusting the brake cable tension with the barrel adjuster, so the levers engage within 3-4 cm.
Inspect and replace worn brake pads, ensuring they grip well. Center the pads for even contact and increase the recoil spring tension near the caliper.
Finally, keep your brake cables clean and lubricated for smooth operation.
How Do I Make My Bike Brakes Squeeze Easier?
To make your bike brakes squeeze easier, start by checking the brake cables for proper tension. If they're loose, adjust them using the barrel adjusters on the levers. Turn counterclockwise to increase tension.
Next, verify your brake pads are aligned with the rims and clean both the pads and rims to remove any dirt.
Regularly inspect your cables for fraying and replace worn pads to maintain peak brake performance.
How to Adjust V Brakes to Stop Rubbing?
You might think adjusting your V brakes is too complicated, but it's simpler than you think.
Start by checking for even wear on your brake pads; if they're worn unevenly, they'll rub. Loosen the bolts to adjust the pads so they sit a few millimeters from the rim when not engaged.
Squeeze the lever to guarantee both pads contact simultaneously, then tighten everything and test ride to confirm no rubbing occurs.
Conclusion
In summary, keeping your bike brakes in top shape is essential for your safety on the road. Regular adjustments can make the difference between a smooth ride and a heart-stopping emergency stop. Remember, a well-tuned brake system is like having superhuman reflexes at your fingertips! Don't hesitate to inspect, adjust, and maintain your brakes regularly. If you're ever in doubt, seek professional help—better safe than sorry! Enjoy your rides with peace of mind!