
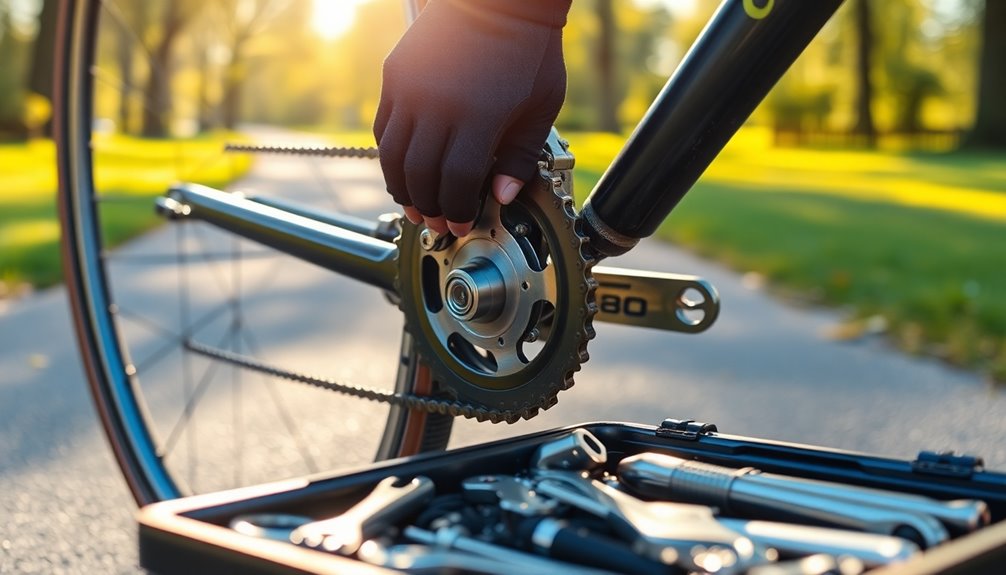
To adjust your bike's gears quickly and easily, start by checking the cable tension and using the barrel adjuster for fine-tuning. Shift into the big chain ring and smallest rear gear to adjust the front derailleur, ensuring proper clearance of 1-2 mm. For the rear derailleur, check the limit screws and maintain a gap of 3-11 mm between the upper jockey wheel and sprocket. With these tips, you'll enhance performance and tackle common gear issues effectively. Keep going to discover further adjustments and maintenance practices!
Key Takeaways
- Start by checking and adjusting cable tension with barrel adjusters for quick fine-tuning without tools.
- Shift to the big chain ring and smallest rear gear to adjust the front derailleur for optimal clearance.
- Inspect and calibrate limit screws on the rear derailleur to align with both high and low gears.
- Make small, incremental adjustments and test shifts to ensure smooth gear changes and prevent misalignment.
- Regularly maintain and lubricate components to enhance performance and extend the lifespan of your gear system.
Understanding Cable Tension and Barrel Adjusters

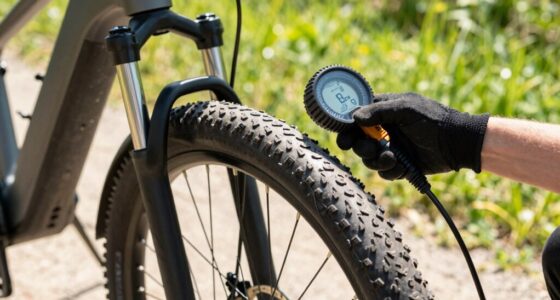
Getting your bike to shift gears smoothly relies heavily on understanding cable tension and barrel adjusters. If your cable tension is off, you might experience slow or missed shifts, which can really impact your ride.
Barrel adjusters are handy tools located on both the front and rear shifters; you can easily turn them to fine-tune cable tension without any tools. Start by fully unwinding the barrel adjuster to assess the initial tension.
While riding, make small adjustments to achieve smooth gear shifting, especially when moving between gears. Remember to regularly check your cable tension, particularly after weather changes or different riding conditions, to maintain consistent gear performance and extend the life of your components. Additionally, ensuring that your bike has lightweight materials can further enhance overall performance and shifting capabilities.
Front Derailleur Adjustment Steps
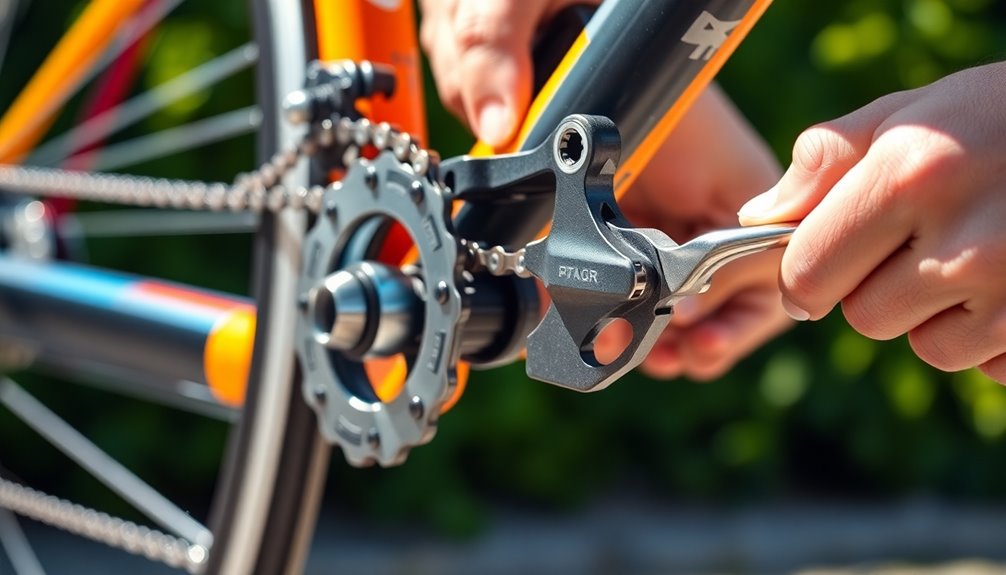
To adjust your front derailleur, start by shifting to the big chain ring in the smallest rear gear.
Check that the derailleur's outer plate clears the chain for smooth shifting, then make small tweaks to align it perfectly.
Once you've got it set, test your shifts to verify everything flows smoothly without rubbing.
Ensure Chain Clearance
When adjusting the front derailleur, ensuring chain clearance is essential for smooth shifting and peak performance. Start by shifting to the big chain ring while in the smallest rear gear. Make sure the outer plate maintains a gap of about 1-2 mm from the chain. There's nothing worse than a derailleur that rubs against the chain, so make small adjustments to achieve maximum clearance.
| Adjustment Step | Description |
|---|---|
| Shift Position | Big chain ring, smallest rear gear |
| Gap Requirement | 1-2 mm clearance |
| Final Check | Shift through gears to confirm functionality |
I'm going to regularly check and fine-tune the derailleur to maintain alignment, as wear can affect shifting efficiency.
Adjust for Alignment
As you start adjusting the front derailleur for alignment, shift to the big chain ring and the smallest rear gear. This position sets you up for precise adjustments.
Make sure the outer plate of the derailleur doesn't touch the chain, allowing maximum clearance for smooth gear shifts.
Make small tweaks to the derailleur's position; even minor adjustments can greatly affect performance. After making changes, test the shifts to confirm everything's functioning correctly.
Remember to regularly check the alignment to maintain peak shifting performance and prevent chain rubbing, especially during extreme gear combinations.
Keeping your front derailleur aligned guarantees a smoother ride and enhances your overall cycling experience.
Ensuring Proper Clearance for the Front Derailleur
To guarantee proper clearance for your front derailleur, start by adjusting the chain clearance.
You'll want to calibrate the limit screws to prevent the derailleur from making contact with the chain when shifting to the big chain ring.
This small adjustment can make a big difference in your bike's shifting performance.
Chain Clearance Adjustment
Achieving the right chain clearance for your front derailleur is essential for smooth gear shifting. Start by shifting to the big chain ring while in the smallest rear gear.
Check that the outer plate of the derailleur doesn't touch the chain; aim for a maximum clearance of 1-2mm. This gap allows for seamless shifting without rubbing.
Adjust the front derailleur height so it aligns parallel to the chain in the big chain ring, guaranteeing peak performance across all gear combinations.
Remember, small adjustments can make a big difference, so tweak the position incrementally and test by shifting through the gears.
Regularly inspect and maintain this clearance to prevent wear and guarantee your gear shifting remains effective and long-lasting.
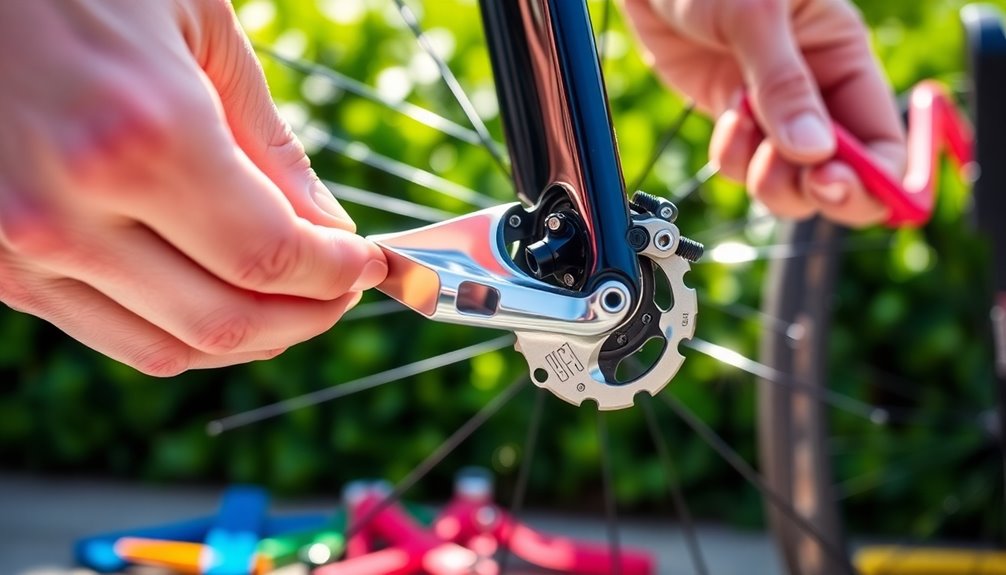
Limit Screw Calibration
When calibrating the limit screws on your front derailleur, it is crucial to guarantee proper clearance to facilitate smooth shifting. Start by shifting to the big chainring while in the smallest rear gear. Make sure the outer plate doesn't contact the chain for maximum clearance. Adjust the high limit screw (marked "H") to align the outer plate with the big chainring, ensuring no interference. Similarly, adjust the low limit screw (marked "L") to allow smooth shifting to the small chainring without rubbing. Remember, small adjustments of 1/4 to 1/2 turn can make a big difference. Regularly check these settings to maintain ideal performance.
| Adjustment Type | Recommended Action |
|---|---|
| High Limit (H) | Align with big chainring |
| Low Limit (L) | Clear inner plate |
| Adjustment Size | 1/4 to 1/2 turn |
| Check Frequency | Regularly |
| Performance Impact | Significant |
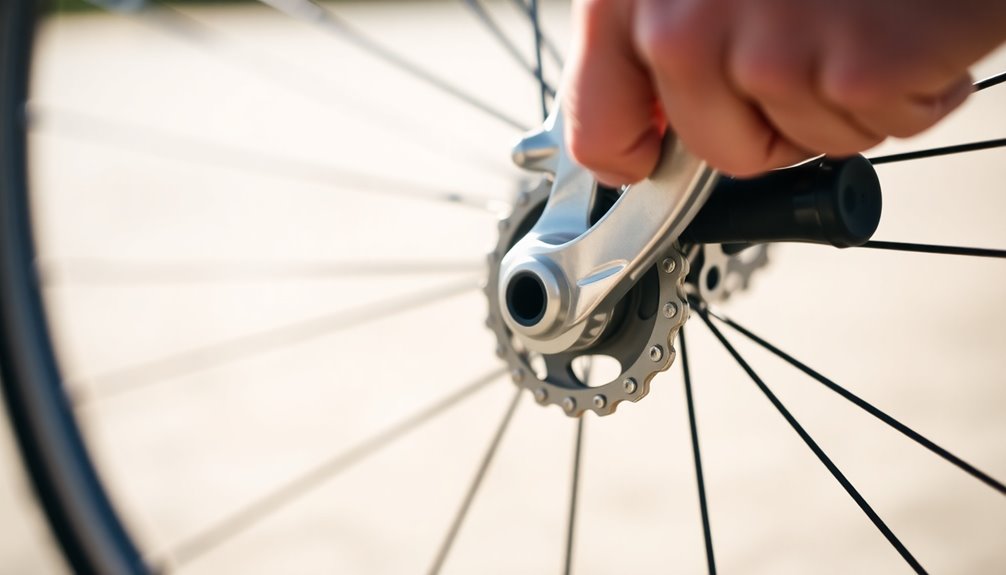
Rear Derailleur Adjustments and Limit Screws
Properly adjusting the rear derailleur is essential for smooth gear changes and preventing chain drops.
Start by fully unwinding the barrel adjuster on the rear derailleur to check the cable tension. Visually inspect the limit screws and adjust them to guarantee the derailleur aligns with the highest and lowest gears, preventing the chain from dropping.
Begin by unwinding the barrel adjuster to assess cable tension and ensure proper alignment of the derailleur's limit screws.
Pull the derailleur cable taut, but don't overtighten it, to facilitate smooth shifting. You can then fine-tune using the barrel adjuster while riding.
Adjust the high limit screw to stop the chain from overshifting onto the frame, allowing the derailleur to move only within its designated range.
Regularly maintain the ideal gap of 3mm to 11mm between the upper jockey wheel and the sprocket for peak performance.
Fine-Tuning With the B-Screw
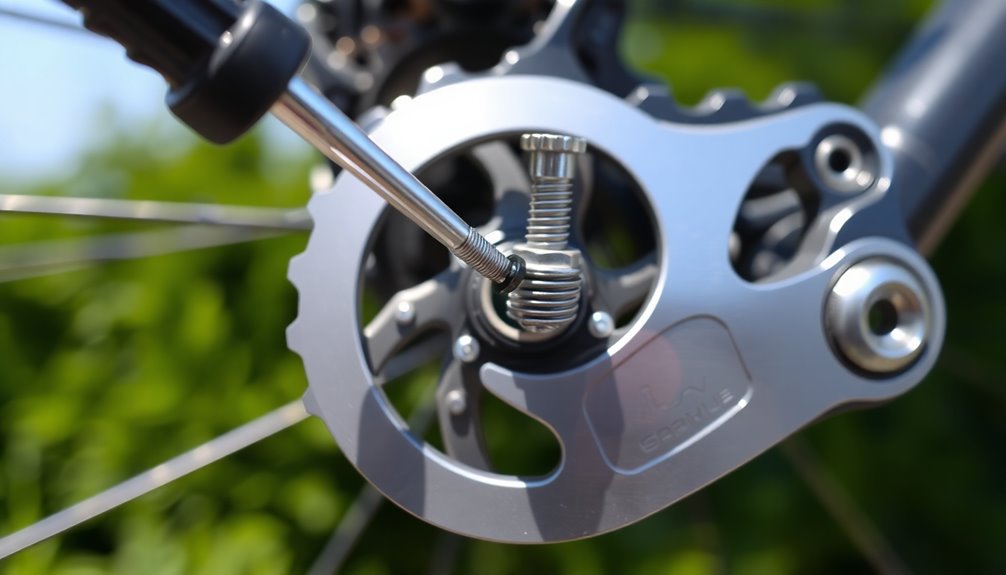
After guaranteeing your rear derailleur is set up correctly, fine-tuning the B-screw can elevate your shifting performance.
The B-screw adjusts the height of the derailleur's upper jockey wheel relative to the cassette, which is crucial for smooth gear shifts. Aim for a gap of 3mm to 11mm between the derailleur and sprockets.
Lowering the B-screw increases clearance but can make shifting harder, while raising it improves shifting ease but risks contact with the sprockets.
Regular adjustments can help compensate for cable stretch and wear. Remember, small incremental tweaks can lead to significant improvements, so make adjustments carefully and test them during your rides.
This attention to detail guarantees a more efficient and enjoyable cycling experience.
Addressing Common Gear Shift Issues
Many cyclists encounter common gear shift issues that can disrupt their ride. If your bike's shifting is poor or the gears skip, start by checking the cable tension. Fully unwind the barrel adjuster and test the shifting to guarantee there's adequate tension.
Misalignment of the derailleur can also cause problems, so adjust the limit screws to control its movement in both high and low gears. If the chain rubs against the front derailleur, it might need alignment adjustments to prevent contact.
For rear derailleur issues, adjust the B-screw to maintain a 3mm to 11mm gap between the upper jockey wheel and the sprocket. These checks can help you enjoy smoother, uninterrupted rides.
Regular Maintenance for Optimal Performance
To keep your bike's gears shifting smoothly, regular maintenance is essential. By checking cable tension and inspecting limit screws, you can guarantee that your gear shifting remains reliable.
A bent derailleur can cause significant issues, so routine checks help you spot misalignments early. Here are a few maintenance tips to follow:
- Inspect and adjust limit screws to prevent chain rubbing.
- Make small, incremental adjustments for peak performance.
- Conduct maintenance checks before and after riding seasons.
These practices not only enhance your bike's efficiency but also extend the lifespan of your gear components. Additionally, maintaining color accuracy in your bike's gears and components can lead to improved overall performance.
Frequently Asked Questions
How to Shift Quickly and Smoothly?
To shift quickly and smoothly, you need to anticipate your gear changes.
As you approach a hill or a change in terrain, start pedaling lighter and click into the next gear just before you feel resistance.
Keep your cadence steady and use your body to help with the shift.
If you're experiencing sluggish changes, you might need to adjust your cable tension or check your derailleur alignment for a smoother ride.
Is It OK to Shift Gears Fast?
Yes, it's generally okay to shift gears fast, as long as you keep a smooth pedaling cadence.
Quick shifts can work well when your bike is under load, but be cautious of potential chain rub on the derailleur if your setup isn't ideal.
Make certain your derailleur limit screws are set correctly, and regularly check cable tension and alignment to guarantee everything operates smoothly.
This will help you shift without damaging your components.
How Do I Change Gear Smoothly?
To change gear smoothly, you need to time your shifts perfectly.
As you pedal, ease off the pressure slightly when shifting, allowing the chain to move between gears without resistance.
Make certain your derailleur is properly adjusted, so it aligns well with the gears.
Practice shifting while maintaining a steady cadence, and listen for any unusual sounds.
With regular maintenance and adjustments, you'll find your gear changes become effortless and seamless.
What Does the Gear 1, 2, 3, 4, 5 Mean?
Did you know that cycling at a lower gear can increase your pedaling efficiency by up to 30% on steep climbs?
When you look at your bike's gears, 1 through 5 represent different resistance levels. Gear 1 makes pedaling easier, perfect for hills, while Gear 5 increases resistance for speed on flat terrains.
Understanding these gears helps you tackle various riding conditions effectively, enhancing your overall cycling experience.
Conclusion
Mastering your gears makes riding a breeze! With a bit of practice and patience, you'll glide through adjustments like a graceful gazelle. Remember to regularly check your cable tension and keep everything clean and clear. By addressing issues and fine-tuning your setup, you'll enjoy smooth shifts and seamless rides. So, saddle up and savor the satisfaction of swift, precise gear changes that enhance your cycling experience! Happy riding!