To find your ideal saddle width using the paper-and-wall trick, sit upright on a chair with paper under each sit bone, mark where each touches the paper, then measure the distance between the marks. Make sure you work in a flat, well-lit space and keep your posture natural. Maintaining consistency with your setup and technique will give accurate results. Keep exploring to discover more tips for perfecting your bike fit.
Key Takeaways
- The paper-and-wall trick measures your sit bone width to determine the ideal bike saddle width.
- Sit upright on a chair with paper beneath each sit bone and mark where they touch.
- Measure the distance between the marks to find the recommended saddle width.
- Ensure a flat, well-lit space with proper setup for accurate and consistent results.
- Repeat measurements for reliability and adjust based on individual comfort and riding style.
What Is the Paper-and-Wall Trick and How Does It Work?

The paper-and-wall trick is a simple method you can use to determine the correct saddle width for your bike. It helps improve your bike fit by ensuring your saddle supports your sit bones comfortably, enhancing saddle ergonomics. To do this, sit upright on a chair with a sheet of paper under each ischial tuberosity (sit bone). Mark where each bone touches the paper. Stand up and measure the distance between these marks. This measurement indicates your ideal saddle width. The trick works because it directly assesses your body’s anatomy, ensuring your saddle aligns with your natural sit bone positions. By following this method, you can select a saddle that offers best support and comfort, making your rides more enjoyable and reducing discomfort caused by poor saddle ergonomics. Additionally, understanding your saddle width requirements can help you choose a suitable model that maximizes comfort during long rides. Knowing your body’s anatomy ensures a better fit and can prevent long-term discomfort or injury. Moreover, this technique is especially helpful because it accounts for individual variations in pelvic structure, which are often overlooked by standard sizing charts. Incorporating personalized measurements like this can lead to a more precise fit compared to generic sizing guides.
How to Prepare Your Space for Accurate Saddle Measurement
Preparing your space properly guarantees accurate saddle width measurement. Choose a flat, well-lit area free of clutter to guarantee precision. Clear space for your bike and the paper wall trick setup. Use a level surface to prevent measurement errors that can affect your bike fit and saddle comfort. Consider the following:
| Aspect | Importance |
|---|---|
| Lighting | Ensures visibility for markings |
| Flat Surface | Maintains measurement accuracy |
| Space Around Bike | Allows free movement and positioning |
| Stable Wall | Provides a reliable reference point |
Align everything consistently, and avoid distractions. A well-prepared space helps you accurately determine saddle width, optimizing your bike fit and enhancing saddle comfort. Proper setup minimizes errors and ensures your measurements lead to a better riding experience. Being mindful of your environment can also reduce distractions that may impact measurement accuracy. Additionally, understanding the importance of proper setup can help you achieve more reliable results. Ensuring a stable and level surface is crucial for consistent measurements across different sessions. Taking the time to prepare your workspace can greatly improve the accuracy of your saddle measurements and your overall riding comfort. Recognizing the role of environment control in measurement accuracy can further enhance your results.
Step-By-Step: Measuring Your Saddle Width With Paper and Wall

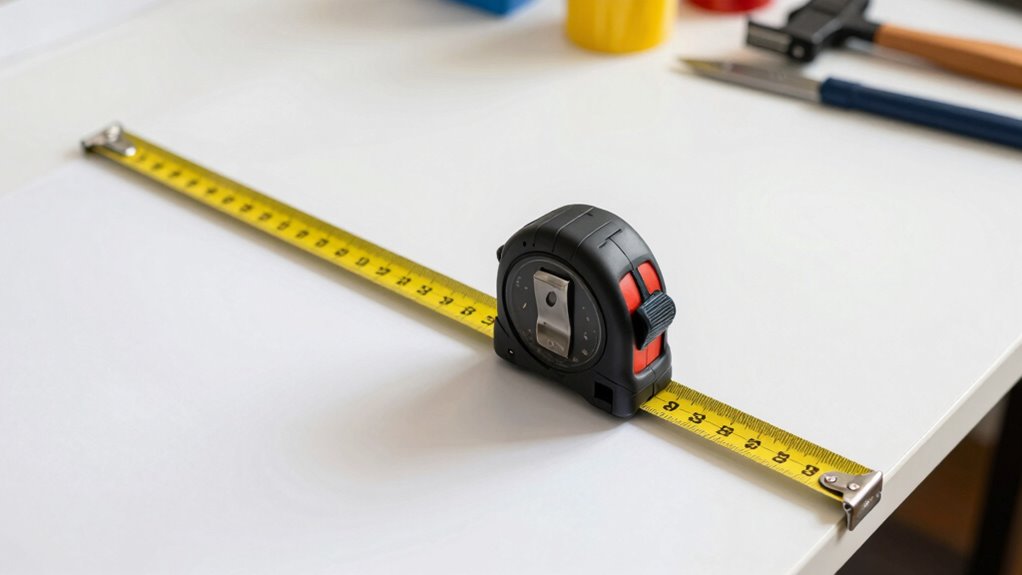
First, gather your paper, measuring tape, and a pen, then find a wall to work against. Next, position your saddle on the paper and mark its edges clearly. This simple setup guarantees your measurements are accurate and easy to follow. To ensure your saddle width measurement is precise, consider using quality assurance techniques to verify your markings before proceeding, especially since accurate saddle fit is crucial for comfort and performance.
Gather Materials Needed
To accurately measure your saddle width with paper and wall, gather a few simple materials. First, grab a standard sheet of paper, preferably plain and sturdy. You’ll also need a pencil or pen to mark the paper, and a ruler or tape measure for precise measurements. Make sure you have a wall or flat surface nearby to help position the paper correctly. It’s helpful to have some saddle accessories like a saddle cover or cushion to simulate riding conditions, ensuring your measurement reflects true cycling comfort. Keep the materials simple and accessible, as this method doesn’t require special tools. With everything ready, you’re set to proceed confidently, knowing you’ll get an accurate saddle width measurement that will improve your cycling experience.
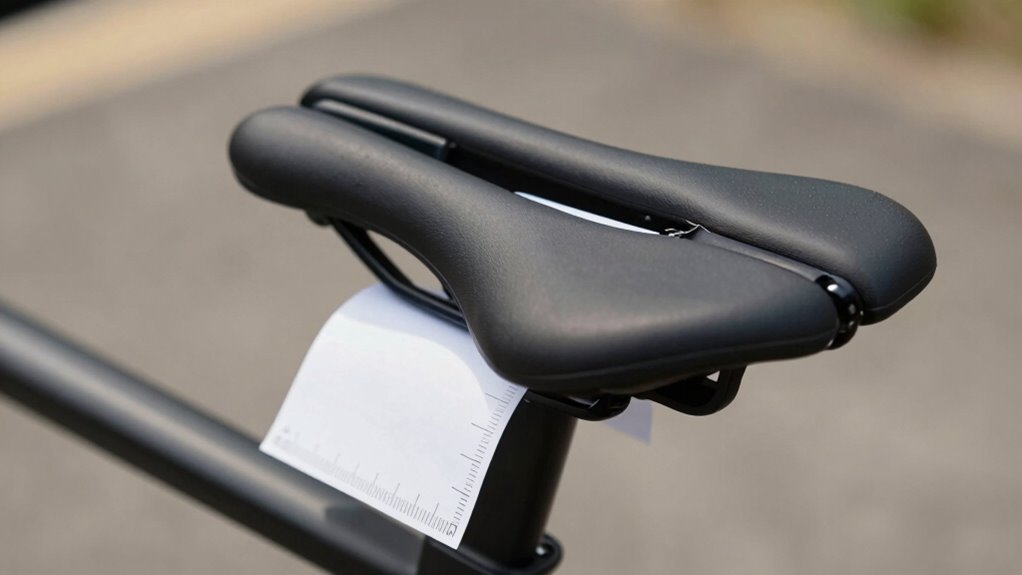
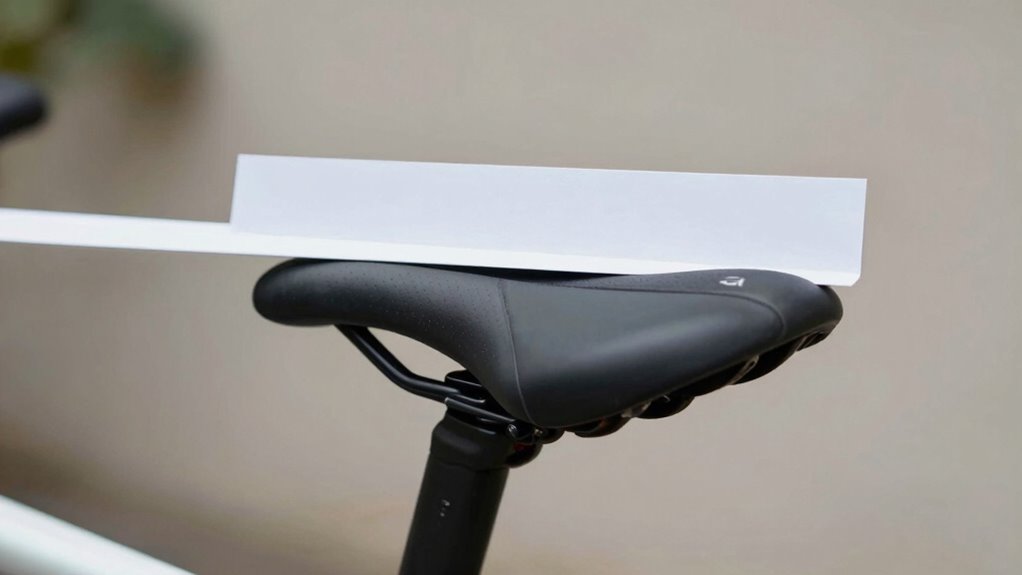
Mark Saddle Position
Start by positioning the paper on your wall at the saddle height you normally ride. Sit on your bike or mimic your riding position, then gently place your hips against the wall. Use a marker or pencil to mark the widest points of your hips on the paper. This step is essential for ensuring saddle comfort, as it helps you identify the correct saddle width for your body. Accurate marking allows for a more precise bike fitting, reducing discomfort and improving efficiency. Keep your hips steady and avoid shifting during this process. Once marked, remove the paper from the wall and measure the distance between the two points. This measurement guides you in selecting a saddle that fits your hips perfectly, enhancing comfort and performance on your rides. Incorporating Smart fitting techniques can also help optimize your riding posture for greater comfort. Remember, proper bike fit is key to a comfortable and enjoyable ride, so taking these precise measurements is highly beneficial. Additionally, understanding keto diet fundamentals can help you maintain energy levels and recovery for active lifestyles. Paying attention to knee alignment during fitting can further prevent discomfort and enhance pedaling efficiency.
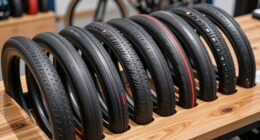
How to Interpret Your Saddle Width Measurement
Understanding your saddle width measurement is key to finding a comfortable fit, but it can seem confusing at first. When you interpret your measurement, think of it as a guide to saddle comfort and bike fit. A wider saddle provides more support, ideal for casual riding or those needing extra stability. Conversely, a narrower saddle might suit racing or aggressive riding styles, offering less contact but more freedom of movement. Keep in mind that your measurement is a starting point—not a strict rule. Everyone’s body is different, so listen to how your saddle feels during rides. Use your measurement to narrow down options, then test different saddles to find the perfect balance between comfort and performance. Additionally, consider saddle design features that can enhance comfort and support during long rides. Incorporating hydrotherapy techniques like aquatic exercises can also help in maintaining comfort and preventing soreness after your rides. Recognizing individual differences in body shape and riding style can further refine your saddle choice for optimal comfort. Being aware of body mechanics can help you select a saddle that minimizes discomfort and optimizes your riding experience. Furthermore, understanding bike fit principles can significantly improve your overall riding comfort and efficiency.
Tips for Getting Consistent and Accurate Results
To get consistent and accurate saddle width measurements, use the same technique each time. Keep a straight edge handy to make sure your measurements stay level. Don’t forget to double-check your results to confirm they’re precise. Incorporating measurement consistency practices can further improve your accuracy. Additionally, utilizing passive voice detection tools can help ensure your writing remains clear and direct. Remember to account for lease terms and other variables that might affect your measurement process, similar to understanding lease options and fees when leasing a car. Being aware of brand storytelling strategies can also inspire confidence in how you communicate your results and methods.
Consistent Measurement Techniques
Achieving accurate saddle width measurements relies on using consistent techniques each time you measure. To improve cycling comfort, focus on measuring the same points on your body and bike setup consistently. Use the same position on your bike, such as a specific saddle height and handlebar position, to ensure comparability. Keep your body relaxed and in a natural riding stance during measurement. When marking your saddle or seat post, do so carefully and always reference the same anatomical landmarks. Remember, slight variations can affect saddle adjustment and comfort. By maintaining a steady method, you’ll get reliable results that help you select the best saddle width for your body, ultimately enhancing your riding experience and reducing discomfort.
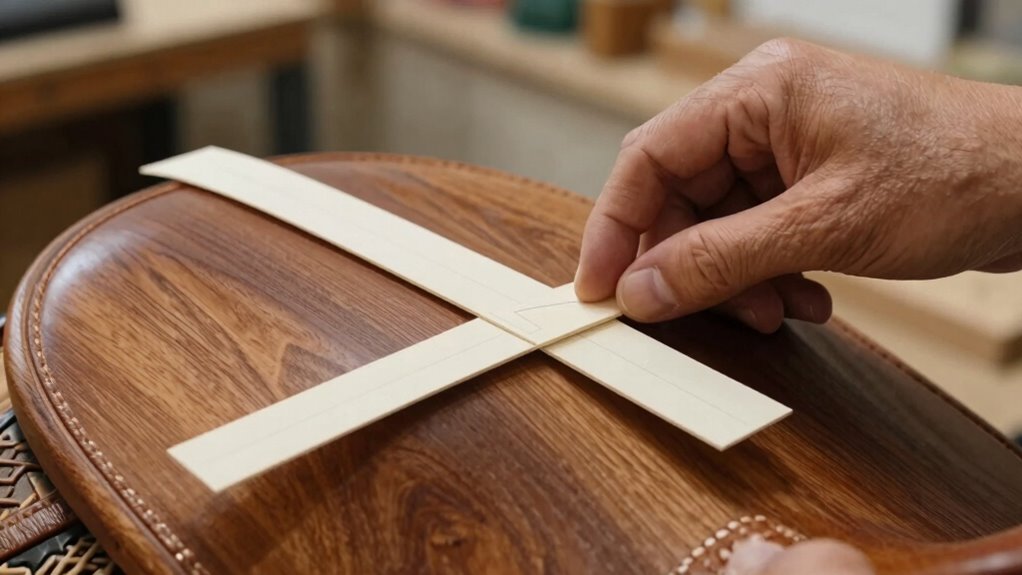
Use of Straight Edges
Using straight edges can markedly improve the consistency and accuracy of your saddle width measurements. They help you maintain straight lines, essential during painting techniques or saddle maintenance. To maximize effectiveness:
- Align the straight edge carefully along the saddle’s edges, ensuring no gaps or overlaps that could skew your reading.
- Use a sharp pencil or fine marker to mark points precisely, avoiding smudging that affects measurement accuracy.
- Regularly check and calibrate your straight edges for warping or damage, maintaining their reliability over time.
Double-Check for Accuracy
Ever wondered why your saddle measurements sometimes vary? Double-checking for accuracy is key to improving your saddle fit and cycling comfort. Small mistakes, like misaligned edges or inconsistent paper placement, can lead to incorrect measurements. Always verify your measurements by repeating the process at least twice. Use a ruler or caliper to confirm your measurements match, and ensure your saddle is positioned correctly before measuring. Keep your setup stable and consistent, avoiding any shifting that could skew results. Remember, even minor errors affect your saddle fit, leading to discomfort or inefficient riding. By taking the extra moment to double-check, you guarantee your measurements are precise, helping you find the perfect saddle width for superior cycling comfort. Consistency is the secret to reliable, effective results.
Troubleshooting Common Issues When Measuring Your Saddle Width
Measuring your saddle width can sometimes be tricky, especially if you encounter unexpected results or obstacles. If your measurements seem off, consider these common issues.
- Ensure your saddle is level and properly positioned; tilt or misalignment can skew results and affect saddle comfort and bike fit.
- Use a firm, consistent pressure when marking or measuring, avoiding slack that can distort the width.
- Double-check the measurement method—small errors in lining up the paper or wall can lead to inaccuracies affecting your saddle choice.
Troubleshooting these issues helps you get precise measurements, leading to a better bike fit and improved saddle comfort. Correct measurement is key to avoiding discomfort and optimizing your riding experience.
Frequently Asked Questions
Can This Method Be Used for All Types of Bike Saddles?
Yes, you can use this method for all types of bike saddles, regardless of saddle material or bike frame. It’s a simple way to measure saddle width accurately, helping you find a comfortable fit. Just keep in mind that different saddle materials might influence how you feel during rides, but the paper-and-wall trick works universally. It’s a quick, effective way to ensure your saddle fits your bike perfectly.
How Often Should I Re-Measure My Saddle Width?
You should re-measure your saddle width every 6 to 12 months, especially if you notice saddle wear or changes in your riding position. A recent study shows that riders who regularly check their saddle fit experience fewer discomfort issues. As your body adapts, your saddle needs might change, so staying updated guarantees comfort and maximum performance. Regular re-measurement helps you find the perfect fit for your riding style.
What Tools Are Necessary Besides Paper and Wall?
Besides paper and a wall, you’ll need a measuring tape to get precise saddle width measurements. A pencil helps mark the paper where your sit bones rest. Use the measuring tape to confirm distances and verify accuracy. Carefully mark the paper with the pencil at the points where your sit bones touch, then compare these marks to determine your saddle width. This simple setup guarantees a comfortable, well-fitted saddle.
Is This Technique Suitable for Ergonomic or Custom Saddles?
Yes, this technique suits ergonomic benefits and custom saddle fit. It helps you accurately measure your ideal saddle width, ensuring maximum comfort and support. By using this simple method, you can identify the perfect fit tailored to your body’s unique shape. This makes it easier to select or customize a saddle that promotes better posture, reduces pressure points, and enhances your riding experience overall.
How Do I Ensure the Paper Stays Flat During Measurement?
To guarantee paper stays flat during measurement, focus on paper stability and wall adhesion. Use a stiff, high-quality paper that resists curling. Press the paper firmly against the wall, ensuring it adheres smoothly without air bubbles or wrinkles. You can temporarily tape the edges to the wall to maintain stability. This simple step guarantees accurate results, making the process reliable for determining the correct saddle width.
Conclusion
Now that you know the paper-and-wall trick, measuring your saddle width becomes simple and accurate. Imagine finally finding a saddle that fits perfectly—like Sarah did, reducing her knee pain and boosting her confidence on every ride. With this quick method, you can avoid costly mistakes and guarantee comfort every time you saddle up. Give it a try, and enjoy the ride with a saddle that truly fits you!