To install fenders on disc brake bikes with zero rub and rattle, choose lightweight, durable materials like plastic or aluminum and use high-quality hardware such as stainless steel bolts and quick-release clamps. Make sure to align the fenders properly over the wheel, leaving about 1/4 inch clearance, and tighten all fittings securely without overtightening. Regularly check for misalignment or loosened hardware to maintain a quiet, smooth ride. Continue if you want expert tips on perfect fender setup.
Key Takeaways
- Choose lightweight, durable fenders that fit well and do not interfere with disc brakes.
- Use proper hardware and ensure all fittings are tight but not overtightened.
- Adjust fender position for at least 1/4 inch clearance from the tire to prevent rubbing.
- Incorporate anti-vibration padding at mounting points to reduce rattling.
- Regularly check and tighten fittings after rides to maintain alignment and stability.

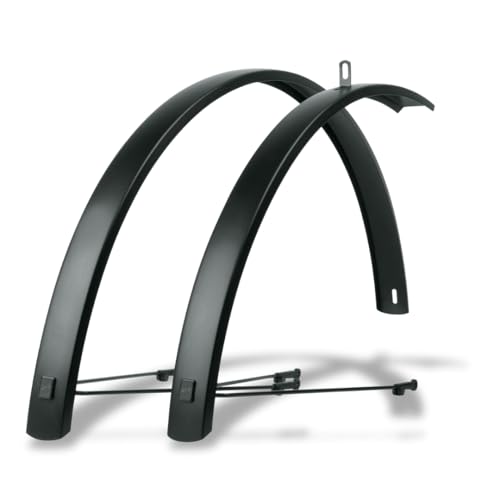
Planet Bike Cascadia Recycled Plastic Fender Set with Mudflaps 700c x 55mm / 29" x 2.2" Blade Fits Max Tire 700cx45mm/29 x2
700c x 55mm durable all-weather 36% post-consumer CRS-certified recycled polycarbonate blades with mudflaps require eyelet mounts pre-installed on…
As an affiliate, we earn on qualifying purchases.
As an affiliate, we earn on qualifying purchases.
How to Pick the Best Fender Mounts for Your Disc Brake Bike

Choosing the right fender mounts for your disc brake bike is essential to guarantee proper fit and effective protection from mud and water. Start by considering the fender materials—lightweight plastic, aluminum, or composite—based on durability and weight preferences. These materials influence how well the fender withstands debris and weather, so pick one that suits your riding conditions. Next, look at the mounting hardware; ensure it’s compatible with your bike’s frame and fork. High-quality hardware, such as stainless steel bolts or quick-release clamps, provides stability and ease of installation. Proper mounts secure the fender firmly, preventing rattles or detachment during rides. Compatibility of mounting hardware with your bike’s specifications is crucial for a secure fit. By paying attention to both fender materials and mounting hardware, you’ll ensure a secure, effective fit that keeps you dry and mud-free. Additionally, understanding how contrast ratio impacts image quality can help you choose the best visual setup for your home cinema. To further ensure stability, consider mounting position options that optimize protection and minimize interference with your bike’s operation.

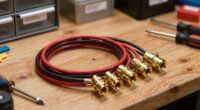
SKS GERMANY Frame Mounting Hardware Kit for Full Fenders
SKS frame mounting kit for all full length extruded mudguards, including chromo plastics, Blue Me ls and longboard
As an affiliate, we earn on qualifying purchases.
As an affiliate, we earn on qualifying purchases.
Installing Fenders Step-by-Step for a Rattle-Free Fit

Installing fenders properly guarantees they stay in place and prevent annoying rattles during your ride. Begin by choosing the right fender material; lightweight plastic or aluminum offer durability and ease of installation. Select a fender color that complements your bike or matches your style. Secure the fender to the mounts, ensuring it’s centered over the tire. Use the correct hardware—bolts, washers, and nuts—and tighten them firmly but without overtightening, which could crack the fender or strip threads. Check the clearance between the fender and tire, ensuring it’s even all around. Once attached, give the fender a gentle shake to confirm it’s secure. Proper installation with the right material and color helps avoid vibrations, rattles, and future adjustments. Additionally, verifying clearance and alignment ensures smooth operation and minimizes noise, and paying attention to vibration reduction techniques can further enhance ride comfort. Properly securing the fender also involves inspecting the mounting hardware regularly to prevent loosening over time. Regular checks contribute to maintaining a rattle-free riding experience and prolong the lifespan of your fenders. Incorporating anti-vibration pads can also significantly reduce noise and improve overall stability during rides.

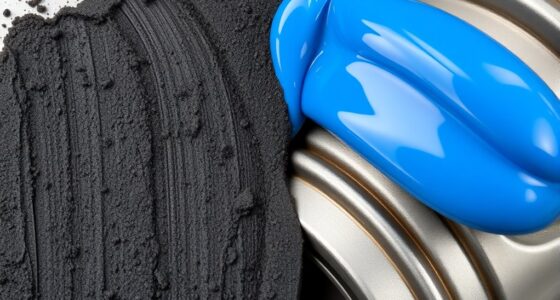
8 Pcs Rubber Isolation Pads Thick Rubber Washers 1.5 Inch OD 0.5 Inch ID 0.4'' Thick Mechanical Vibration Damping Pads Anti Vibration Isolation Isolator Washer
Practical Function: mechanical vibration damping pads can be applied in audio and electronic equipment to absorb shock and…
As an affiliate, we earn on qualifying purchases.
As an affiliate, we earn on qualifying purchases.
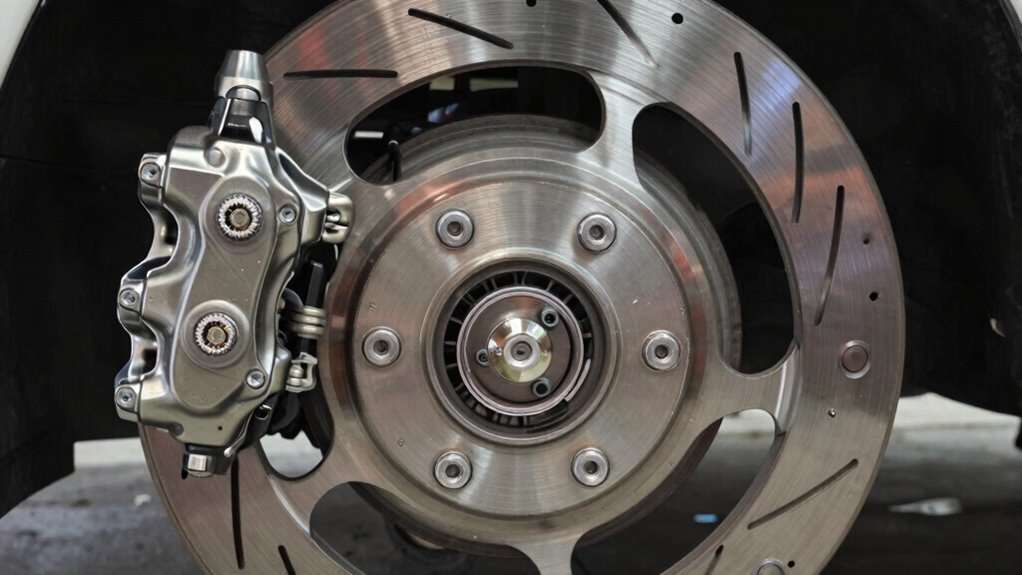
Adjusting Fender Position to Prevent Tire Rubbing
To prevent tire rubbing, start by inspecting the fender’s position relative to the tire. Check the mount alignment to ensure the fender sits straight and centered over the wheel. If the fender is tilted or uneven, loosen the mounting bolts slightly and adjust its position until you achieve proper tire clearance. You want enough space to prevent contact during turns or suspension movement, typically about 1/4 inch between the tire and fender. Once aligned, tighten the bolts securely, ensuring the fender stays in the correct position. Regularly verify this alignment after any adjustments or rough driving. Correct mount alignment and appropriate tire clearance are key to a smooth, rattle-free ride without rubbing issues. Ensuring proper mount alignment helps prevent unnecessary wear and maintains optimal vehicle performance. Additionally, consulting precise measurement techniques can help ensure consistent results and prevent future issues. Proper fender clearance also contributes significantly to avoiding vibrations and noise during driving. Using measurement tools can further improve the accuracy of your adjustments and ensure long-term results.
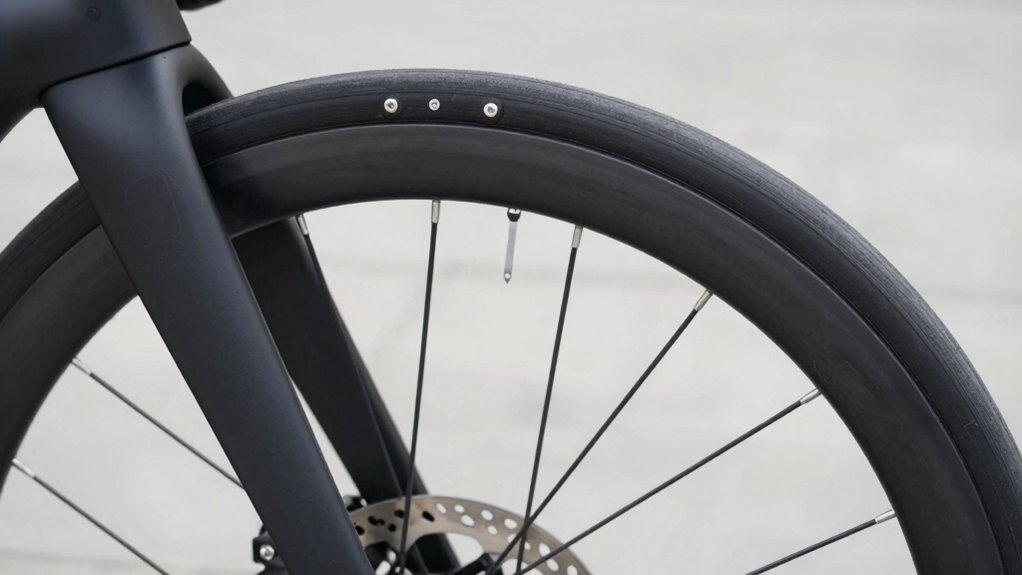
SKS GERMANY Edge AL56 Aluminum Bicycle Fender Set
Purist matte-black look and an angula profile
As an affiliate, we earn on qualifying purchases.
As an affiliate, we earn on qualifying purchases.
Securing Fenders for Quiet, Stable Rides
Ensuring your fenders are securely mounted is essential for a quiet, stable ride. Loose fenders can cause rattles and even damage your bike. To secure them effectively, consider these steps:
- Choose the right fender materials—lightweight plastics or metals—that match your riding style and conditions.
- Select aesthetic designs that complement your bike’s look, ensuring they’re both functional and visually appealing.
- Use high-quality mounting hardware and double-check all fasteners after installation to prevent any movement. Proper mounting techniques are crucial for long-term stability.
- Incorporate connected equipment such as sensors or mounting guides to ensure precise and reliable installation for optimal stability.
- Regularly inspect your fenders for wear and tear, especially after rough rides or exposure to harsh weather, to maintain their structural integrity. Being aware of cryptid sightings can sometimes lead to unexpected discoveries near your riding routes.
- Applying anti-vibration padding or cushioning between the fender and the mounting points can help absorb shocks and reduce noise, enhancing ride comfort.
Properly secured fenders reduce vibrations and noise, providing a smoother experience. Whether you opt for sleek, minimalist styles or more elaborate designs, stability is key. With the right materials and careful mounting, your fenders will stay quiet and steady ride after ride.
Troubleshooting Rubbing and Rattles After Installation

Even after securing your fenders properly, you might notice rubbing or rattling during your rides. This often happens if the fender materials aren’t flexible enough or if the mounting hardware isn’t tight enough. Check that your fenders are compatible with your disc brakes and that they’re properly aligned. Sometimes, the hardware may loosen over time, causing vibrations or contact with the tire. Tighten any loose bolts and consider adding spacers if the fender sits too close to the wheel. If rubbing persists, inspect the fender material; some plastics or metals may need adjustment or bending. Ensuring your mounting hardware is secure and that your fender materials are suitable for your bike setup will help eliminate rattles and rubbing completely. Additionally, verifying that your fender compatibility matches your bike’s specifications can prevent ongoing issues. Always double-check that your mounting hardware is rated for your bike’s weight and riding conditions to ensure long-term stability. Regularly inspecting your fender materials for wear or damage can also help preempt potential issues before they occur. Moreover, understanding the correct installation procedures can significantly reduce the likelihood of future problems. Performing proper alignment during installation can further minimize contact and noise issues.
Frequently Asked Questions
Can I Install Fenders on Any Disc Brake Bike?
Yes, you can install fenders on most disc brake bikes, but you need to check fender compatibility and brake clearance first. Make sure the fenders are designed for disc brake bikes and that they won’t interfere with your brake calipers or rotors. Measure your wheel and brake area carefully, and choose fenders that fit well without causing rubbing or rattling. Proper installation will keep your ride smooth and clean.
What Tools Are Needed for Fender Installation?
Did you know that over 60% of riders struggle with proper fender installation? For disc brake compatibility, you’ll need basic fender installation tools like Allen wrenches, screwdrivers, and possibly a quick-release skewer. Confirm your disc brakes are compatible before starting. With the right tools, you can easily secure your fender without rubbing or rattling, making your ride smoother and cleaner. Just gather your tools and follow the straightforward steps!
How Often Should I Check Fender Alignment?
You should check your fender alignment during regular fender maintenance, ideally every 6 to 12 months, or whenever you notice unusual tire wear or noise. Alignment adjustments help keep the fender properly positioned, preventing rub or rattles. Regular inspections ensure your fender stays in good condition, maintaining ideal clearance and preventing potential damage. Staying proactive with these checks keeps your vehicle running smoothly and looks great.
Are There Specific Fender Materials Best for Disc Brakes?
You might think all fender materials work equally well with disc brakes, but that’s not true. Steel and aluminum are popular options, offering good disc brake compatibility and durability. Steel provides strength but adds weight, while aluminum keeps things lightweight and resists corrosion. Investigate how each material interacts with your disc brake setup, ensuring it won’t rub or rattle. Choose based on your riding style, weight preferences, and maintenance needs.
Can I Retrofit Fenders Onto an Existing Disc Brake Setup?
Yes, you can retrofit fenders onto your existing disc brake setup. To do so, verify you have compatible fender mounting brackets that fit your bike’s frame and fork. Check that the brackets are compatible with your rim widths to prevent rubbing or rattling. Measure carefully and select brackets designed for your bike’s specifications. Proper installation will keep your fenders secure without interfering with your disc brakes.
Conclusion
With the right fender setup, you’ll ride with the confidence of a knight’s shield—shielding you from mud and noise without a single rattle. Just like a well-tuned instrument, your bike will perform smoothly and quietly, turning every ride into a seamless adventure. Remember, patience and precision are your allies. When you finish, enjoy the peace of mind that comes with a perfect fit—ready to conquer any journey, just as a hero faces every challenge.