
When you face common bike problems like flat tires, broken chains, or squeaky brakes, quick fixes can save your ride. Start by patching flat tires or replacing the inner tube, then clean and lubricate your chain. For squeaky brakes, make sure pads are aligned and replace them if worn. Don't forget to check handlebar tightness and pedal screws for safety. Each issue has simple solutions, and there's more you can learn to tackle bike troubles efficiently.
Key Takeaways
- For flat tires, inspect the inner tube for damage, patch small holes, and replace the tube if necessary before reinstalling the tire.
- Regularly clean and lubricate your chain to prevent wear and ensure smooth gear shifting; replace the chain if stretched beyond limits.
- Address squeaky brakes by cleaning brake pads, checking alignment, and ensuring proper cable tension for effective stopping power.
- Tighten loose handlebars by checking stem bolts and inspecting the headset; ensure handlebars are secure for better ride control.
- Periodically check pedals for looseness; use a pedal wrench to tighten and inspect threads for damage to maintain safety.
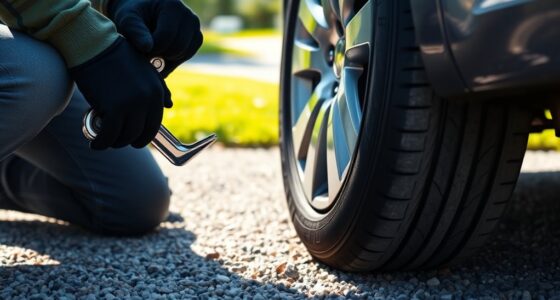
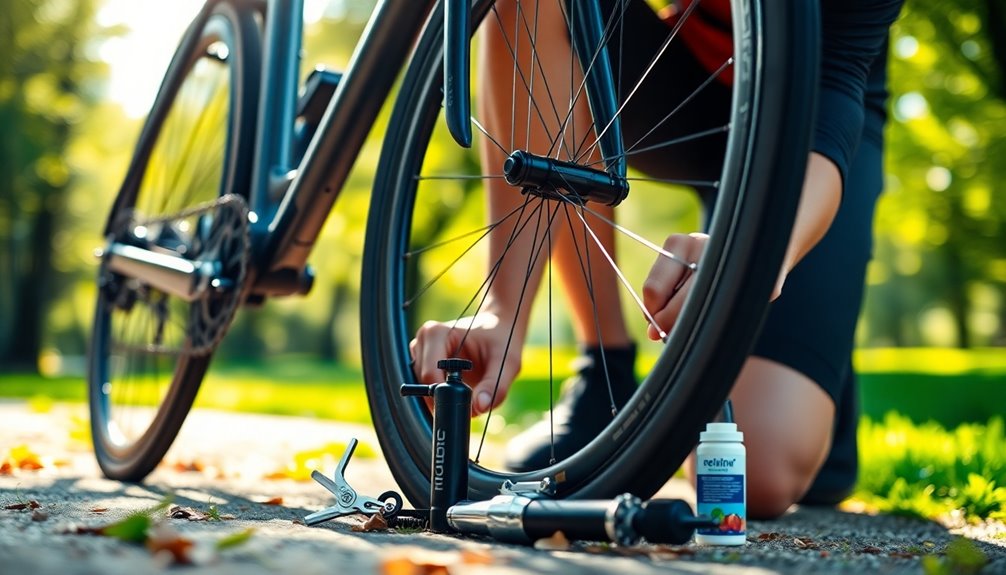
Flat Tires: Quick Repair Techniques
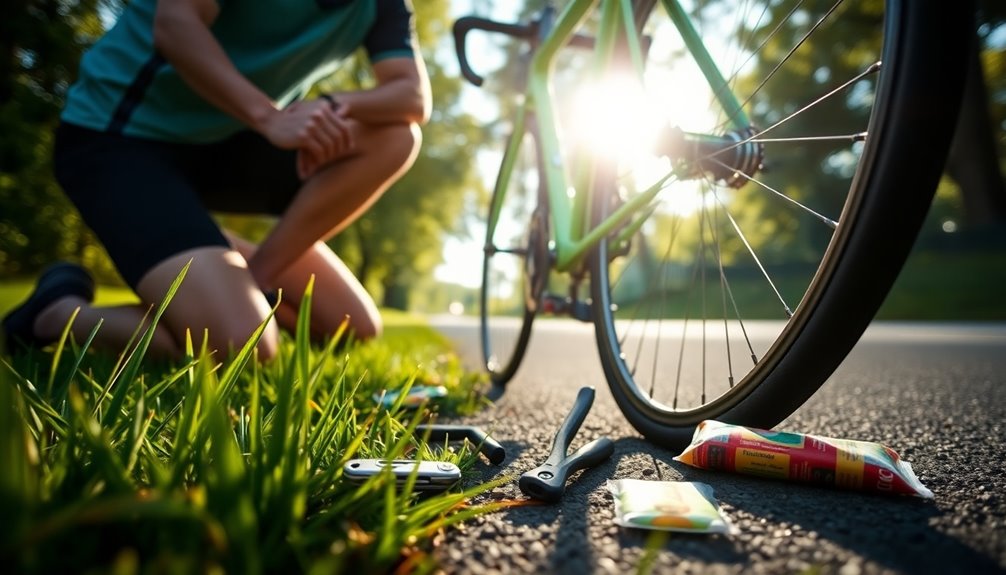
Flat tires can be a real hassle, but fixing them doesn't have to be complicated. Start by removing the wheel from your bike and deflating the tire completely.
Grab your tire levers to carefully pry the tire away from the rim. Once you've done that, inspect the inner tube for any punctures or damage. If you spot a small hole, use your repair kit to patch it up.
Carefully use tire levers to remove the tire, then inspect the inner tube for punctures before patching any small holes.
However, if the damage is extensive, you'll need to replace the tube with a new one. Before reinstalling the tire, check for sharp objects or debris that could cause future flats.
Finally, seat the tire evenly on the rim, inflate it to the recommended pressure, and secure the wheel back onto your bike.
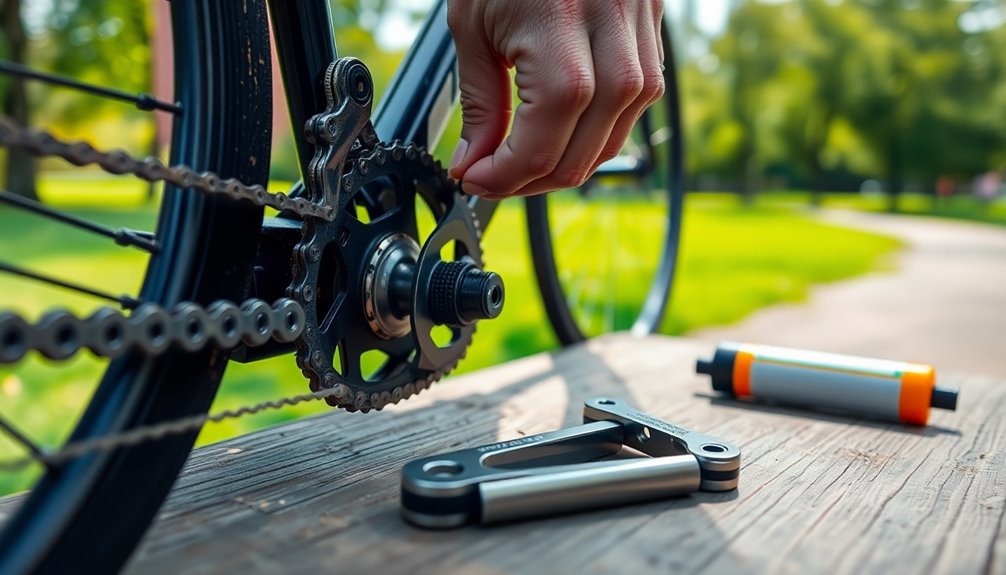
Broken Chains: Essential Fixes
When your bike chain breaks, the first step is to assess the damage to see if you can remove a single link or if you need a full replacement.
Grab your chain tool to push out the damaged link's pin, then reconnect the chain using a quick link or the original pin.
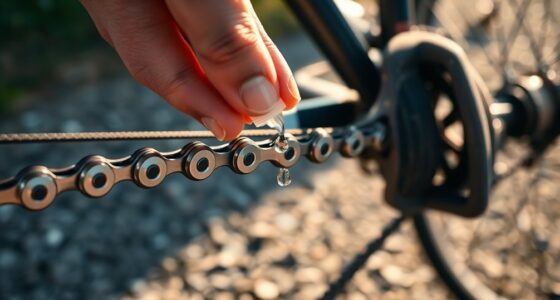
Don't forget to lubricate the chain afterward to keep it running smoothly!
Assessing Chain Damage
A damaged bike chain can derail your ride, making it essential to assess any signs of wear or breakage. Start by inspecting the chain closely for broken links or stiff sections.
If you notice any issues, follow these steps:
- Check to make sure there are no broken links; if there are, it's best to replace the whole chain.
- Use a chain tool to remove any damaged links and reconnect the chain securely with a quick link or original pin.
- After repairs, apply chain lubricant to reduce friction, but wipe off excess to prevent dirt buildup.
Regularly checking your chain every 1,000 miles helps maintain peak performance, so don't hesitate to consult a bike mechanic if needed!
Using Chain Tool
After evaluating your chain for damage, knowing how to use a chain tool effectively can save your ride.
Start by placing the damaged chain in the tool and aligning the chain pin with the link you want to remove. Push the pin out carefully, ensuring you don't damage surrounding links.
Always carry a quick link or a replacement pin in your repair kit; these items allow for a speedy reassembly after a break.
Before reattaching, make sure to lubricate your chain properly, as this reduces wear and future breaks.
Regularly inspect your chain for wear signs and replace it every 1000 miles to prevent failures.
Familiarize yourself with connecting a chain correctly to avoid safety hazards.
Reconnecting Chain Links
Reconnecting chain links is an essential skill for any cyclist dealing with a broken chain. Here's a quick guide to help you through the process:
- Use a chain tool to remove the damaged link and guarantee you have the right quick link or pin for your chain type.
- Align the chain properly, threading it through the derailleur and around the cassette before reconnecting the links.
- Insert the quick link or pin and use the chain tool to crimp it securely, making sure the chain has the correct tension.
Finally, don't forget to lubricate the chain after reconnecting links. This reduces friction and enhances performance, ensuring your rides are smooth and enjoyable.
Regularly check your chain for wear to prevent future issues.
Squeaky Brakes: Troubleshooting Steps
Squeaky brakes can be an annoying distraction during your ride, but addressing the issue is often straightforward.
Start by cleaning your brake pads and the braking surface; contamination can lead to those irritating sounds.
Next, check the alignment of your brake pads with the rim. If they're misaligned, adjust the brake calipers to guarantee proper contact.
Inspect your brake pads for wear; if they're excessively worn, it's time to replace them for better performance.
Don't forget to lubricate the pivot points on the brake arms, but avoid getting any lubricant on the brake pads or rims.
Regular maintenance, including cleaning and adjusting these components, will help prevent squeaky brakes and enhance your overall braking efficiency.
Gear Shifting Issues: Common Solutions
When you notice your bike struggling to shift gears smoothly, it can be frustrating, but pinpointing the problem is often manageable.
Start by checking these key areas:
- Cable Tension: Inspect for cable stretch or fraying. Adjust the cable tension using the barrel adjuster to improve gear shifting.
- Derailleur Alignment: Confirm the derailleur is parallel to the sprocket and that limit screws are set correctly to prevent the chain from slipping off the gears.
- Worn Chain: Examine the condition of the chain and cogs. A worn chain can skip gears, so replace it every 1000 miles to maintain smooth performance.
Regular maintenance can keep your bike shifting smoothly, guaranteeing a better ride every time.
Loose or Wobbly Handlebars: Safety Adjustments
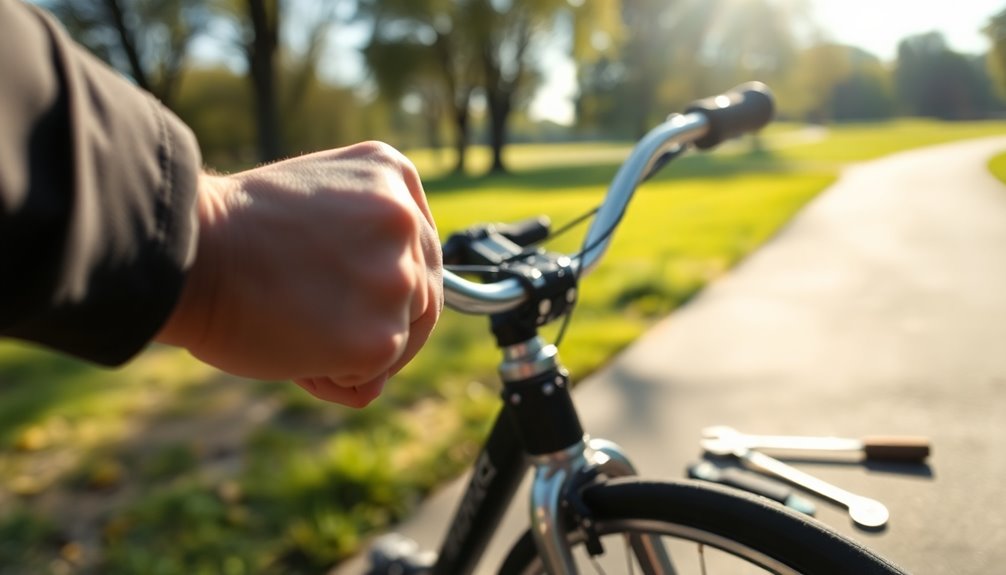
If you notice your handlebars feeling loose or wobbly, it's crucial to address the issue promptly, as this can greatly impact your bike's safety and control.
Start by holding the front wheel steady and wiggling the handlebars; any movement indicates they need adjustments.
Check the stem bolts and verify they're tightened to the manufacturer's recommended torque specifications to avoid over-tightening or under-tightening.
If your handlebars are still loose after tightening, inspect the headset for wear or damage, as it might require replacement or additional adjustments.
Regular maintenance checks on your handlebars and stem components can prevent safety issues and enhance overall riding stability.
Don't ignore these crucial safety adjustments for a smoother, safer ride.
Stuck Seat Post: Simple Remedies
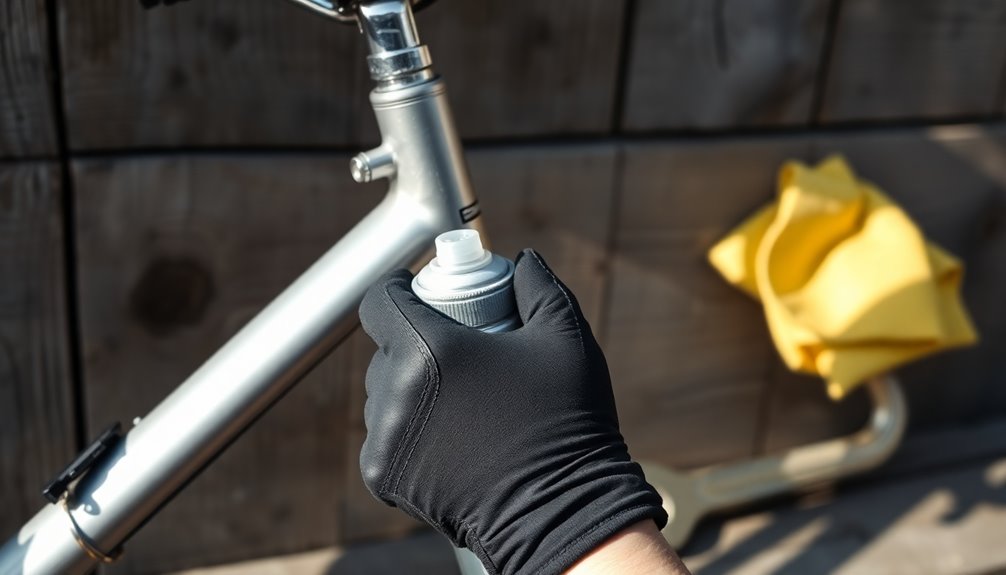
If your seat post is stuck, start by loosening the seat clamp to relieve some pressure.
Next, apply penetrating oil around the post where it enters the frame and let it work its magic.
This combination often makes it easier to free a stubborn seat post.
Apply Penetrating Oil
A stuck seat post can be a frustrating issue for cyclists, but applying penetrating oil is a simple and effective remedy. Follow these steps to help loosen it:
- Loosen the seat clamp to relieve pressure on the post.
- Apply penetrating oil directly where the seat post enters the frame and let it sit for 10-15 minutes.
- Gently twist and pull the seat post while applying light upward force. If it's still stuck, consider repeating the oil application and gently tapping around the post with a rubber mallet.
Regularly maintaining and lubricating your seat post can help prevent it from seizing in the future, making adjustments and removal much easier.
Don't let a stuck seat post ruin your ride!
Adjust Seat Clamp
Adjusting the seat clamp is an essential step when dealing with a stuck seat post. Start by loosening the seat clamp bolt to relieve pressure, which may allow the post to move freely. If it remains stuck, apply penetrating oil around the post to combat corrosion. Gently twist and pull the seat post, applying upward force while being cautious not to damage it. If it's still stuck after this, let the oil sit for a few hours before trying again.
| Step | Action | Tips |
|---|---|---|
| 1. Loosen Bolt | Relieve pressure on the seat post | Use a proper-sized tool |
| 2. Apply Oil | Help break corrosion or debris | Let it sit for a few hours |
| 3. Twist & Pull | Dislodge the post carefully | Avoid excessive force |
| 4. Regular Check | Inspect and clean seat post & clamp | Prevent future sticking |
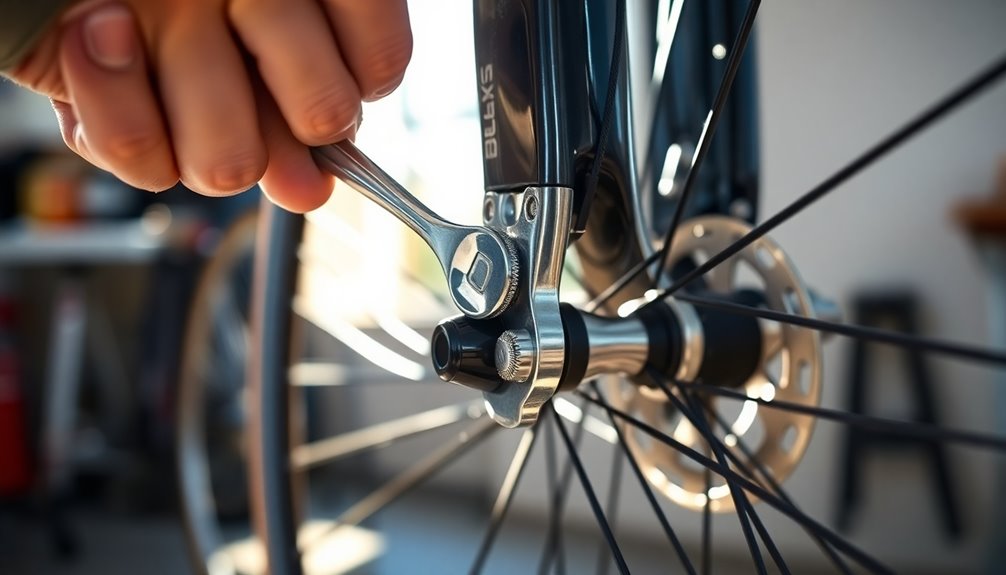
Loose Pedals: Tightening Tips
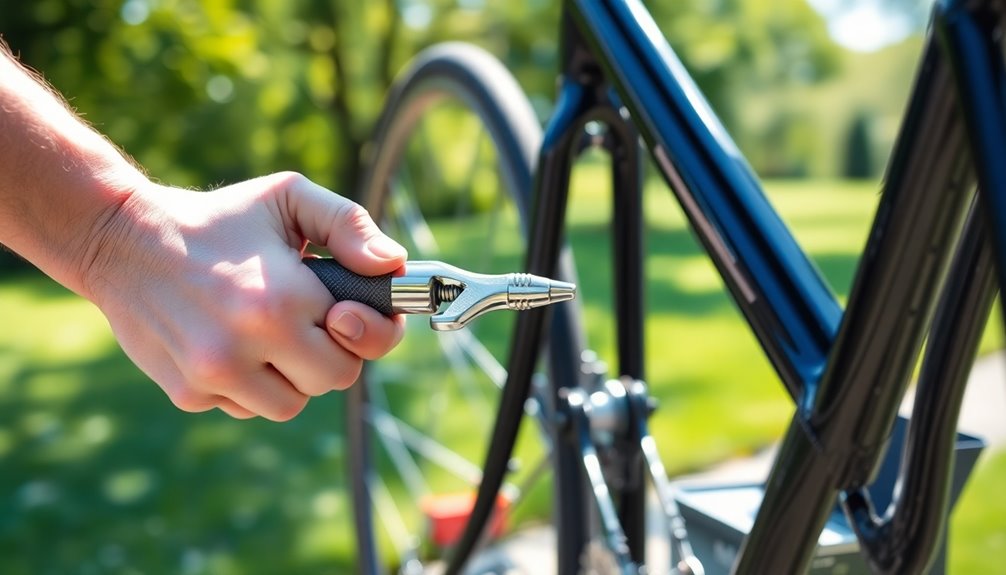
Loose pedals can pose a serious safety risk while riding, so it's essential to address them promptly.
Follow these tips to keep your pedals secure and guarantee smooth bicycle maintenance:
- Tighten with a Pedal Wrench: Use a pedal wrench or Allen wrench to tighten the pedals. Turn clockwise for the right side and counterclockwise for the left side.
- Inspect Threads: Check the threads on both the pedal and crank arms for damage. If they're stripped, consider using a thread repair kit or replacing the crank arm.
- Grease for Easy Removal: Apply a small amount of grease to the pedal threads before installation to prevent seizing and facilitate easier removal in the future.
Regularly checking for loose pedals helps maintain your bike's safety and performance.
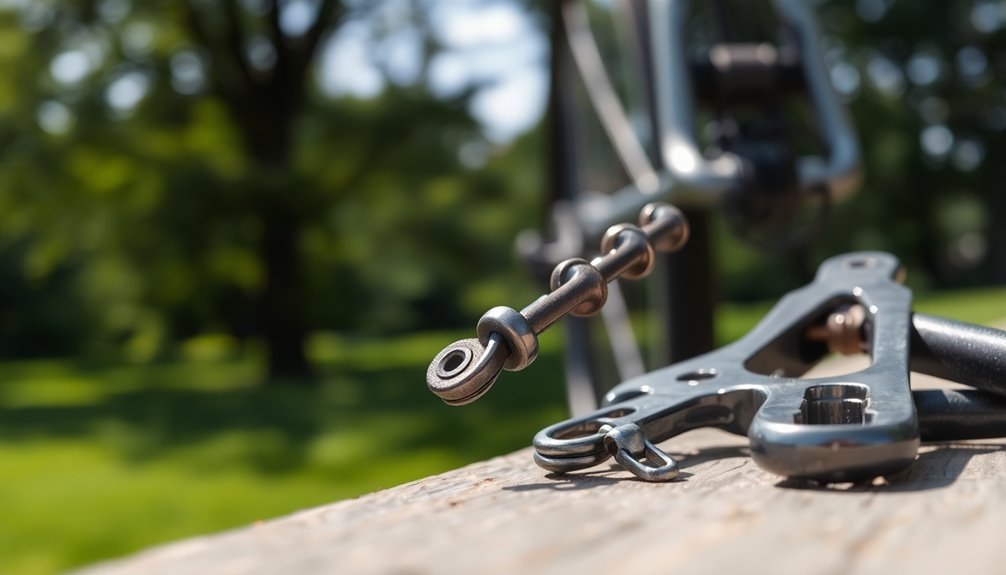
Wheel Maintenance: Truing and Alignment
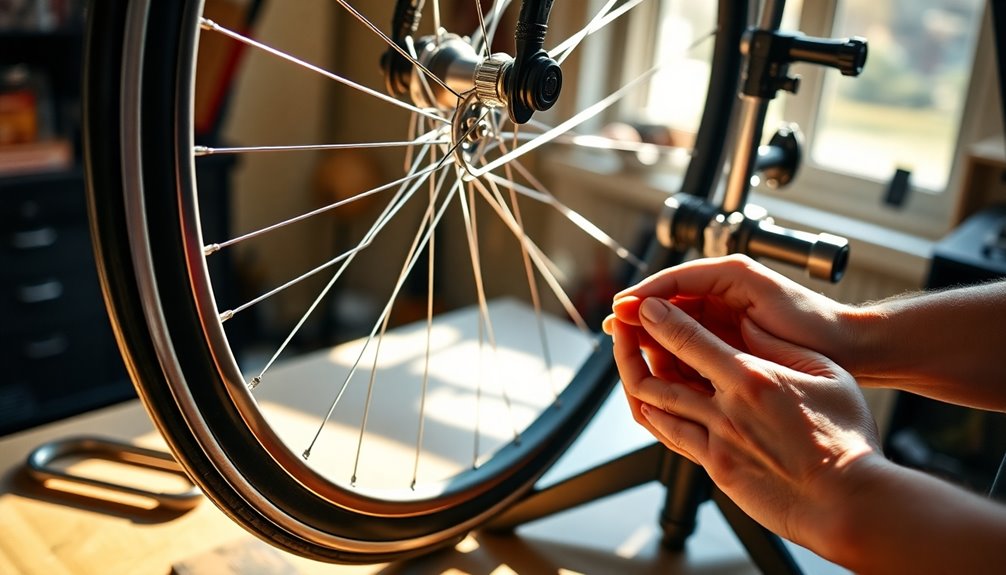
Maintaining your bike's wheels is essential for a smooth and safe ride. To check for wheel warping, spin the wheel and watch for any spots that rub against the brake pads—this indicates a need for truing adjustments.
Grab a spoke wrench to tighten or loosen spokes on the bulging side, correcting the misalignment and achieving a true wheel. Regularly inspect the skewer springs, ensuring the narrow side is next to the hub for proper wheel centering.
Misalignment can often be avoided by reinstalling the wheel correctly in the dropouts after maintenance. By performing routine wheel maintenance, including checking spoke tension and truing, you can enhance your ride quality and extend the lifespan of your wheels.
Frequently Asked Questions
What Is the Most Common Bike Repair?
The most common bike repair you'll encounter is fixing flat tires. They can happen from sharp objects, punctures, or just wear and tear.
To be prepared, you should always carry a spare tube and a patch kit. When you experience a flat, you'll need to remove the wheel, replace the tube, or patch it up.
Regularly checking your tires can help prevent flats and keep your rides smooth and enjoyable.
Why Does My Bike Skip When I Pedal?
Did you know that around 70% of bike riders experience chain skipping at some point? Your bike skips when you pedal mainly due to improper chain tension or worn components.
A loose chain can easily slip under load, while stretched cables might prevent smooth gear shifts. Regular maintenance, like cleaning and lubricating the chain, is essential.
If you've ridden over 2,000 miles, check your chainrings and cogs for wear to keep everything running smoothly.
What Are Some Problems With Biking to Work?
Biking to work can come with several challenges. You might deal with flat tires from sharp objects or low pressure, and mechanical failures like broken chains can throw off your ride.
Weather conditions, including rain or snow, can reduce visibility and increase risks. Plus, time constraints can stress you out if unexpected repairs arise.
Don't forget about secure bike storage; investing in a good lock could save you from theft worries.
Why Is My Bike Slow and Hard to Pedal?
If your bike feels slow and hard to pedal, check a few key areas.
Start with your tire pressure; under-inflated tires create extra resistance.
Next, inspect the drivetrain for any dry or rusty components—lubricating the chain can make a big difference.
Also, verify your brakes aren't rubbing against the rims, as this can slow you down.
Finally, evaluate your riding position; an improper fit can hinder your pedaling efficiency.
Conclusion
In summary, tackling common bike problems isn't as intimidating as it seems. With a little know-how, you can handle most issues right at home. Did you know that nearly 80% of cyclists have experienced a flat tire at least once? Keeping your bike in top shape not only enhances your riding experience but also boosts safety. So the next time you hit a snag, remember these quick fixes and get back on the road with confidence!