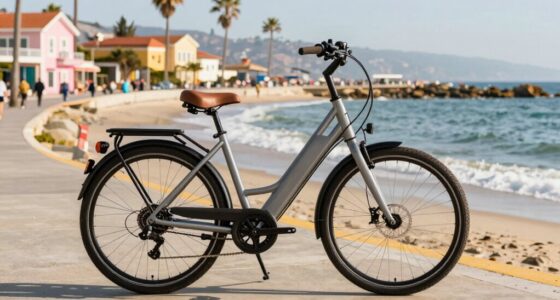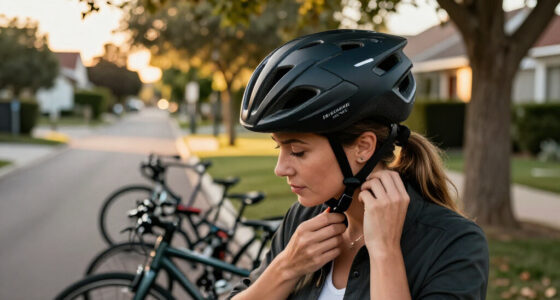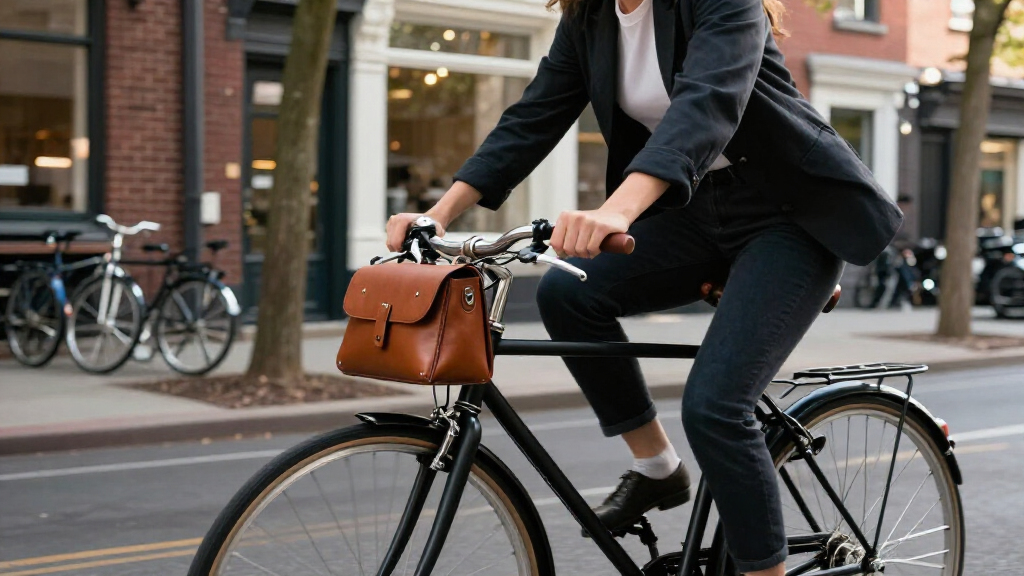
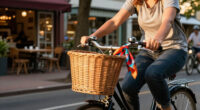
Choose and fit bike accessories that give your bicycle a considered look while staying useful and safe. This guide is for beginner riders who want to update a commuter, city, or leisure bike without buying parts that do not fit. Set aside 45-90 minutes to check your bike, compare accessories, and fit the items that need no specialist tools.

Get your wardrobe favorites delivered free with Prime
- Fast, free delivery on millions of items
- Prime Video, Amazon Music and more included
- Member-only deals all year

Waterproof LED Bicycle Spoke Lights, 2-Pack
- ✔ Brand: Dorras
- ✔ Quantity: 2 lights
- ✔ LED count: 14 RGB LEDs

SODPE 8-Piece Bicycle Accessory Set
- ✔ Brand: SODPE
- ✔ Included items: Lights, USB cables, bottle holder, bag, pump, mirror, combination lock, and bell
- ✔ Number of pieces: 8

EMPATHECH Rubber Duck Bike Bell with Stable Clamp and Two Helmet Propellers
- ✔ Brand: EMPATHECH
- ✔ Model: ET-RD-PH-BS
- ✔ Mounting type: Handlebar mount with buckle-style clamp
Difficulty: Beginner | Time: 45-90 minutes
What You’ll Need
Tools & Materials:
- Your bicycle, clean enough to inspect its frame and fittings
- Tape measure or ruler
- Phone or camera for reference photos
- Basic bicycle tool kit, such as the hex keys specified by your bike or accessory maker
- Accessories under consideration and their fitting instructions
Knowledge:
- Ability to identify your bicycle’s wheel size and basic riding setup
- Willingness to check product compatibility before purchase
- Basic familiarity with tightening a bolt without forcing it
Use your bike manufacturer’s manual and each accessory’s fitting instructions as the authority for compatibility and torque. If you ride at night, plan for legally compliant lights and reflectors before decorative additions. Do not remove or cover safety equipment.
Waterproof LED Bicycle Spoke Lights, 2-Pack
For riders who want their bike to make a visible impression after dark, the Dorras spoke lights put the wheel itself at the center of the look. Fourteen RGB LEDs create 30 changing patterns, and the display becomes more complete as riding speed rises. That makes these a more expressive choice than the SODPE set, whose lights focus on three functional modes rather than wheel patterns.The motion-sensor automatic mode can reduce the need to switch the lights on and off manually, while a manual mode gives us another way to control them. Their IP66 rating and tool-free installation also make the pair a convenient option for riders who want a weather-resistant accessory without a complicated fitting process. The stated automatic shutoff is 30 seconds after motion stops.There is a clear speed tradeoff: patterns may look incomplete below 13 mph, so riders on slower routes may not see the full effect consistently. The lights are designed for night visibility, but the description does not present them as a substitute for a complete lighting setup. Compared with the duck bell, they make a much stronger visual statement at a distance; compared with SODPE, they offer a more distinctive style but cover fewer practical needs.
Pros:
- Fourteen RGB LEDs display 30 changing patterns.
- Motion-sensor automatic and manual control modes.
- IP66-rated design for rainy conditions.
- Tool-free installation and automatic shutoff after motion stops.
Cons:
- Patterns may appear incomplete below 13 mph.
- Not intended to be submerged in water.
Best for: Riders who want colorful, moving wheel patterns as a prominent night-riding accessory.
Not ideal for: Riders who usually travel below 13 mph, want a complete accessory kit, or need lights designed for submersion.
Bottom line: We rank these first for riders who want a distinctive wheel display with night-riding utility and can accept speed-dependent patterns.
“We rank these first for riders who want a distinctive wheel display with night-riding utility and can accept speed-dependent patterns.”
SODPE 8-Piece Bicycle Accessory Set
Where the Dorras pair gives us one standout visual feature, the SODPE set takes a practical, all-in-one approach. Its eight pieces include front and rear lights, a bottle holder, a frame bag, a portable pump, a rearview mirror, a combination lock, and an aluminum bell. That breadth makes it the easiest pick here for someone building out a bike with several useful accessories at once.The lights offer three modes and USB recharging, and the frame bag uses waterproof polyester, a double zipper, and Velcro straps. Those details make the set more versatile than the duck bell, which adds personality but does not provide storage, inflation, or a full pair of lights. The bottle holder is described as fitting most standard and oversized bottles, so we should still check our bottle before relying on that part of the kit.Its style is more about a coordinated collection of gear than a dramatic visual flourish. That can suit everyday riders who prefer practical additions, but the set may feel less distinctive than the Dorras wheel display. USB charging adds a maintenance step, and the product description gives no guarantee that every included component will match a particular bike or riding setup. We should choose this set for coverage, not because every piece is certain to be a perfect fit.
Pros:
- Combines eight useful accessory types in one set.
- Front and rear lights have three modes and USB charging.
- Frame bag has a double zipper and Velcro mounting straps.
- Includes a portable pump for on-the-go inflation.
Cons:
- The lights require USB charging.
- Bottle-holder compatibility may vary with bottle size.
Best for: Riders setting up a bike who want lights, storage, a pump, and several other common accessories together.
Not ideal for: Riders who already own most essentials, want one highly distinctive style feature, or prefer lights that do not need USB charging.
Bottom line: We recommend this set when broad everyday utility matters more than a single striking design feature.
“We recommend this set when broad everyday utility matters more than a single striking design feature.”
EMPATHECH Rubber Duck Bike Bell with Stable Clamp and Two Helmet Propellers
The EMPATHECH duck bell is the lighthearted pick in this lineup. A small duck wears a propeller helmet, and a second propeller is included for the rider’s helmet. Its black shark color option gives the decoration a different look from a conventional bright yellow duck, while the buckle-style clamp is designed to hold it on a handlebar.Pinching the duck’s tail produces a 48-decibel squeak, which gives this novelty a signaling function as well as a decorative one. The product can also be mounted on scooters, strollers, wheelchairs, and golf carts, so it has more placement flexibility than either the Dorras lights or the SODPE bike-focused kit. Still, the description frames the sound as suitable for casual situations, so we should not choose it as our only signaling device where a conventional bell is needed.Compared with the other two picks, this one contributes the most personality per accessory but the least broad riding utility. The SODPE set equips a bike for several practical needs, and the Dorras lights add conspicuous visual detail; the duck adds a small focal point close to the handlebars. Assembly is required, and the included propellers and clamp mean there are a few pieces to fit before the look is complete. It makes sense for riders who enjoy novelty, not for anyone seeking a minimal, understated setup.
Pros:
- Includes two spinning helmet propellers.
- Buckle-style clamp is designed to secure the duck to a handlebar.
- Can also mount on scooters, strollers, wheelchairs, and golf carts.
- Tail produces a 48-decibel squeak.
Cons:
- Assembly is required.
- The squeak is described for casual situations.
- Adds decoration but does not provide lights, storage, or repair gear.
Best for: Riders who want a playful handlebar decoration with a casual squeak and a matching helmet detail.
Not ideal for: Riders who prefer understated gear, need a conventional bell for regular signaling, or want a multi-purpose accessory kit.
Bottom line: We choose this for playful character and flexible mounting, while treating its squeak as a casual feature rather than a full signaling solution.
“We choose this for playful character and flexible mounting, while treating its squeak as a casual feature rather than a full signaling solution.”
As an Amazon Associate we earn from qualifying purchases.
Before You Start
Decide what your bike needs before choosing a look. A commuter may benefit from lights, a bell, a lock, and weather protection; a leisure bike may need only a comfortable grip or a small bag. Set a budget and pick one visual direction, such as a restrained neutral palette with one accent color. Check your bike’s frame, handlebar, seatpost, rack mounts, and existing cables for space. Photograph the current setup so you can compare placement and avoid covering labels or reflectors.
Check local rules for lights and reflectors, and choose accessories designed for bicycle use. Avoid anything that can catch in spokes, interfere with steering or braking, obscure your view, or shift while riding. If a fit requires cutting, drilling, or altering a structural part, ask a qualified bike mechanic.
Step-by-Step Instructions
Step 1: Define the look and riding needs
List where and when you ride, what you carry, and what feels uncomfortable or inconvenient. Choose a simple palette of two or three colors that works with your frame. Select a finish that suits the bike’s existing details, such as matte, polished metal, or a single bright accent. Prioritize useful pieces first: visibility for low-light rides, a bell for shared paths, carrying capacity for errands, or grips for comfort.
Tip:Use one accent color across small details, such as a bell and bottle cage, instead of adding several competing colors.
Check: You can name the riding problem each planned accessory solves and describe a consistent color or finish direction.
Step 2: Record your bicycle’s fit details
Read the bike manual or look for markings on the frame, tires, seatpost, and existing components. Note wheel and tire size, handlebar style and diameter if listed, seatpost diameter if listed, and whether the frame has rack or fender mounts. Measure available space where you plan to attach a bag, bottle cage, or light. Take clear photos of the intended mounting points and any nearby cables, brakes, or moving parts.
Tip:Do not guess a clamp diameter from appearance. Check the bike or component specifications, or ask a bike shop to measure it.
Check: You have a short list of specifications and photos to compare with accessory listings.
Step 3: Choose accessories that fit the bike
Compare each product’s mounting method and stated size range with your notes. Check that lights attach securely to your handlebar, seatpost, or rack; that bags clear your legs, wheels, and cables; and that fenders fit your tire width and available frame space. Confirm a bell can be reached while keeping a hand on the grip. For grips, check handlebar type and length. Choose materials that suit the weather and care you can provide, such as washable fabric or corrosion-resistant hardware for frequent rain.
Tip:When a listing omits a measurement or compatibility detail, contact the maker or retailer before buying.
Check: Each selected item has a confirmed mounting location, compatible size, and a clear purpose.
Step 4: Plan a balanced accessory set
Lay out your shortlisted items together, or place product images side by side. Check that the colors and finishes work as a group and that the visual weight feels balanced. Keep the handlebar clear enough for comfortable hand positions and controls. Avoid filling every available frame space: a few coordinated items usually look more intentional and are easier to maintain. Keep required reflectors and lights visible in their planned positions.
Tip:Use removable accents, such as a small frame strap or bell, to add color without permanent changes.
Check: The set looks coordinated, leaves controls accessible, and preserves all required safety equipment.
Step 5: Fit accessories in a safe order
Park the bike on stable ground and follow each product’s instructions. Install structural or frame-mounted items first, then bags and smaller accessories. Route straps and cables away from the wheels, chain, brakes, and steering. Tighten fasteners to the maker’s specified torque when provided; do not overtighten clamps or use a tool that does not fit correctly. For lights, set the beam according to the instructions so it helps you see without shining directly into other road users’ eyes.
Tip:Stop if an item requires force, blocks a control, or cannot be secured as instructed. Recheck compatibility or ask a mechanic.
Check: Every accessory is firmly mounted, moves as intended, and does not rub, obstruct a control, or touch a wheel.
Step 6: Check controls and visibility
Stand beside the bike and turn the handlebar fully left and right. Squeeze both brakes and shift through the gears while stationary. Check that accessories do not snag cables, cover reflectors, block lights, or stop you from reaching the bell. Sit on the bike and test your usual hand positions, visibility, and access to any mounted bag or bottle. Remove or reposition any item that gets in the way.
Tip:Do not test new parts in traffic. Resolve any interference while the bike is stationary.
Check: Steering, braking, shifting, and access to controls work normally, with required safety equipment visible.
Step 7: Take a short test ride and recheck
Ride slowly in a quiet, safe area for a few minutes. Listen for rattling, watch for shifting bags, and check that the bike handles and brakes as expected. Stop and retighten or reposition accessories only as their instructions allow. After the ride, inspect all mounts again. Keep spare straps or the supplied fitting parts together with your bike tools.
Tip:Recheck fasteners after the first ride and at the interval recommended by the accessory maker.
Check: The bike rides normally, accessories stay in place, and no item rattles, rubs, or interferes with controls.
Common Mistakes to Avoid
- Buying an accessory based on appearance without checking its mounting size. — Compare the product’s dimensions and compatibility notes with your bike specifications before ordering; ask the maker when details are missing.
- Adding several accent colors and finishes at once. — Choose a base palette and limit bright accents to one color so the finished setup looks coordinated.
- Mounting a bag, strap, or light where it blocks a control or safety feature. — Check steering, brakes, gears, reflectors, and lights while stationary before riding.
- Overtightening a clamp or improvising a fit. — Follow the fitting instructions and torque guidance; stop if a part does not fit without force.
Troubleshooting
Problem: A clamp or mount does not fit the handlebar or seatpost.
Solution: Remove it without forcing the hardware. Recheck the required diameter and the bike’s specifications, then exchange it for a compatible size or use a maker-approved adapter.
Problem: A bag rubs your leg, tire, or brake cable.
Solution: Move it to an approved mounting point, adjust its straps as directed, or choose a smaller model. Do not ride until it clears moving parts through steering and pedaling.
Problem: An accessory rattles or shifts during the test ride.
Solution: Stop riding and inspect the mount for a missing spacer, loose strap, or incorrect fit. Retighten only according to the instructions; replace damaged hardware or seek a mechanic’s help.
Problem: A light is difficult to see or points into oncoming eyes.
Solution: Check its mounting angle and charge or replace its battery. Aim it as described by the maker and confirm it remains visible from the required direction.
What Success Looks Like
Your bicycle has a small, coordinated set of accessories suited to your rides. Every item fits its intended mounting point and stays secure during a short test ride. Steering, braking, shifting, and hand positions remain comfortable; bags clear the wheels and cables; and lights and reflectors remain visible and correctly aimed.
Next Steps
Clean accessories according to their care labels, recharge lights, and inspect mounts after the first few rides and after wet or bumpy trips. Replace worn straps, cracked mounts, or unreliable lights promptly. Add another item only when a specific riding need appears, and repeat the compatibility check before purchasing it.
Frequently Asked Questions
Which bike accessories should I buy first?
Start with items that support safe, practical riding: suitable lights and reflectors for your conditions, a bell for shared spaces, a secure lock, and carrying capacity if you need to transport belongings. Add decorative details after those needs are covered.
How can I make bike accessories look coordinated?
Choose a base color that suits the frame, limit the palette to two or three colors, and repeat one accent in a small number of places. Matching finish and material can create a coherent look even when accessory colors differ slightly.
Can I use a universal bike accessory mount?
Only if its stated size range and mounting instructions match your bicycle. Universal usually describes a range of fits, not every handlebar, seatpost, frame, or cable layout.
Do decorative accessories affect bicycle safety?
They can if they obscure lights or reflectors, obstruct controls, loosen, or catch in moving parts. Check clearance and control operation while stationary, then take a short test ride in a quiet area.