
To change your bike’s brake pads, first check for signs like squeaking, decreased braking power, or worn pads to know it’s time for a replacement. Remove the wheel or detach the caliper, then slide out the worn pads and insert new ones aligned properly with the rim or rotor. After reassembling, test your brakes to guarantee smooth contact. For detailed steps and tips, keep exploring to keep your ride safe and efficient.
Key Takeaways
- Replace brake pads when you notice reduced stopping power, squeaking, or uneven wear to maintain safety.
- Prepare by selecting compatible pads, removing the wheel or caliper, and inspecting the rotor or rim for damage.
- Remove worn pads, then install new ones aligned properly with the rim or rotor to prevent rubbing.
- Reattach the brake cable or caliper, then test and adjust to ensure smooth, even braking action.
- Regularly inspect and replace brake pads before they become too thin to prolong brake system lifespan.

If your bike’s braking power has diminished or you notice squeaking noises, it’s likely time to change the brake pads. Ignoring these signs can compromise your safety, so it’s important to address the issue promptly. Replacing brake pads is a straightforward process, but it requires a few basic tools and some attention to detail. Before you start, make sure you have the correct replacement pads for your bike’s brake system—whether it’s rim brakes or disc brakes. Check your bike’s manual or consult your local bike shop if you’re unsure.
Replace brake pads promptly to ensure safe, effective riding and prevent damage to your bike’s braking system.
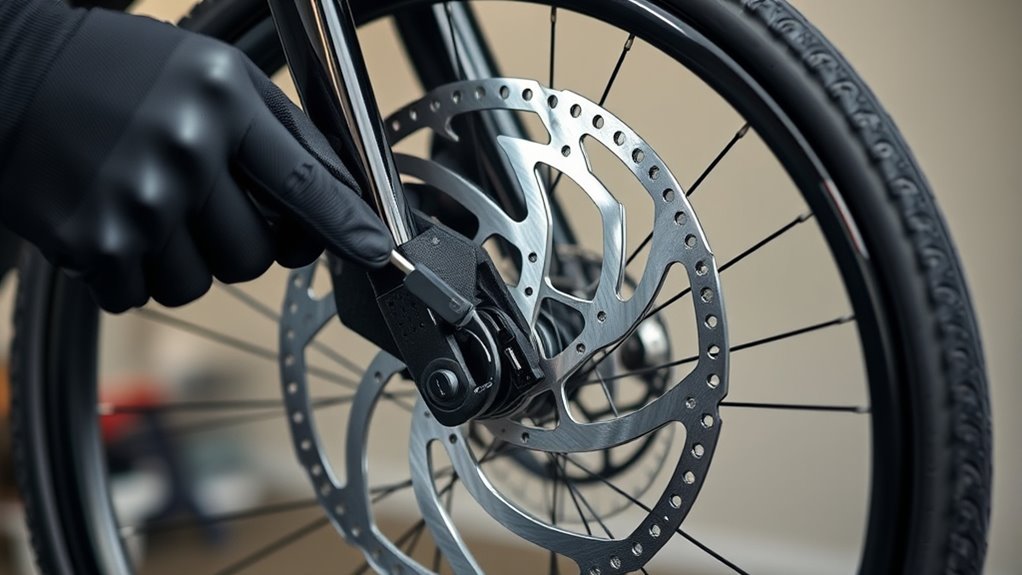
Begin by loosening the brake caliper or brake arm to access the pads. For rim brakes, you’ll typically need to detach the brake cable from the caliper. For disc brakes, remove the wheel to gain better access. Once the caliper is loose, carefully slide out the worn brake pads. Take note of how they are positioned so you can install the new ones correctly. Inspect the rotor or rim for any signs of damage or excessive wear and clean the surface with a soft cloth or a specific brake cleaner if needed. Additionally, understanding the role of brake pads in your braking system can help you choose the right replacements and maintain optimal performance. Regular inspection and maintenance of your brake pads can prevent sudden failures and improve overall safety. Proper brake pad selection can also help extend the lifespan of your braking components. Recognizing wear indicators on your brake pads can help you determine when they need replacement before they become too thin.
Next, install the new brake pads. For rim brakes, slide the new pads into the caliper in the same orientation as the old ones, ensuring they sit flush against the rim. For disc brakes, insert the pads into the caliper, making sure they are aligned properly with the rotor. Before tightening everything back up, check that the pads are positioned correctly and aren’t rubbing against the rim or rotor when the brake lever is released. Proper brake pad alignment is crucial for effective braking and to avoid uneven wear.
Once the pads are in place, reattach the brake cable or reconnect the caliper to the brake arm. For rim brakes, squeeze the brake lever a few times to make sure the pads contact the rim evenly. For disc brakes, spin the wheel and pull the brake lever to check for proper engagement. If you notice uneven contact or rubbing, adjust the pad position by loosening the mounting bolt, shifting the pad slightly, and tightening it again. You might also need to bed in the new pads by gently braking a few times at moderate speed to ensure they wear evenly and provide maximum stopping power.
Finally, test your brakes thoroughly before heading out for a ride. Make sure they respond quickly and smoothly, and listen for any squeaking or grinding sounds. Regularly check your brake pads for wear, replacing them before they become too thin, to maintain safe and effective braking. Changing your bike’s brake pads is a simple maintenance task that keeps you safe and extends the life of your braking system. Proper brake pad maintenance can also improve your overall cycling experience.

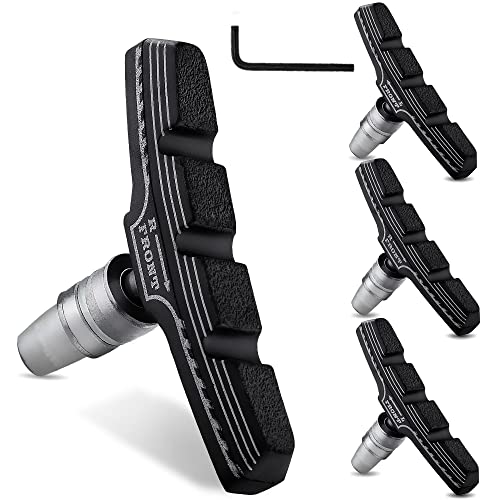
FJCTER Bike Brake Pads, 70mm Universal V Brake Pads, 4PCS Mountain Bike Brake Pads Set with Allen Wrench, Compatible with Cruiser Road BMX Hybrid Folding Bikes, Bicycle Brakes Replacement
QUIET, RELIABLE BRAKING PERFORMANCE: Experience a smooth, noise-free ride with these bike brake pads crafted from high-quality nitrile…
As an affiliate, we earn on qualifying purchases.
As an affiliate, we earn on qualifying purchases.
Frequently Asked Questions
Can I Change Brake Pads Myself Without Professional Help?
You can definitely change your bike’s brake pads yourself if you feel comfortable working with tools and have some basic mechanical skills. Just make sure you have the right replacement pads and tools, and follow safety precautions. It’s a manageable task, but if you’re unsure or uncomfortable, it’s wise to seek professional help to ensure your brakes work properly and keep you safe on the road.
What Signs Indicate My Brake Pads Need Replacement Early?
You’ll know your brake pads need replacing early if you hear squealing or grinding sounds whenever you brake. Also, watch for decreased braking performance, like longer stopping distances, or if the pads look thin—less than a quarter-inch thick. Feel free to inspect them regularly; if they’re worn down or uneven, it’s time for a change to make certain of your safety and smooth riding.
Are There Different Types of Brake Pads for Various Bike Models?
You’ll find different brake pads designed for various bike models, including rim brakes, disc brakes, and V-brakes. Each type uses specific materials like rubber, ceramic, or metal, tailored for maximum performance and compatibility. Check your bike’s manual or existing pads to identify the correct type. Using the right pads guarantees safety, effective braking, and longevity, so always match your bike’s specifications before purchasing or replacing them.
How Often Should I Check My Brake Pads for Wear?
You should check your brake pads as often as you’d check your phone—every day if you’re riding daily, or at least once a week if you’re less active. Look for signs like thinning material, shiny spots, or squealing sounds. Neglecting this can mean your brakes might give out when you need them most, risking your safety. Regular inspections keep your bike stopping on a dime and your rides smooth.
Will Changing Brake Pads Improve My Bike’S Braking Performance?
Changing your brake pads definitely boosts your bike’s braking performance. Worn-out pads can cause less friction, making stopping harder and increasing your risk of accidents. When you replace them, you’ll notice quicker, more reliable braking, especially in emergencies. Plus, new pads reduce noise and extend your brake system’s lifespan. So, if your current pads are worn, swapping them out will restore ideal stopping power and keep you safer on the road.

AGPTEK Bike Brake Pads, High-Performance Brake Pads, Semi-Metallic Disc Brake Pads & Spring for Mountain Bike Disc Brakes, Bike Pads Compatible with TRP Tektro Shimano Deore Br (4 Pairs, Black)
【High Performance】Made of copper fiber and Kevlar fiber, this semi-metallic disc brake pads feature good heat dissipation, wear…
As an affiliate, we earn on qualifying purchases.
As an affiliate, we earn on qualifying purchases.
Conclusion
Now that you know how to change your bike’s brake pads, you’re all set to keep your ride safe and smooth. Remember, don’t wait too long—worn pads can turn a peaceful ride into a Dickensian chaos. Keep an eye on the thickness and replace them when needed. With a little effort, you’ll be back to cruising the streets faster than you can say “Eureka!” So, get out there and pedal with confidence, knowing your brakes are in tip-top shape.
Hapleby 4PCS Premium Bike Brake Pads, Professional Mountain Bicycle V-Brake Pads, Bike Brake Blocks Kit, for Free Hex Wrench
【HARD-WEARING MATERIAL】 The brake pads are made of hyathetic fiber and nitrile rubber, they have supreme durable and…
As an affiliate, we earn on qualifying purchases.
As an affiliate, we earn on qualifying purchases.

AIKESIWAY Rotor Truing Fork Bike Disc Alignment Tool Bicycle Brake Wrench,Bike Disc Brake Pad Adjustment Alignment Tool Gap Regulator,3 Slot Depths,Strong,Easy to Carry and Use (2pcs Gap Regulators)
Material: Bicycle disc brake pad alignment tool is made of better high-carbon steel heat treatment and hardening, which…
As an affiliate, we earn on qualifying purchases.
As an affiliate, we earn on qualifying purchases.