

To install new tires, first gather your tools and prepare the area. Then, lift your vehicle and remove the old tires by loosening and taking off the lug nuts. Inspect the wheels before mounting the new tires with bead lubricant for a smooth fit. After seating the tires, balance them properly. Finally, reinstall and tighten the lug nuts securely. Ready for more tips to guarantee peak tire performance and longevity?
Key Takeaways
- Gather essential tools like a tire mounting machine, lubricant, and torque wrench before starting the installation process.
- Deflate new tires, apply bead lubricant, and use a tire mounting machine to properly seat the tires.
- Inflate the tires to maximum pressure, listening for a pop to confirm correct bead seating, then adjust to manufacturer specifications.
- Tighten lug nuts in a counterclockwise pattern using a torque wrench to the recommended settings for safety.
- Regularly inspect tire tread depth and alignment to ensure optimal performance and safety after installation.
Preparing for Tire Installation

Before you plunge into installing new tires, it's crucial to gather all the necessary tools to make the process smooth and efficient.
You'll need a tire mounting machine, tire bead lubricant, and a valve stem core tool. Don't forget a torque wrench for securing lug nuts, too.
Start by inspecting the wheel rims for any damage or roughness that could cause leaks. If you find rough patches, smooth them out using abrasive pads like Scotch Brite.
Also, make sure you familiarize yourself with the specific tire size and type recommended for your vehicle.
When you're ready, apply tire bead lubricant generously to both the tire beads and the rim to facilitate smooth mounting and proper tire installation.
Removing the Old Tires

With your tools ready and the tire bead lubricant applied, you can move on to removing the old tires.
Start by lifting the vehicle with a car jack, ensuring it's stable and positioned correctly at the jack points in your owner's manual. Use a lug wrench to loosen the lug nuts by turning them counterclockwise, beginning with the front left wheel, but don't fully remove them yet.
Once loosened, raise the vehicle until the flat tire is about six inches off the ground. Now, fully remove the loosened lug nuts and set them aside.
Carefully pull the flat tire off the wheel hub, using a gentle tap if needed. Don't forget to inspect the wheel and lug nuts for damage before installing new tires.
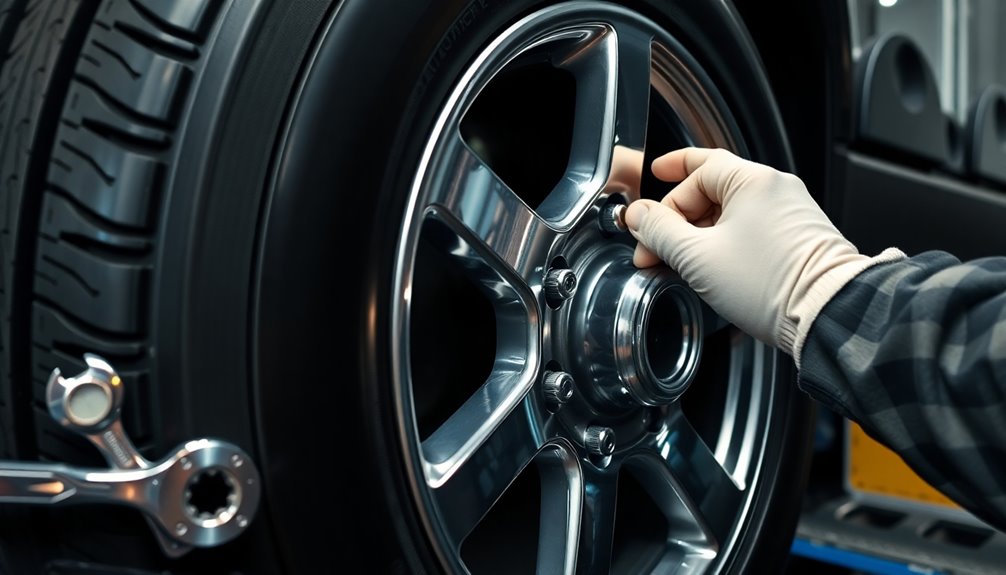
Inspecting the Wheels and Rims
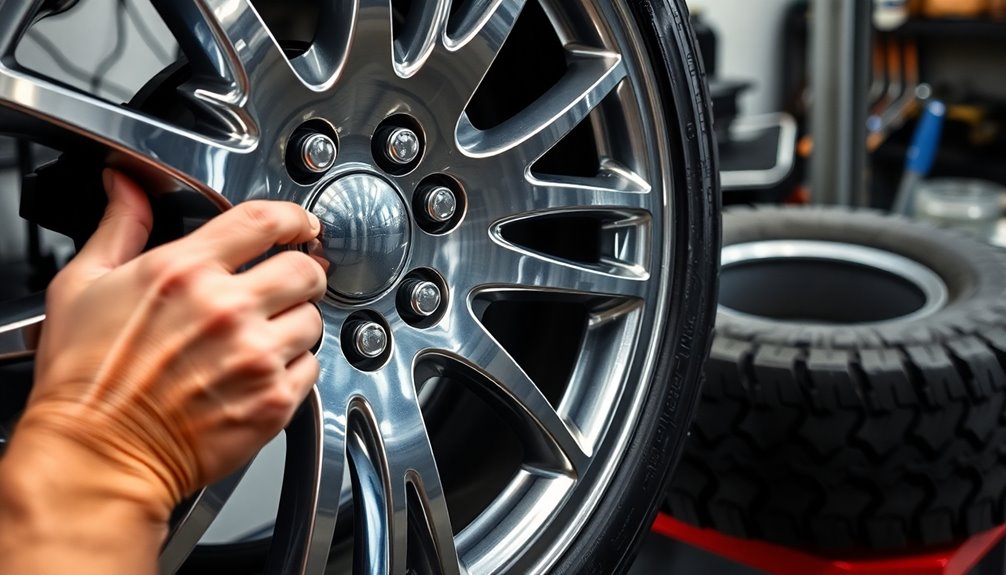
While you're ready to install new tires, take a moment to inspect the wheels and rims carefully. Look for any cracks, bends, or rust that could compromise tire performance and safety.
Pay special attention to the inside lip of the rim; rough edges can lead to air leaks and improper tire seating. Check the lug nuts for signs of wear or damage, and replace any rusty ones to avoid issues later.
Make sure the rim is compatible with your new tires by verifying the width and diameter against their specifications.
Finally, clean the rim thoroughly to remove any debris or old tire bead material, ensuring a proper seal for the new tires. Your attention to detail here is essential for a smooth installation.
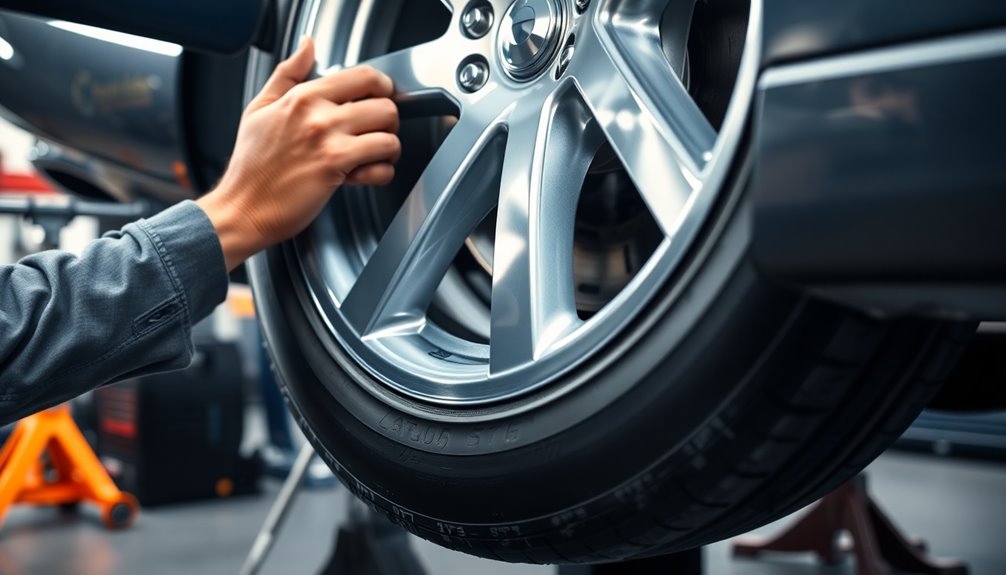
Mounting the New Tires

When you're ready to mount the new tires, start by deflating them completely and applying tire bead lubricant around the beads and rim.
This lubrication is key to ensuring smooth seating during the mounting process.
Next, use a tire mounting machine to get that lower bead seated properly before moving on to the upper bead.
Proper Tire Lubrication Techniques
To guarantee a smooth installation of your new tires, proper lubrication is essential. Start by applying tire bead lubricant generously to both the tire beads and the rim's edge. This reduces friction during tire mounting, making for a smoother process.
It's vital to avoid using soapy water or grease, as these may lead to bead slippage or corrosion. Confirm the lubricant is evenly distributed around the entire circumference of the tire bead, which helps prevent leaks. Use a lubricant specifically designed for tire mounting to enhance effectiveness without damaging the tire materials.
After mounting, spray additional lubricant between the beads and the rim before inflating to guarantee a proper seal and maintain peak tire pressure.
Tire Bead Seating Process
Having prepared the tire with proper lubrication, you're ready to tackle the tire bead seating process. Follow these steps for a successful mount:
- Verify the lower bead sits securely in the rim's well before mounting the upper bead.
- Inflate the tire to its maximum pressure with the valve stem core removed; this helps the bead seat properly against the rim.
- Listen for a popping sound as the beads seat during inflation—this confirms the tire is correctly mounted.
Once fully seated, reinstall the valve stem core and adjust the tire pressure to the manufacturer's specified level. This guarantees peak performance and safety.
Don't forget to check balancing afterward to ensure smooth driving!
Balancing the Tires
Balancing the tires is essential for ensuring a smooth ride and preventing premature wear. Proper weight distribution helps you avoid vibrations at speeds of 45 mph or higher, which can lead to uneven wear and damage. You can choose from several balancing methods like static balancing, dynamic balancing, and road force balancing. Dynamic balancing uses a computerized machine to detect imbalances, ensuring precise adjustments. Regular maintenance of your tires, including filter replacement, can enhance overall performance and longevity.
| Balancing Method | Description |
|---|---|
| Static Balancing | Balances the tire when at rest |
| Dynamic Balancing | Detects imbalances while in motion |
| Road Force Balancing | Simulates real-world driving conditions |
| Common Mistakes | Ignoring assembly features |
| Cost Range | $13 to $45 depending on complexity |
Investing in tire mounting and balancing today can save you money in the long run!
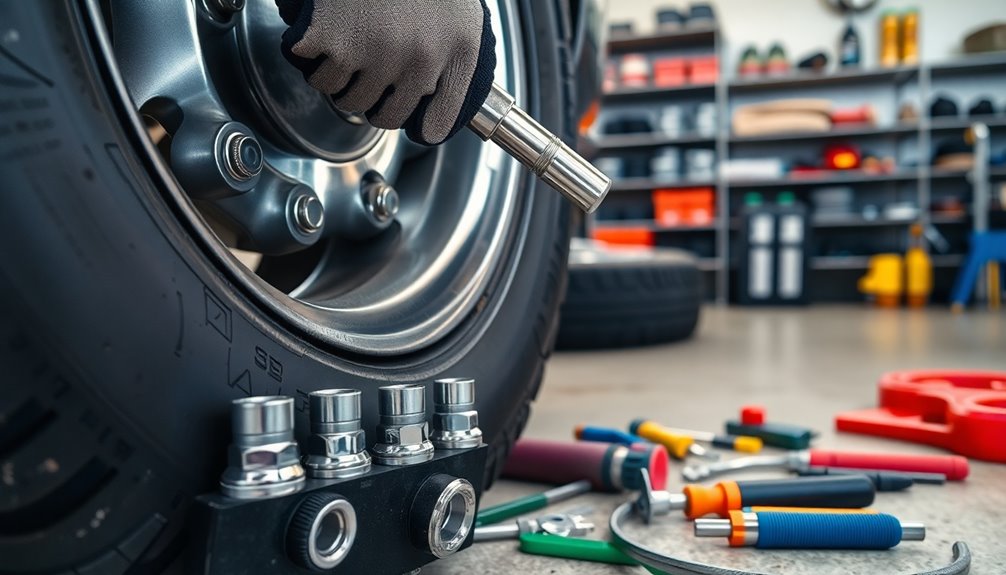
Installing the Wheels
Once you've balanced the tires, it's time to install the wheels securely. Follow these steps for a safe installation:
- Lower the vehicle until the wheels just touch the ground. This prevents any risk of loosening.
- Tighten the lug nuts starting with the front left wheel, working counterclockwise for even distribution.
- Use a torque wrench to tighten the lug nuts according to the vehicle manufacturer's specified torque settings.
Make sure to check the tightness of the lug nuts after your first drive to confirm they haven't loosened during installation.
If you're replacing tires, it's best to mount and balance tires on all four wheels at the same time for peak performance and safety.
Aligning the Wheels

Aligning the wheels is a crucial step after installing new tires, as it guarantees your vehicle handles properly and reduces the chances of pulling to one side while driving. Proper wheel alignment helps prevent uneven tire wear and guarantees your tires maintain their correct angle. Misalignment can cause vibrations or a crooked steering wheel, impacting your safety and comfort.
Here's a quick overview of the alignment process:
| Alignment Angle | Purpose | Benefits |
|---|---|---|
| Camber | Tire tilt relative to ground | Reduces uneven tire wear |
| Caster | Steering axis angle | Enhances ideal handling |
| Toe | Direction tires point | Promotes balancing tires |
Getting a professional alignment check after your tire installation can prolong tire life and improve fuel efficiency. Maintaining proper indoor air quality is essential for overall health and can enhance your driving experience by ensuring you feel alert and focused while on the road.
Maintenance Tips for New Tires
To keep your new tires in top condition, it's essential to follow some straightforward maintenance tips. By doing so, you can enhance performance and extend their lifespan.
Maintaining your new tires with simple tips can significantly boost performance and longevity.
- Check tire pressure: Regularly inspect your tire pressure at least once a month and before long trips. Keeping it within the manufacturer's recommended range improves fuel efficiency.
- Rotate your tires: Every 5,000 to 7,500 miles, rotate your tires to promote even tread wear. This is especially important for front-wheel-drive vehicles.
- Inspect tire tread depth: Use the penny test—if you can see all of Lincoln's head, it's time to replace your tires for adequate traction.
Also, maintain proper wheel alignment and store tires in a cool, dry place to prevent aging.
Frequently Asked Questions
What Is the Procedure for Changing a Tire Step by Step?
To change a tire, first, gather your tools: a spare tire, jack, lug wrench, and wheel wedges.
Park on a flat surface, engage the parking brake, and place wheel wedges.
Loosen the lug nuts without removing them.
Use the jack to lift the vehicle until the flat tire is off the ground.
Remove the lug nuts, take off the flat tire, and install the spare by aligning it and tightening the nuts in a crisscross pattern.
How to Properly Install New Tires?
Imagine you're putting on a new pair of shoes, feeling that fresh grip beneath your feet.
To properly install new tires, start by deflating the old tire completely. Use a tire machine to remove it from the rim and check for any rough spots.
Apply lubricant to both beads and position the new tire carefully. Inflate to the right pressure, balance it, and tighten those lug nuts.
Your ride deserves the best!
Do You Need an Alignment After Putting on New Tires?
Yes, you typically need an alignment after putting on new tires.
If you notice your steering wheel pulling to one side or uneven tire wear, it's a sign that an alignment's necessary. Proper alignment helps maintain ideal handling and prolongs tire life, keeping your vehicle stable and safe.
Most tire shops recommend this as part of the installation, so don't skip it if you want to enhance your driving experience.
Which Tires Go Bad First, Front or Back?
"You get what you pay for." When it comes to tire wear, front tires usually go bad first.
They handle steering, braking, and bear more weight, leading to quicker wear—up to 30% more than rear tires!
Regular tire rotations every 5,000 to 8,000 miles can help combat this issue, ensuring even wear and extending the life of all your tires.
Keep an eye on your front tires for peak performance!
Conclusion
Now that you've successfully installed your new tires, you can hit the road with confidence, much like a knight donning fresh armor before a grand quest. Remember to regularly check tire pressure and tread depth, ensuring your trusty steed remains ready for any adventure that lies ahead. With proper care, your tires will carry you through countless journeys, just as the wheels of time roll on. Embrace the road, and enjoy the ride!