
To fix a tubeless flat with one plug that really holds, first confirm the puncture by inspecting the tire, valve, and listening for leaks. Prepare your tools and thoroughly clean the puncture area. Insert a properly sized plug with steady pressure, twisting gently to seal tightly. Reinflating slowly and testing for leaks with soapy water ensures a secure fix. For lasting repairs, follow best practices and avoid common mistakes—more tips will help you master a durable, long-lasting seal.
Key Takeaways
- Proper cleaning and surface preparation of the puncture area ensure optimal sealant adhesion and plug effectiveness.
- Use the correct size and quality of plug, inserting it with steady pressure and twisting to create a tight seal.
- Apply sealant during plug insertion to enhance sealing and fill any gaps around the plug.
- Inflate slowly and check for leaks with soapy water, ensuring the bead and plug are sealed properly.
- Reinspect regularly and reapply or add plugs if leaks persist or repair shows signs of failure.
How to Identify and Confirm a Tubeless Flat

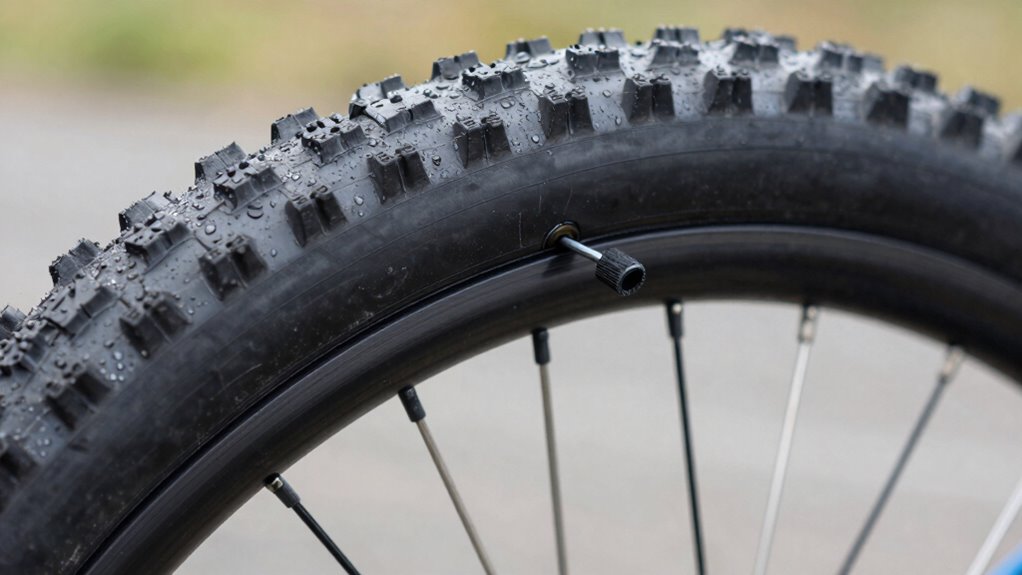
The first step in repairing a tubeless flat is to accurately identify and confirm the flat tire. Start by inspecting the tire bead, where the tire contacts the rim. If you notice it’s unseated or looks damaged, it could be causing the leak. Next, check the valve stem—listen for hissing sounds or feel for escaping air around it. To confirm, deflate the tire slightly, then listen closely or spray soapy water around the valve stem; bubbles indicate a leak. Also, look for visible punctures or objects lodged in the tire. Confirming the leak’s location ensures you’re addressing the right spot during repair. Proper identification saves time and prevents unnecessary disassembly, making your repair more efficient and effective. Additionally, understanding how to identify and confirm a tubeless flat helps prevent misdiagnosis and ensures you use the most appropriate repair method. Being familiar with common flat tire causes can also expedite troubleshooting and repair. Recognizing the signs of a leak early can save you from further damage and roadside frustration. Knowing how to detect air loss symptoms can further assist in quick diagnosis and repair.
Getting Your Bike Ready for the Repair
Before starting the repair, you need to prepare your bike to guarantee safety and ease of access. Check that your tire pressure is low enough to work with, making the tire easier to manipulate. Make certain the valve stem is accessible and not damaged, so you can quickly deflate or reinflate as needed. Secure your bike so it won’t tip over during the process. Clear a flat workspace around your bike, removing any obstructions. Gather your tools nearby for quick access, and wear gloves to protect your hands. Visualize the scene: a stable bike, a deflated tire, the valve stem ready for action, and a clean area to work comfortably. Proper projector setup can significantly improve your viewing experience and reduce frustration during repairs. This preparation reduces frustration and speeds up your tubeless flat repair. Additionally, ensuring your tools and supplies are organized beforehand helps streamline the entire process. Being aware of the natural pool design principles can further enhance your efficiency in setting up your workspace. Understanding flat tire repair techniques can also help you troubleshoot more effectively if issues arise during the process. Taking a moment to review the recommended safety precautions can prevent potential accidents and ensure a smoother repair experience.
Preparing Your Tools and Supplies

Gathering the right tools and supplies sets the stage for a smooth tubeless flat repair. Start by checking your tire pressure; ensuring your tire is adequately inflated makes removing the tire easier. You’ll need a tubeless tire plug kit, which typically includes a plug, insertion tool, and reaming tool. Keep a CO2 inflator or a pump ready to reinflate the tire after sealing. Don’t forget to have a valve stem removal tool if you need to take out the valve stem for better access. Having a rag or cloth nearby helps clean the area, and a plug that fits your tire size is essential. Being prepared with these supplies guarantees you can quickly and effectively address the flat without unnecessary delays. Additionally, understanding the importance of sustainable and secure solutions can help you choose high-quality repair kits designed for durability and safety. Ensuring your tools are reliable and durable can further improve the effectiveness of your repair process. Proper tool maintenance and inspection before use can prevent complications during the repair, and regularly inspecting your tools ensures they remain functional and dependable when needed.
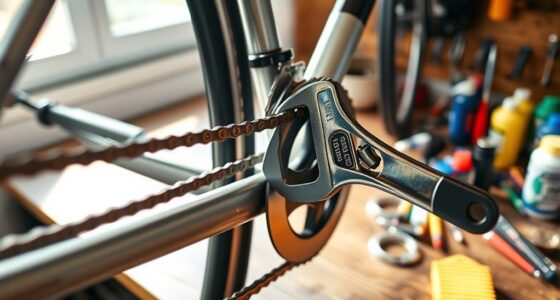
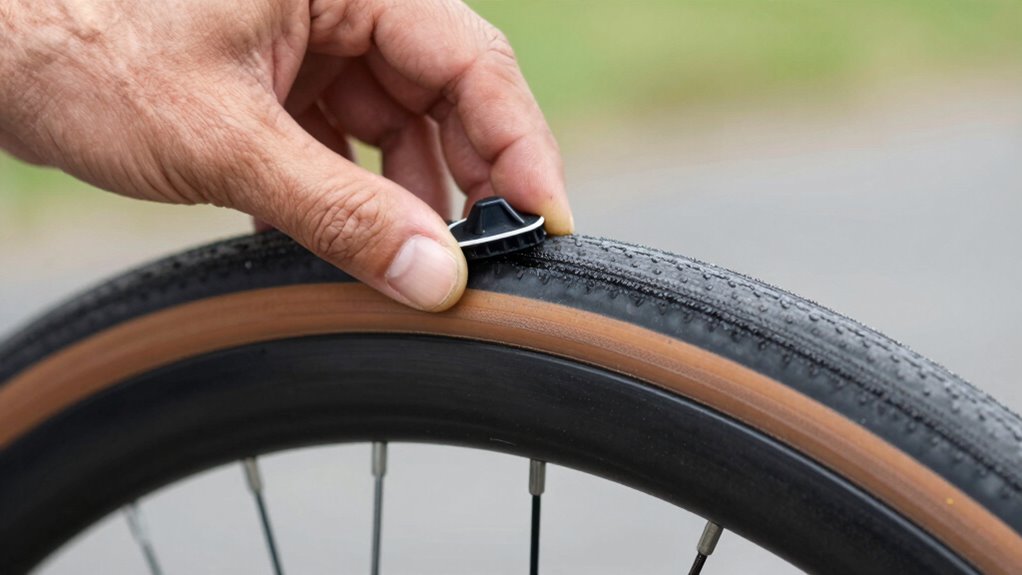
Applying a Tubeless Plug Effectively

Before inserting the plug, make sure the surface around the hole is clean and smooth for a proper seal. When placing the plug, push it in straight and ensure it fits snugly into the hole. Proper preparation and correct insertion are key to a successful and long-lasting repair. Additionally, applying thermal behavior knowledge can help you understand how the plug will respond to heat and ensure it remains effective during use. Understanding material compatibility can further improve the durability of the repair under various conditions. Recognizing environmental factors can also help you anticipate how external conditions might affect the plug’s performance over time. Being aware of external influences like temperature fluctuations can help you choose the right type of plug for your specific environment. Considering sustainable practices can also contribute to more eco-friendly repairs that last longer under changing conditions.
Prepare the Surface Properly
To guarantee a successful tubeless plug application, you need to prepare the surface thoroughly. Start by inspecting the tire surface for debris or damage, ensuring it’s clean and free of dirt. Proper rim preparation is essential—remove any old sealant or dirt, and make sure the rim is dry. This creates a better seal and prevents leaks. Additionally, understanding water chemistry and maintaining optimal conditions can help ensure the plug bonds effectively and maintains a secure seal over time. Proper surface cleaning techniques are also crucial for maximizing adhesion. Visualize the process:
- Wiping the tire surface with a clean cloth
- Scraping off any residue around the puncture site
- Ensuring the rim bead seats properly
- Checking the rim for corrosion or damage
- Using appropriate filtration methods to prevent contamination during repair
- Considering material compatibility to ensure the sealant and plug work harmoniously
This meticulous preparation makes certain the plug adheres securely, maximizing its effectiveness and durability during your ride. Additionally, paying attention to surface conditions can help prevent future issues and prolong the life of your repair.
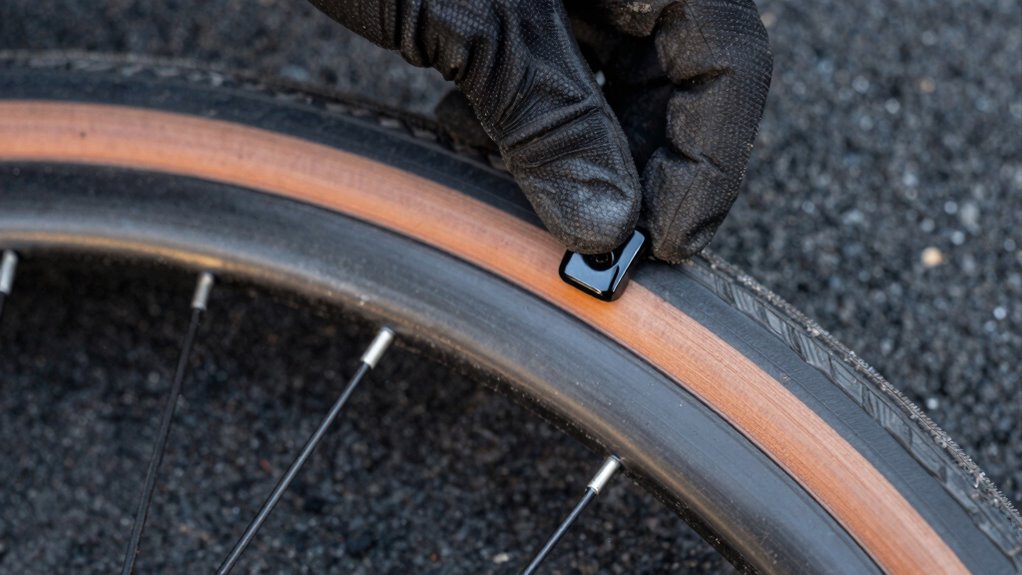
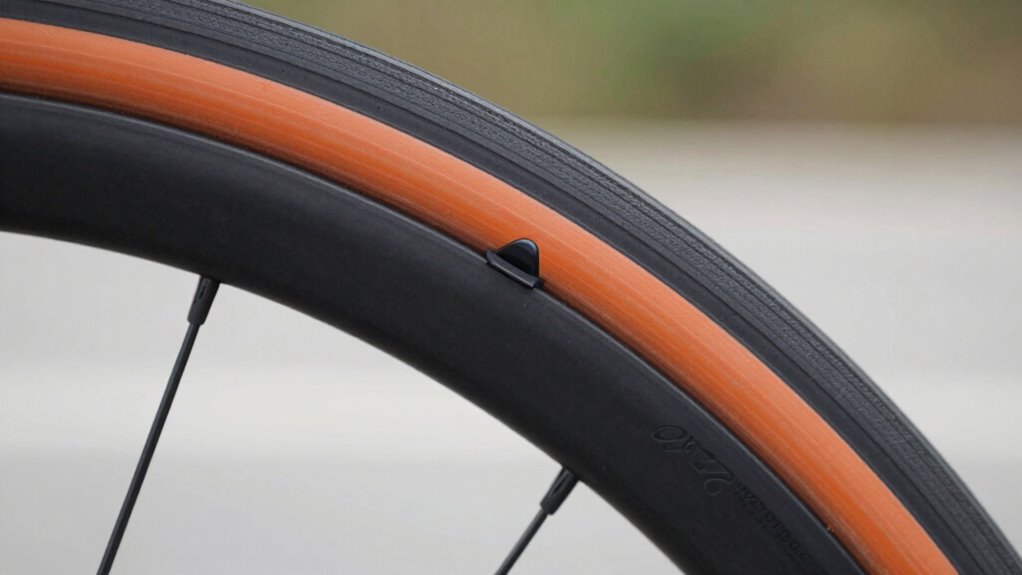
Insert Plug Correctly
Once you’ve prepared the surface, it’s time to insert the tubeless plug correctly. Focus on proper plug placement to ensure it seals effectively. Push the plug into the puncture, aligning it with the tire’s surface and avoiding misalignment that can cause leaks. Use a twisting motion to insert the plug fully, ensuring it penetrates deep enough for a secure fit. Proper surface preparation helps the plug adhere better, so confirm the area is clean and free of debris before insertion. Here’s a quick guide:
| Step | Action | Tip |
|---|---|---|
| 1 | Insert plug into puncture | Keep steady pressure |
| 2 | Twist as you push | Enhance sealing |
| 3 | Push until flush with surface | Prevent leaks |
| 4 | Check surface for secure fit | Confirm depth |
| 5 | Remove tool gently | Avoid dislodging plug |
Additionally, understanding proper sealing techniques can improve your repair’s durability. Being aware of tubeless system maintenance can also help prevent future flats. Regularly inspecting the tire surface can help you identify potential issues before they lead to flats.
How to Ensure the Plug Is Secure and Stop Leaks

To guarantee your plug is secure and leaks are stopped, start by confirming you inserted it properly with the correct technique. Next, apply sealant effectively around the plug to seal any gaps. Finally, test your tire for leaks to make sure the repair holds before hitting the road.
Proper Plug Insertion Technique
Ensuring the plug is properly inserted is crucial for a secure and leak-free repair. First, remove the valve to access the puncture site and prepare the hole. As you insert the plug, twist it gently to ensure it seats firmly against the inner wall of the tire. Confirm that the plug is centered and snug, without gaps or looseness. During this process, apply sealant if needed around the plug to enhance sealing. Keep steady pressure until the plug feels secure. Once in place, double-check the fit and remove any excess material. Proper technique involves smooth insertion, avoiding forcing the plug, which could cause leaks. Visualize the plug filling the hole like a puzzle piece, tightly sealing the puncture with minimal movement.
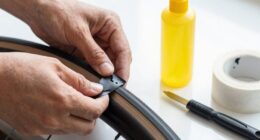
Applying Sealant Effectively
Applying sealant effectively is essential to guarantee the plug stays secure and leaks are minimized. First, ensure your sealant has the right consistency—thick enough to stick but not too viscous to block flow. Shake the bottle well before application to evenly distribute the sealing agents. When inserting sealant, focus on plug compatibility; use a sealant compatible with your tire and plug material for optimal adhesion and sealing. Inject the recommended amount directly into the tire through the valve stem or the sidewall opening. Make sure the sealant coats the inside of the tire evenly around the plug, creating a secure barrier. Proper application ensures the sealant surrounds the plug, providing a reliable seal that prevents future leaks and keeps your tubeless setup airtight.
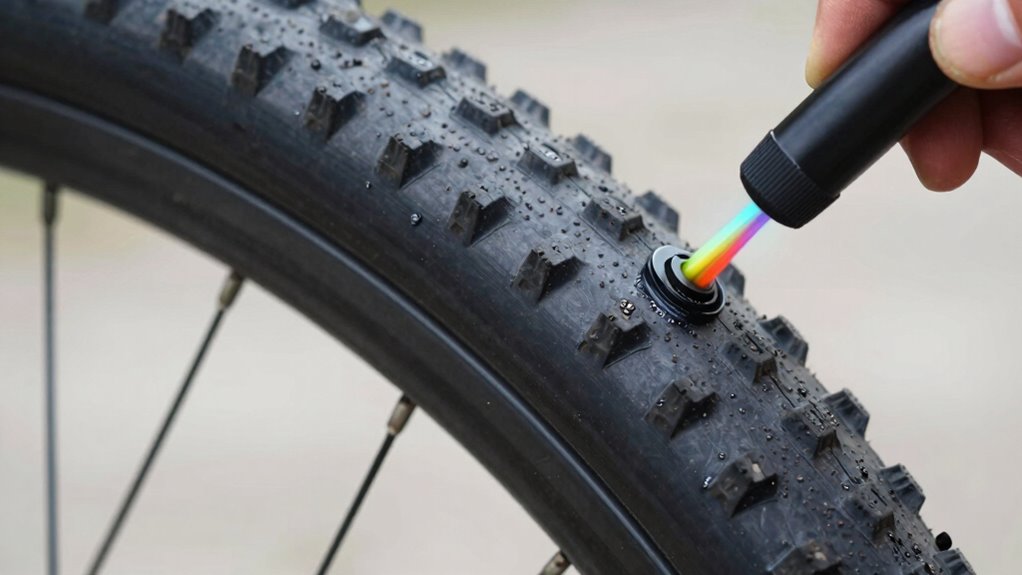
Testing for Leaks
How can you be sure that your plug is holding and the leak has truly stopped? First, inflate your tire slightly above normal pressure and listen closely for any escaping air. Next, spray soapy water around the plug and valve stem—bubbles will form if there’s a leak. You can also observe the tire’s shape; if it remains firm and doesn’t deflate, that’s a good sign. Finally, check the air pressure with a gauge after a few minutes to confirm it stays steady.
- bubbles forming around the plug or valve stem
- tire pressure dropping quickly
- visible deflation or sagging sidewalls
- sustained firm shape after inflation
Troubleshooting: What to Do If the Plug Doesn’t Hold?
When a plug fails to hold in your tubeless tire, it’s often due to an improper seal or an incompatible plug size. To improve plug durability and sealant effectiveness, consider the following factors:
| Issue | Solution |
|---|---|
| Poor sealant coverage | Reapply sealant or add more for better sealing |
| Incorrect plug size | Use a plug that matches the puncture size |
| Surface irregularity | Smooth the area before plugging |
| Plug material | Switch to a high-quality, compatible plug |
| Sealant age | Replace old sealant for best performance |
Addressing these points helps ensure a secure, lasting repair, preventing leaks and maintaining tire integrity.
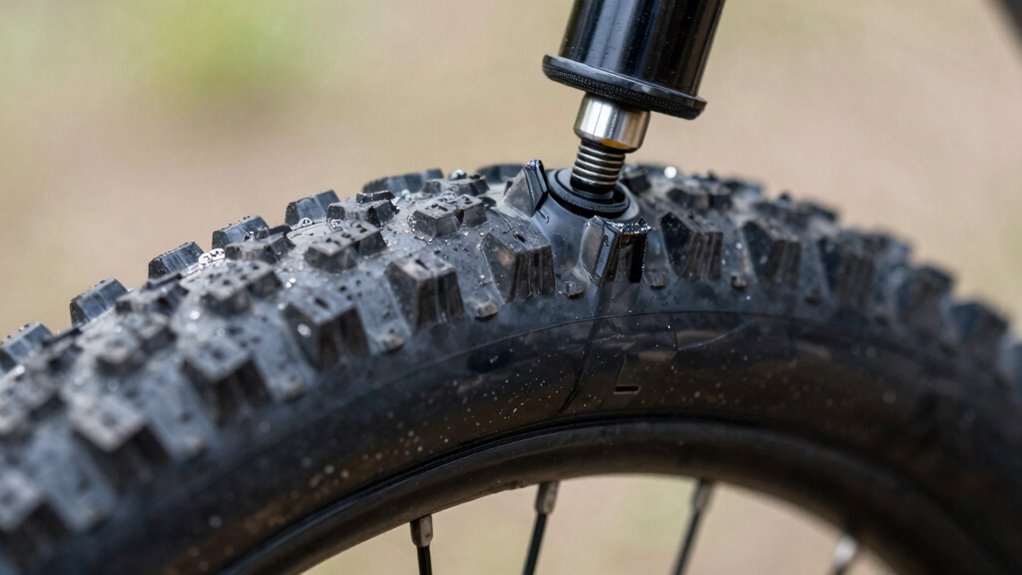
Reinflate and Test Your Tubeless Flat Repair
Once you’ve fixed the flat, carefully reinflate your tire, taking your time to make certain of over-inflation. Next, conduct a thorough leak test by listening for hissing sounds and inspecting for bubbles. This ensures your repair is secure before hitting the road again.
Reinflate Carefully and Slowly
Carefully and gradually reinflate the tire to guarantee the repair holds and prevent further damage. Start by slowly increasing the air pressure, watching the tire’s shape and ensuring no leaks develop. As you add air, keep an eye on the tire pressure gauge to avoid overinflating. Feel the tire’s firmness and listen for any hissing sounds that might indicate a leak. Use a pump with a steady, controlled flow to prevent sudden pressure spikes. Watch the bead seat properly, making sure it seals evenly. Once you reach the recommended tire pressure, give it a gentle squeeze to confirm firmness. Remember, patience is key—rushing could compromise the plug or cause new issues. A slow, steady approach ensures a reliable, long-lasting repair.
Conduct a Thorough Leak Test
How can you be sure your tubeless flat repair is completely sealed? After reinflating, perform a thorough leak test by inspecting the tire carefully. Apply some soapy water around the plug material and repaired area; bubbles will form if any leaks are present. Additionally, check the sealant application inside the tire—if you see bubbles or movement, resealing may be needed. Keep the tire inflated to the proper pressure and listen for hissing sounds. If no leaks are detected, spin the wheel and observe for any escaping air. This process ensures your repair is secure and reliable. Taking these steps helps confirm that your plug material and sealant application create a proper seal, giving you confidence to ride safely.
Common Mistakes to Avoid During the Repair
Even experienced cyclists can make mistakes during tubeless flat repairs that compromise the effectiveness of the fix. One common error is incorrect plug placement, which prevents the plug from sealing properly. Another mistake is using excessive sealant, which can lead to a messy, ineffective repair or clog the plug. Failing to clean the puncture area thoroughly before inserting the plug can also cause leaks. Additionally, rushing the process or not allowing the sealant to set fully can result in a weak seal. Visualize the repair:
- Pushing the plug too deep or too shallow
- Overloading the tire with sealant
- Skipping the cleaning step around the puncture
- Not giving the sealant enough time to seal properly
Avoid these mistakes to ensure a durable, reliable tubeless repair.
Tips to Prevent Future Tubeless Flats
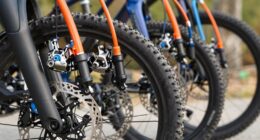
To reduce the likelihood of tubeless flats, maintaining proper tire pressure and inspecting your tires regularly are essential. Keeping your tire pressure at recommended levels prevents pinch flats and reduces stress on the rim, lowering the risk of punctures. Use a reliable pressure gauge to check your tires before every ride. Additionally, ensure rim compatibility by verifying that your rims are compatible with tubeless tires and that the sealing surface is clean and free of debris. Proper rim tape and valve installation also help maintain an airtight seal, preventing leaks that could lead to flats. Regular inspections allow you to spot potential issues early, such as cuts or embedded debris. Staying attentive to tire pressure and rim compatibility considerably decreases your chances of future tubeless flats.
When to Replace or Add Multiple Plugs

Knowing when to replace or add multiple plugs is crucial for maintaining a reliable tubeless setup. If your plug longevity is questionable or the initial plug doesn’t seem to seal properly, consider adding more. Multiple plugs can be effective, but only if they’re used judiciously. Watch for signs like persistent leaks or large punctures that exceed the plug’s capacity. If a single plug fails to hold after a few rides, replacing it or adding another can improve sealing. Be cautious not to overdo it, as too many plugs can compromise tire integrity. Use your judgment based on the size and location of the puncture, and always prioritize safety. When in doubt, replacing the original plug and adding a second one ensures a more secure, long-lasting repair.
Frequently Asked Questions
Can I Use a Tubeless Plug on Any Type of Tire?
You can’t use a tubeless plug on any type of tire because tire compatibility varies. Confirm your tire is tubeless-compatible before attempting to plug it. Also, consider plug materials; some are better suited for specific tire types and puncture sizes. Using the right plug for your tire’s specifications increases the chances of a a dependable fix. Always check manufacturer recommendations to avoid further damage or ineffective repairs.
How Long Does a Tubeless Plug Typically Last?
A tubeless plug typically lasts quite a while, often matching your tire’s overall longevity if applied correctly. Its repair durability depends on factors like tire pressure, riding conditions, and proper installation. You can expect a strong, reliable fix that withstands regular riding, but for high-stress situations or extensive wear, it’s wise to check the repair periodically. Properly done, the plug can keep your tire functional and safe for many miles.
Is a Plug Repair Suitable for Large Punctures?
For large punctures, a plug repair might not be the best choice. Studies show that repairs for puncture sizes over 4mm often fail faster, with durability dropping markedly. If your puncture exceeds this size, consider a patch or professional repair. While plugs excel for small holes, larger ones demand more reliable solutions to ensure your tire remains sealed and safe during rides.
Do I Need to Remove the Tire to Apply the Plug?
You don’t need to remove the tire to apply the plug, but doing so can improve plug durability. Carefully deflate the tire, then remove it from the rim to inspect the puncture. This allows you to clean the area and insert the plug more effectively, ensuring a secure seal. While some riders prefer quick fixes without tire removal, taking the time to do so enhances the plug’s longevity and reliability.
Can I Reuse a Plug After It Has Been Used Once?
You can’t reuse a plug once it’s been used, as plug reusability isn’t reliable, and plug durability diminishes after the first use. Reusing weakens the seal, risks a repeat flat, and compromises your safety. Think of each plug as a one-time fix—designed for single use. Prioritize fresh plugs for each repair, ensuring maximum durability and a secure seal, so your ride stays smooth and safe every time.
Conclusion
So, after all that fuss, you might think fixing a tubeless flat is a breeze. But remember, even the best plug can fail if you rush or ignore the basics. Irony’s sweet, isn’t it? Sometimes, the simplest repair isn’t foolproof, and a quick fix might only buy you time. So, stay vigilant, double-check your work, and don’t forget—sometimes, the best ride is the one you prepare for properly, not just patch up last minute.