
To wire a dynamo system without the gremlins, you need to guarantee all your connections are correct, secure, and well-insulated to prevent faults. Use proper wiring techniques, such as neat wiring paths, and confirm positive and negative terminals are correctly linked to their respective loads and ground points. Check all connections regularly and avoid loose or frayed wires. Staying vigilant helps eliminate common issues—keep exploring for detailed steps to get your system running smoothly.
Key Takeaways
- Use appropriate, rated insulated wires and connectors for system voltage and environmental conditions.
- Follow wiring diagrams carefully, ensuring correct polarity and secure connections to prevent faults.
- Keep the workspace dry, organized, and double-check all connections before powering up.
- Properly ground the dynamo and verify continuity to avoid electrical noise and shorts.
- Regularly inspect and maintain wiring, applying dielectric grease and replacing damaged components to ensure reliability.

Dynamo Bike Light Kit Vintage Motorized Bicycle Friction 12V 6W Generator Headlight & Tail Light Lamp Retro Style Universal Set, Includes Lights & Parts
Universal Fit: Compatible with most bicycles including BMX, cruiser, mountain, road, folding, electric bikes, tricycles, and more. Dynamo…
As an affiliate, we earn on qualifying purchases.
As an affiliate, we earn on qualifying purchases.
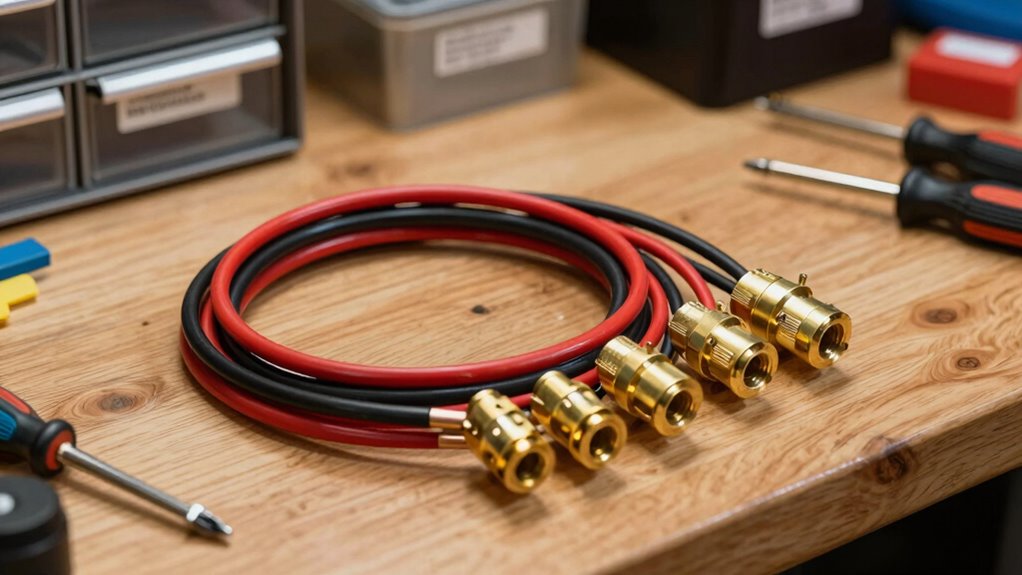
Quick Start: Wiring Your Dynamo in Easy Steps

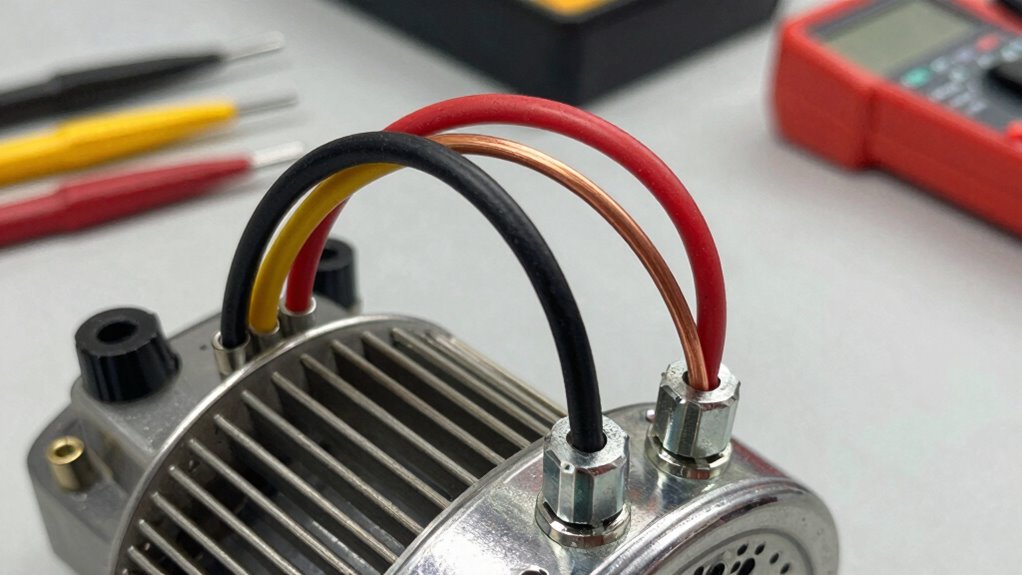
Wiring your dynamo is straightforward when you follow a few simple steps. First, consider the dynamo placement; choose a secure, accessible spot on your bike frame to simplify wiring later. Once positioned, focus on wiring color codes—most dynamos use standard colors like red for positive and black for negative. Connect the red wire to your bike’s power line, typically from the lighting system, and match the black wire to the ground or negative terminal. Keep your wires tidy, avoiding tight bends or pinched sections. Secure all connections with appropriate connectors or soldering, and insulate them with electrical tape or heat shrink tubing. Additionally, ensuring proper grounding can prevent electrical gremlins that cause intermittent lighting issues. Proper grounding is especially important in home theatre projectors, where electrical stability impacts image quality. Using high-quality insulation materials can further reduce the risk of wiring problems. Being aware of dynamo system compatibility with your bike components can help prevent installation issues. Checking the electrical connections regularly can help identify potential issues early. By following these basic guidelines, you’ll ensure a reliable setup that’s easier to troubleshoot and maintain down the line.

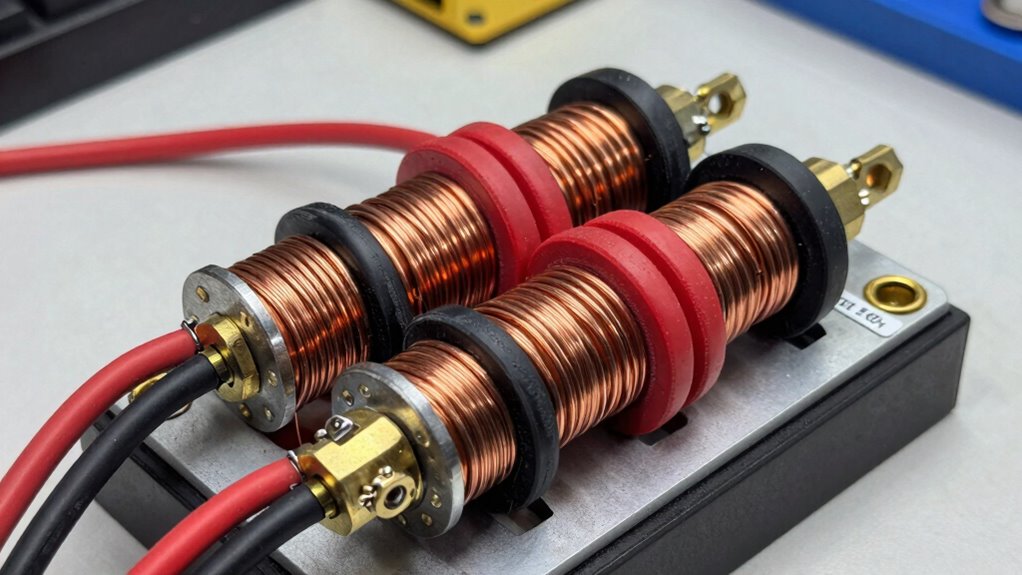
Torvex Generator, AVAN-100W 3-Phase AC Permanent Magnet Electric Alternator Dynamo for Low Speed Power Generation Systems (Without Rectifier 48V)
The use of NdFeB material known as the king of magnets, high-grade pure copper wire winding, which bring…
As an affiliate, we earn on qualifying purchases.
As an affiliate, we earn on qualifying purchases.
Preparing Your Dynamo Wiring Checklist

Before you start connecting wires, it’s important to have a clear plan in place. Begin by reviewing your battery compatibility to guarantee your wiring matches the voltage and current requirements. Gather all necessary tools and components, including properly insulated wires to prevent shorts and electrical faults. Check that your wire insulation is rated for your system’s voltage and environmental conditions. Make a detailed list of all connections, noting where each wire will go—this helps prevent missed or incorrect connections. Confirm that you have connectors and terminals suited for your wiring. Having a well-prepared checklist saves time, reduces errors, and assures your system operates safely and efficiently. Proper preparation is key to a smooth, gremlin-free wiring process. Additionally, understanding Free Floating systems can help you plan your wiring layout more effectively. Ensuring your wiring setup adheres to European standards can enhance safety and compatibility across different components. Being familiar with connected equipment and their requirements can further streamline your installation process. Familiarizing yourself with proper grounding techniques is also crucial to prevent electrical faults and ensure safety. Taking the time to consult relevant wiring diagrams can help you visualize the entire setup before beginning.

Eventronic 600PCS Heat Shrink Tubing 2:1, Electrical Wire Cable Wrap Assortment Electric Insulation Heat Shrink Tube Kit with Box(5 colors/12 Sizes), Black, Red, Blue, Yellow, Green
600PCS – 12 Sizes for Any Wire: No more mismatched shrink tubing! Eventronic 12-size assortment (1/24''-1/2'') heat shrink…
As an affiliate, we earn on qualifying purchases.
As an affiliate, we earn on qualifying purchases.
Essential Components for Wiring Your Dynamo
To wire your dynamo effectively, you need to understand proper wiring techniques to guarantee a reliable setup. You’ll also require essential connectors that create secure and efficient connections. Don’t forget to follow safety precautions to protect yourself and your equipment throughout the process. Additionally, incorporating proper ventilation is important to prevent overheating and ensure safety during operation ventilation considerations. Ensuring adequate cable management can prevent accidental disconnections and damage to your wiring system. Proper insulation techniques are also crucial to maintain safety and prevent short circuits. Incorporating local automation strategies can further enhance your system’s reliability and efficiency by minimizing wiring complexity. Moreover, using appropriate tool safety practices can significantly reduce the risk of accidents during installation and maintenance.
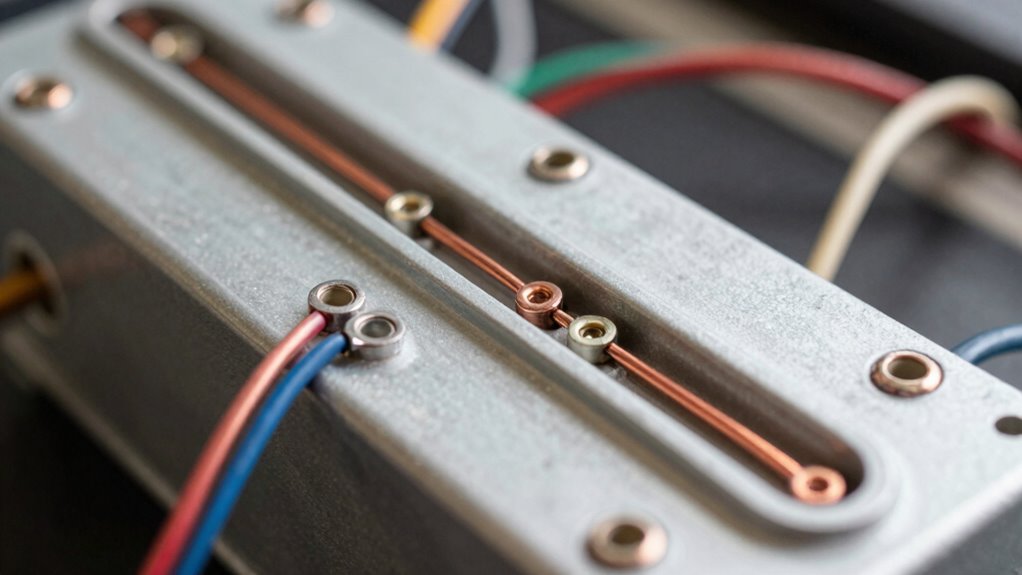
Proper Wiring Techniques
Ensuring proper wiring techniques is essential for the efficiency and safety of your dynamo system. Start by following correct grounding techniques to prevent electrical faults and guarantee safety. Proper grounding involves connecting the system to a solid earth ground, reducing the risk of shocks and damage. When wiring, pay close attention to wire coloring; use standardized colors to identify positive, negative, and grounding wires clearly. This color coding aids in safe installation and simplifies future maintenance. Keep wires neat and secure, avoiding tight bends or exposed conductors that could cause shorts or wear over time. Double-check connections before powering up, and always follow manufacturer guidelines. Proper wiring techniques not only protect your system but also maximize its performance, ensuring long-lasting and safe operation. Additionally, refer to safety checklists to ensure all wiring procedures are compliant with safety standards. Incorporating proper wiring techniques and understanding electrical safety can significantly reduce the risk of electrical issues and extend the lifespan of your dynamo.
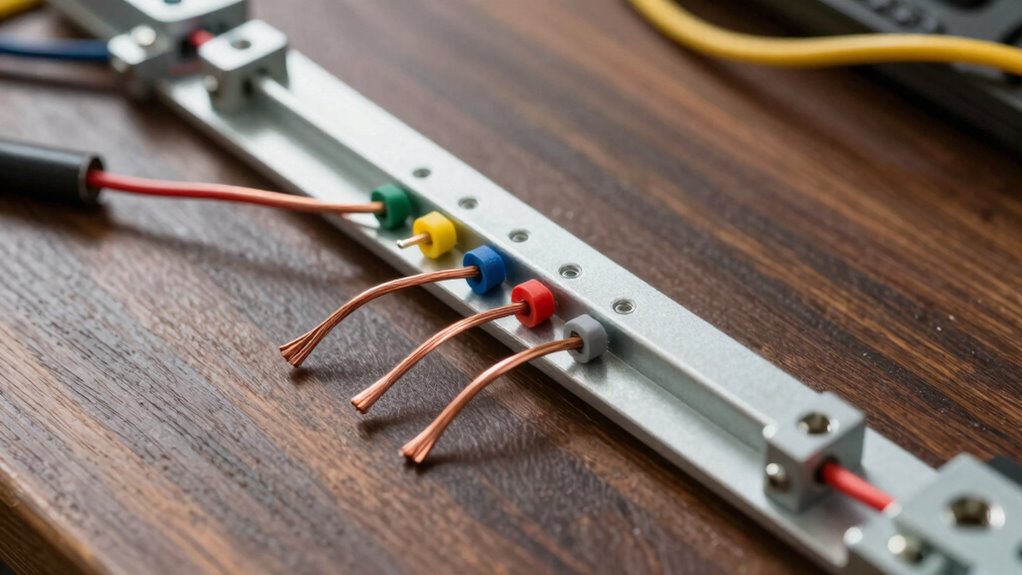
Essential Connectors Required
When wiring your dynamo system, selecting the right connectors is essential for reliable and safe operation. The proper connector types guarantee secure, corrosion-resistant connections that last. Common options include terminal connectors, ring terminals, and crimp connectors, each suited for specific wiring needs. Refer to your wiring diagrams to determine which connectors fit best in your setup. Using the correct connectors simplifies troubleshooting and assures consistent power flow. Avoid makeshift solutions like tape or loose wires, as they can lead to failures or shorts. Always choose connectors compatible with your wire gauge and system voltage. Properly crimp or solder these connectors to secure a solid connection. Ensuring your connections are electrically secure and properly insulated will prevent potential hazards. Selecting connectors with appropriate insulation properties contributes to overall safety. Additionally, choosing connectors with corrosion resistance will help maintain connection integrity over time. The use of quality connectors can significantly reduce the likelihood of connection failures. Incorporating proper crimping techniques further ensures durable and reliable connections. With the right connectors, your dynamo wiring remains durable, efficient, and safe.
Safety Precautions to Follow
Before you begin wiring your dynamo, it is crucial to prioritize safety to prevent accidents and equipment damage. First, ensure proper grounding safety by connecting your system to a reliable ground to avoid electric shocks. Always inspect your wiring for good electrical insulation; exposed wires can cause shorts or electric shocks. Use insulated tools and wear rubber gloves when handling connections. Verify that all components are rated for the voltage and current you’re working with. Keep your workspace dry and free of clutter to reduce risks. Double-check connections before powering up, ensuring no loose or frayed wires. Proper grounding safety and electrical insulation are critical for a safe, efficient wiring process, preventing dangerous faults and protecting both you and your equipment. Additionally, understanding the navigation and mapping principles of your dynamo system can help ensure accurate setup and operation.

Bntyok 2PCS Split Bolt Wire Connector High Strength Copper Wire Grounding Clamps for Completing Ground Bonding to Bare Wires TJ-16
Product use: Split bolt connector copper grounding clip connects two or more copper wires together without the need…
As an affiliate, we earn on qualifying purchases.
As an affiliate, we earn on qualifying purchases.
Step-by-Step Wiring Guide for Your Dynamo System
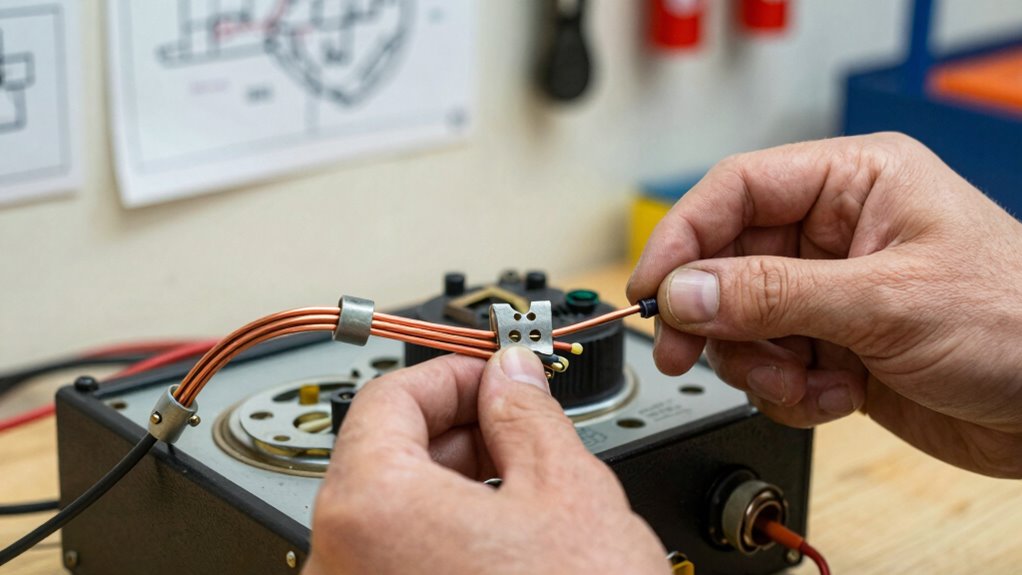
Wiring your dynamo system correctly is essential for ideal performance and safety. Start by identifying the positive and negative terminals on your dynamo. Use high-quality wiring insulation to prevent shorts and ensure durability. Connect the positive terminal to your load or voltage regulator, making sure the connection is secure and tight. Next, connect the negative terminal to the grounding point, typically a clean metal surface on your frame. Keep wires neat and avoid tangling to maintain good dynamo efficiency. Use appropriate connectors and ensure all insulation covers exposed wiring completely. Double-check each connection for firmness and insulation integrity before powering on. Proper wiring minimizes energy losses, maximizes output, and reduces the risk of electrical issues, helping your system operate smoothly and safely.
Common Dynamo Wiring Mistakes to Avoid
One common mistake is mixing up the positive and negative terminals, which can cause the system to malfunction or damage components. This often leads to grounding issues, where improper grounding creates electrical noise or shorts. Make certain you connect the correct terminal to avoid these problems. Additionally, insulation failures are a frequent culprit in wiring mistakes. Damaged or improperly insulated wires can cause shorts, sparks, or system failure. Always double-check your wiring for secure, intact insulation and correct terminal connections. Avoid shortcuts by verifying each connection against your wiring diagram. Proper grounding is essential; make sure all grounding points are solid and free of corrosion. Addressing these issues early prevents electrical problems, prolongs system life, and makes certain of reliable, safe operation.
How to Test and Troubleshoot Your Dynamo Wiring
To effectively test and troubleshoot your dynamo wiring, start by inspecting all connections for tightness and proper placement. Loose or misaligned wires can disrupt magnetic flux, reducing efficiency. Use a multimeter to check voltage regulation—if voltage fluctuates wildly, your wiring or brushes may need adjustment. To diagnose issues, refer to this quick guide:
| Issue | Solution |
|---|---|
| Low voltage output | Check wiring connections and brushes |
| Fluctuating voltage | Inspect magnetic flux pathways |
| No output | Verify circuit continuity |
Maintenance Tips for Long-Term Dynamo Performance
Regular maintenance of your dynamo is key to ensuring it operates reliably over time. To boost dynamo longevity, regularly inspect the wiring for signs of corrosion or damage. Wiring corrosion can lead to poor electrical contact, reducing efficiency and increasing the risk of failure. Keep connections clean and dry, and apply dielectric grease to prevent moisture buildup. Check for loose or frayed wires and replace them promptly. Lubricate moving parts as recommended by the manufacturer to reduce wear. Protect your dynamo from dirt and moisture, especially if stored outdoors. Periodic inspections and quick repairs will keep your system running smoothly and extend its lifespan. Consistent care minimizes unexpected breakdowns and guarantees your dynamo continues to deliver reliable power for years to come.
Frequently Asked Questions
Can I Wire a Dynamo System Without Prior Electrical Experience?
You can wire a dynamo system without prior electrical experience, but having basic electrical knowledge helps. Make certain you understand wiring diagrams and safety precautions. Gather the necessary tool requirements, like screwdrivers, wire strippers, and insulated gloves. Take your time, follow instructions carefully, and double-check connections. If unsure, consult a professional or detailed guide to avoid mistakes and ensure the system works efficiently and safely.
What Safety Precautions Should I Take During Wiring?
You should always prioritize safety by grounding the system properly to prevent shocks and using insulation safety to protect yourself from electrical hazards. Before wiring, turn off the power supply and double-check connections. Use insulated tools, wear rubber gloves, and make sure your workspace is dry. Double-check grounding techniques to guarantee a safe setup, and never work on live circuits. Taking these precautions minimizes risks and keeps you safe during wiring.
How Do I Upgrade an Existing Dynamo Wiring Setup?
To upgrade your existing dynamo wiring setup, start by reviewing your wiring diagrams to identify outdated connections. Guarantee your battery maintenance is up to date to prevent power issues. Disconnect the system before making changes, then replace or upgrade wires with appropriate gauge wiring. Reconnect according to the diagrams, double-checking all connections. Test the system thoroughly to confirm proper operation, ensuring your dynamo functions efficiently and safely.
Are There Specific Brands or Models Recommended for DIY Wiring?
You should look for recommended brands like Shimano, Truvativ, or Sunrace, known for their reliable wiring models. These brands offer quality components that are easier for DIY wiring and less prone to gremlins. When choosing wiring models, opt for those with clear instructions, good insulation, and compatibility with your dynamo system. This way, you guarantee a safe, durable setup that performs well and minimizes troubleshooting.
How Does Wiring a Dynamo Differ From Wiring Other Electrical Systems?
Wiring a dynamo differs from other electrical systems because you need to focus on voltage regulation and follow detailed wiring diagrams. You’ll connect the stator and rotor carefully, guaranteeing proper grounding and avoiding short circuits. Unlike standard systems, dynamo wiring involves managing fluctuating voltages, so precise connections are essential. Pay close attention to the wiring diagram to ensure correct connections, which helps prevent gremlins and ensures efficient power generation.
Conclusion
Wiring your dynamo might seem intimidating, but with the right steps, you’ll tame the electrical beast. Think of it as guiding a wild stallion—patience and care lead to a smooth ride. Just follow the checklist, double-check your connections, and stay vigilant during testing. Before long, your dynamo will hum along like a well-tuned orchestra, providing reliable power without the gremlins. Stick to the plan, and you’ll keep the sparks flying smoothly for years to come.