To replace your cables and housing for smooth shifts, start by shifting to the smallest gear and detaching the derailleur. Carefully remove the old cables and cut new housing to match the length, ensuring it’s straight and free of damage. Lubricate the cables lightly before threading them through the housing, then reattach everything, adjusting tension for precise shifting. If you want to optimize your setup further, keep going to uncover more expert tips.
Key Takeaways
- Inspect and replace worn or damaged cables and housing to ensure smooth, reliable shifting.
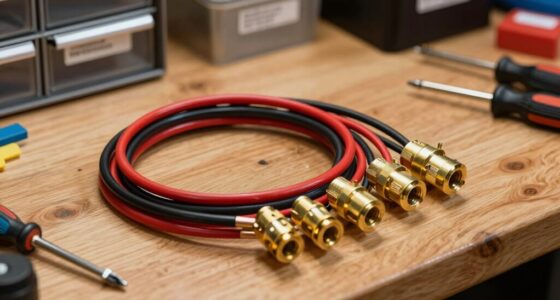
- Use quality, correctly sized housing and cut it cleanly for proper alignment.
- Lubricate cables lightly before threading through housing to reduce friction and wear.
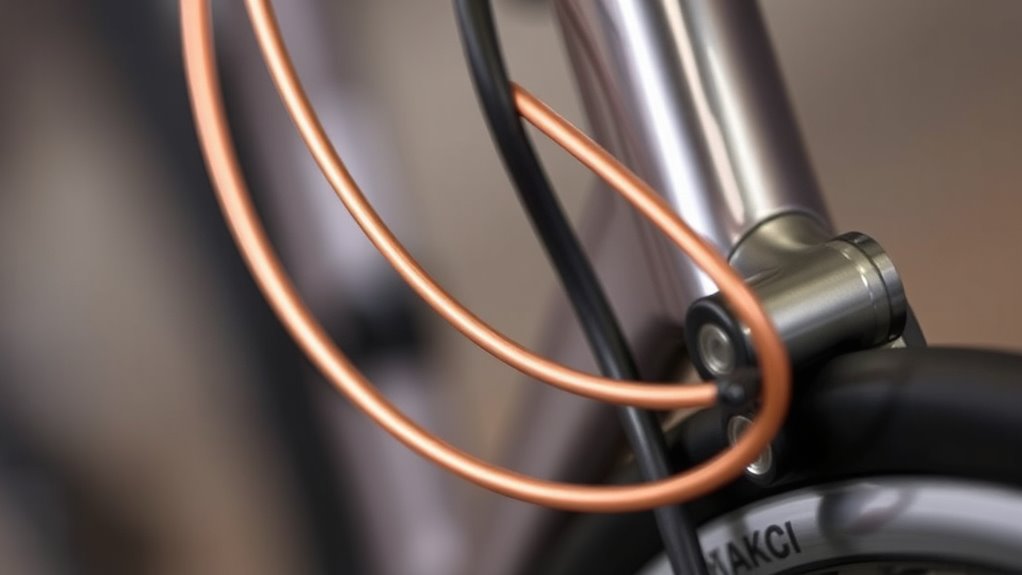
- Ensure housing runs straight from shifter to derailleur, avoiding bends and kinks.
- Adjust cable tension and verify housing alignment after installation for optimal shifting performance.
Over time, worn or damaged cables and housing can cause your bike’s shifting to become sluggish or unreliable. When this happens, the first thing to check is the cable tension. Proper cable tension ensures that your derailleur moves smoothly and accurately when you shift gears. If the tension is too loose, your gears won’t shift properly and may slip under load. Conversely, if it’s too tight, you might experience difficulty shifting or even damage to the derailleur or shifters. Adjusting cable tension is usually straightforward: you’ll need to turn the barrel adjuster on your shifter or derailleur, making small tweaks until shifts are crisp and reliable. Keep in mind that after replacing cables, you’ll likely need to fine-tune tension again for maximum performance.
Proper cable tension is key for smooth, reliable shifting on your bike.
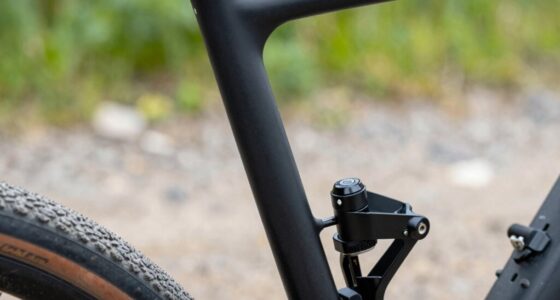
Housing alignment plays a vital role in maintaining smooth shifting. Over time, housing can bend, kink, or become clogged with dirt and grime, which hampers cable movement. Misaligned housing can cause increased friction, leading to sluggish shifting, especially when you’re trying to change gears quickly or under load. When replacing cables, it’s imperative to check that the housing runs straight from the shifter to the derailleur. Sometimes, this means replacing the housing entirely if it’s bent or damaged. Use quality, properly sized housing, and make sure it’s cut cleanly and fitted securely into the frame and components. Proper housing alignment reduces friction, allowing the cable to glide smoothly and ensuring that the derailleur responds promptly when you shift.
If you’re installing new cables, don’t forget to lubricate them lightly before threading them through the housing. This prevents premature wear and keeps shifting smooth. When threading the cable through the housing, push it gently to avoid kinks or sharp bends that could cause friction. Once everything is in place, you’ll want to check the cable tension and adjust accordingly. Remember, the goal is to have a cable tension that feels firm but not overly tight, enabling precise shifts without excess effort. After making adjustments, test ride your bike to verify that the gears shift cleanly across the entire range. If you notice any hesitation or slipping, revisit the tension and housing alignment until the shifting feels seamless.
Replacing cables and housing isn’t just about maintenance; it’s about guaranteeing your ride remains smooth and responsive. Proper cable tension and housing alignment work together to deliver crisp, reliable shifts every time you change gears. Regular inspection and timely replacement keep your drivetrain performing at its best, saving you energy and frustration on your rides.
Frequently Asked Questions
How Often Should Bike Cables Be Replaced for Optimal Performance?
You should replace bike cables every 1 to 2 years, depending on your cable lifespan and riding conditions. If you notice fraying, rust, or sluggish shifting, it’s time for a replacement. Regular maintenance helps extend cable life, but neglecting these signs can lead to poor performance. Keep an eye on your cables, and replace them when needed to guarantee smooth, responsive shifts and peak bike performance.
Can I Upgrade to Higher-Quality Cables and Housing?
Yes, upgrading to higher-quality cables and housing is a smart move. You’ll notice smoother, more precise shifting, especially if you choose cables made from durable materials like stainless steel or coated options. Just verify the housing compatibility with your bike’s setup. Upgrading can prevent frequent replacements and improve your ride’s performance, making your cycling experience more enjoyable and efficient.
What Tools Are Needed to Replace Bike Cables and Housing?
You’ll need a cable cutter to trim the new cables to the right length, and a 5mm Allen wrench to loosen the cable pinch bolts. A housing removal tool helps disconnect the old housing, while a new housing cutter guarantees a clean cut. Make sure you have the correct cable length and housing diameter for your bike. You might also need pliers for pulling cables through.
How Do I Prevent Cable Rust and Corrosion?
To prevent cable rust and corrosion, you should regularly perform cable maintenance by cleaning the cables with a rag and applying a light lubricant designed for bike cables. Make sure to wipe off excess lubricant to avoid dirt buildup, which can accelerate rust. Store your bike in a dry, sheltered place, and check your cables periodically. These steps help guarantee rust prevention and keep your shifting smooth.
Is It Necessary to Lubricate New Cables During Installation?
Yes, you should lubricate new cables during installation. Cable lubrication reduces friction, making shifts smoother and extending cable life. Use a suitable lubricant, like a light bike-specific oil or spray, to coat the inner cable before installation. Follow installation tips by ensuring the cable runs freely through housing and that there’s no binding. Proper lubrication during installation helps prevent rust and corrosion, keeping your shifting precise and reliable.
Conclusion
By replacing your cables and housing, you breathe new life into your shifting performance. Don’t let worn components be the silent villains behind sluggish gear changes—take action now. Just like a well-tuned instrument, your bike depends on these small parts for harmony. When you upgrade, you’re not just maintaining your bike; you’re ensuring every ride feels smooth and effortless. So, gear up and transform your cycling experience—because the ride of a lifetime starts with simple, bold steps.