
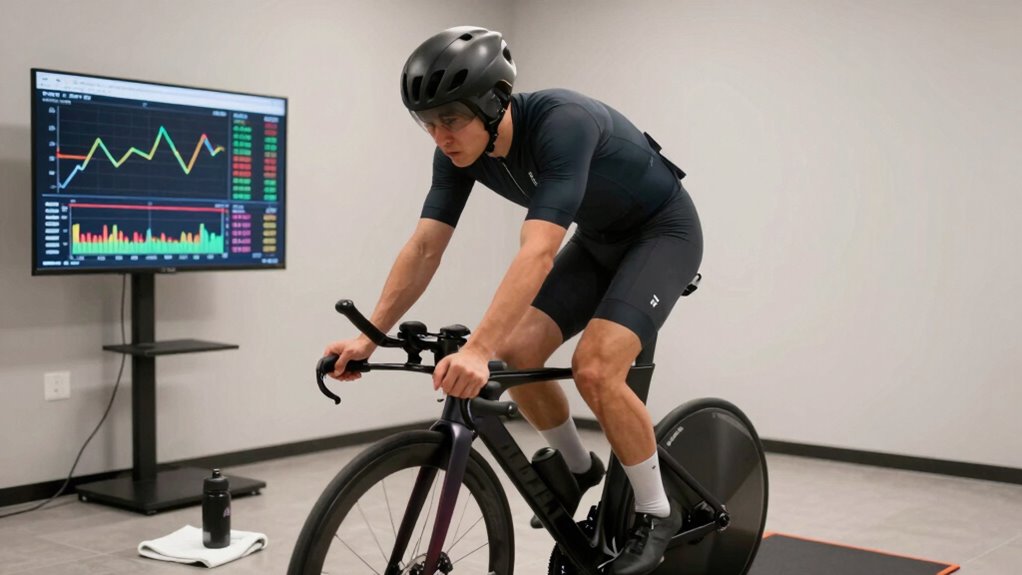
To set up ERG mode and nail your first FTP test, start by calibrating your trainer for accurate resistance. Make certain your app has ERG mode enabled before the workout, and connect all sensors like heart rate and cadence. Warm up thoroughly, maintain steady effort during the test, and avoid manual resistance adjustments. Keeping your equipment calibrated and your focus sharp will lead to reliable results. Keep going, and you’ll discover even more ways to optimize your performance.
Key Takeaways
- Ensure trainer calibration and update firmware before enabling ERG mode for accurate resistance control.
- Use compatible cycling apps to correctly set ERG mode and prevent connection issues.
- Warm up thoroughly and familiarize yourself with the test protocol to maintain steady effort.
- Verify stable device connections and avoid manual resistance adjustments during the FTP test.
- Review and analyze your FTP results to establish precise training zones and track progress effectively.

ThinkRider X2Max Smart Bike Trainer Cycle Trainer Bicycle Trainer, Quiet Portable Design for Indoor Driving, Simulates 18% Slope, ANT + & BLE
- Compatibility: Supports BLE and ANT+ protocols
- Power Output: 2000W max, ±2% accuracy
- Resistance Simulation: Simulates 18% slope
As an affiliate, we earn on qualifying purchases.
As an affiliate, we earn on qualifying purchases.
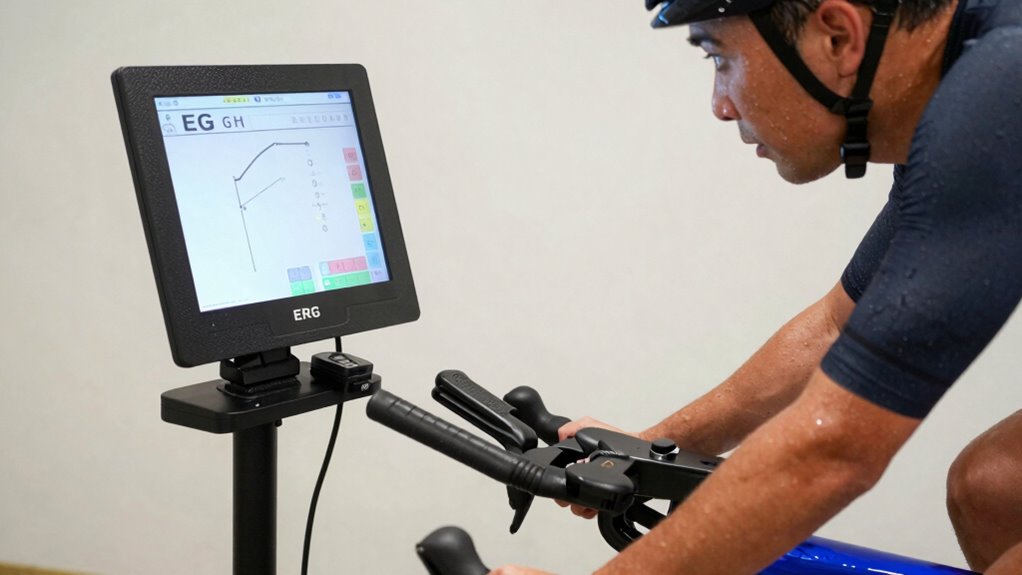
What Is ERG Mode and Why Is It a Game Changer for Your Cycling Workouts?
ERG mode is a powerful feature on smart trainers that automatically adjusts resistance to maintain your target power output. This eliminates the need to constantly monitor and manually change resistance during workouts. Resistance calibration ensures your trainer’s measurements are accurate, giving you reliable feedback and consistent performance. The erg mode benefits are clear: it keeps you in the ideal power zone, helping you focus on your effort and progress rather than fiddling with settings. Whether you’re doing intervals or steady-state rides, ERG mode simplifies your training by providing precise resistance control. This way, you can concentrate on your effort and progress, rather than fiddling with settings. Overall, ERG mode enhances workout efficiency, making it easier to hit your goals and maximize your indoor cycling sessions. Modern training techniques leverage these advanced features to optimize your performance and results, especially when combined with accurate resistance calibration. Additionally, understanding how to properly set up erg mode can significantly improve your training outcomes and consistency, especially as European cloud servers support the data management and synchronization needed for advanced training apps.

Elite Rivo Direct Drive Smart Trainer – Indoor Cycling Trainer, ±2.5% Power Accuracy, WiFi + Bluetooth, Ultra-Quiet, Compact Foldable, Zwift Compatible (Cassette Not Included)
- Affordable Entry-Level Smart Trainer: ±2.5% power accuracy, 2100W max output
- Ultra-Quiet for Home Use: Ideal for apartment training and home workouts
- WiFi & Bluetooth Connectivity: Seamless connection to cycling apps and firmware updates
As an affiliate, we earn on qualifying purchases.
As an affiliate, we earn on qualifying purchases.
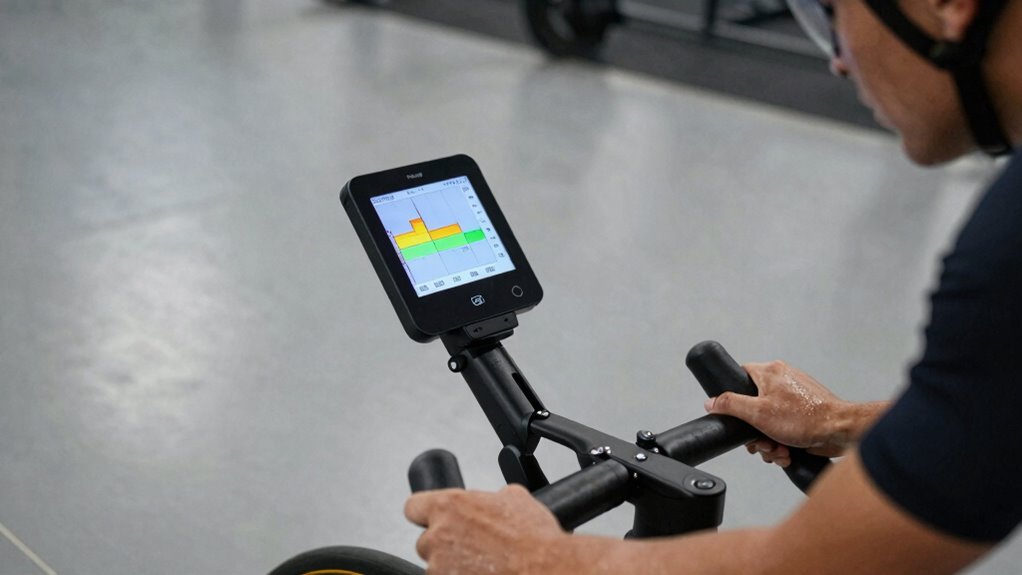
How to Set Up ERG Mode on Your Trainer or App Correctly
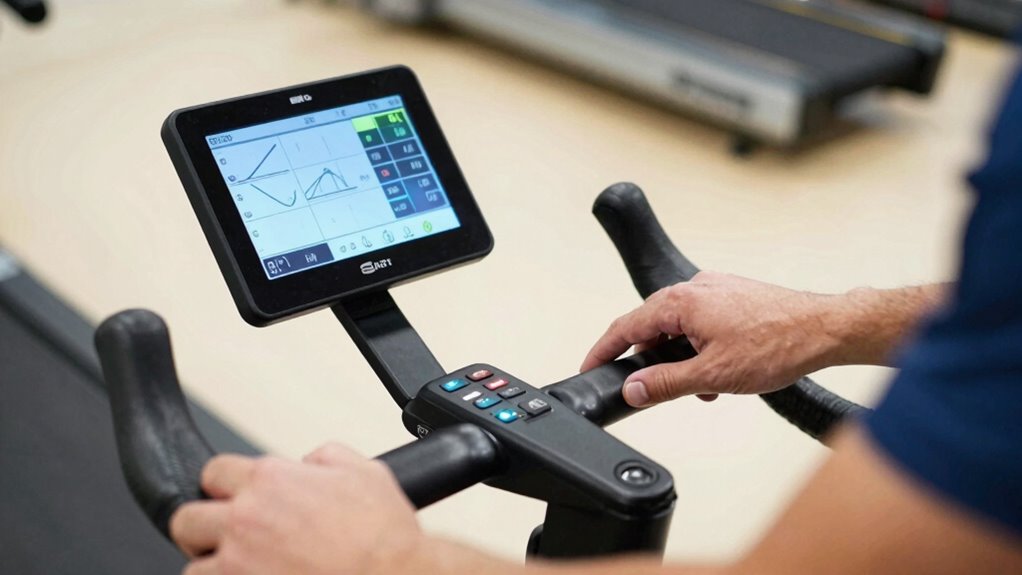
Setting up ERG mode correctly is essential to make sure your trainer responds accurately during workouts. First, verify your trainer is properly calibrated, as this affects resistance accuracy. Check that your app is compatible with your trainer model to avoid connectivity issues. When starting, pair your trainer with the app and confirm that the connection is stable. Enable ERG mode within the app settings, making sure it’s active before beginning your session. Keep these tips in mind:
- Confirm trainer calibration for precise resistance
- Use compatible apps to prevent connectivity problems
- Update firmware and app versions regularly
- Test the connection with a quick ride before your workout
- Adjust resistance settings if needed for smooth response
- Regularly inspect the trainer’s components to ensure optimal performance to maintain accuracy
- Ensure your device’s software is up to date to avoid compatibility issues
- Always perform a pre-ride calibration to verify resistance levels before starting your session
- Familiarize yourself with ERG mode features within your app to optimize your training experience
- Recognize the importance of calibration in achieving accurate resistance levels and consistent training results
YIBEICO Calibration Kit for Peloton Indoor Exercise Bikes, Indoor Cycling Bike Calibration Accessory Kit, Not for Bike+
- Function: Calibrates bike resistance for optimal ride
- High Quality: Made of durable, long-lasting materials
- Well Designed: Precision engineering for accurate calibration
As an affiliate, we earn on qualifying purchases.
As an affiliate, we earn on qualifying purchases.
Getting Ready for Your First FTP Test: Essential Tips
Preparing for your first FTP test can feel intimidating, but with the right approach, you’ll set yourself up for success. Start by double-checking your equipment compatibility to guarantee your trainer and devices work seamlessly together. Perform a power calibration on your trainer to guarantee accurate readings during the test. Accurate power data is essential for a valid FTP assessment, so don’t skip this step. Make sure your devices are fully charged and that your cycling setup is comfortable and secure. Familiarize yourself with the testing environment to reduce surprises. Having consistent equipment and calibrated power readings will help you trust the results. Remember, proper preparation minimizes errors and boosts confidence, helping you push through the test with clarity and focus. power calibration is an essential step to ensure your data accuracy. Additionally, understanding projector technology can help you optimize your setup for better performance and reliability. To further enhance your experience, consider evaluating your indoor cycling environment for optimal ventilation and comfort. Ensuring your network connection is stable can also prevent interruptions during your test, making the process smoother. Being aware of potential body discomfort or injuries beforehand allows you to adjust your setup or take necessary precautions to avoid issues during the test.

Saris M2 Smart Indoor Bike Trainer, Compatible with Zwift App, Black, Made in the USA
- Wheel-On Design: Connects to rear wheel without removal
- Quiet Operation: Noise level of 69 decibels at 20 mph
- Accurate Training: +/- 5% resistance accuracy
As an affiliate, we earn on qualifying purchases.
As an affiliate, we earn on qualifying purchases.
How to Conduct Your First FTP Test Step by Step

To get started, make sure your equipment is properly set up and functioning smoothly. Next, follow the test protocol carefully to guarantee accurate results. Staying focused and consistent throughout will help you complete your first FTP test successfully. Additionally, understanding the ownership essentials can help you better interpret your test data and maintain your vehicle effectively. Being familiar with interior design tips can also create a more comfortable environment for your training and recovery sessions. Incorporating art care principles into your space can further enhance your motivation and overall well-being during training. Remember that outdoor safety knowledge can also be beneficial if you plan to incorporate outdoor activities into your training routine. Exploring smart home technology can help you optimize your training environment by automating lighting, climate control, and security to support your fitness goals.
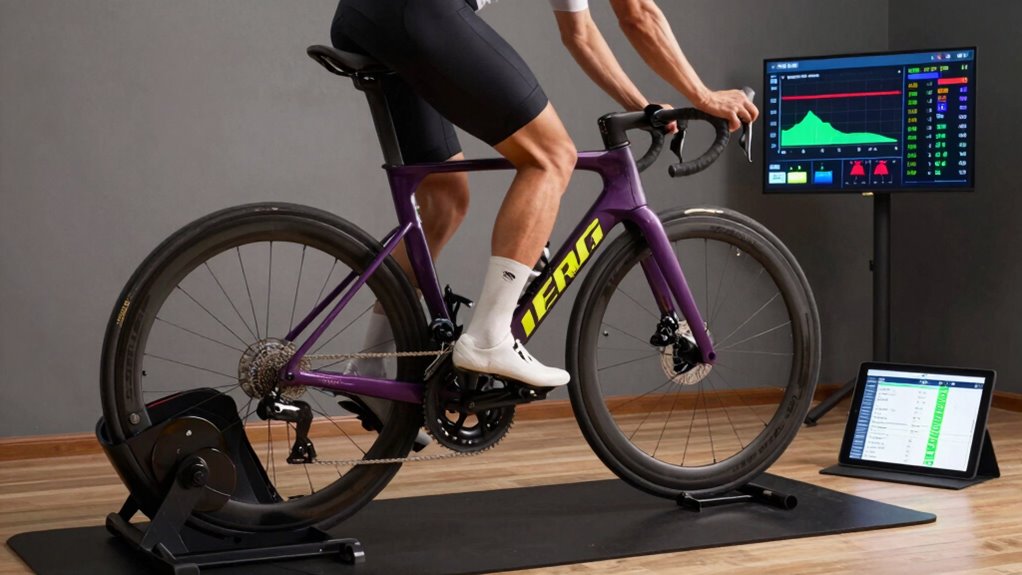
Prepare Your Equipment
Before you start your FTP test, make sure your equipment is ready and functioning properly. Proper setup guarantees accurate results and a smooth test experience. Check that your trainer is calibrated correctly to eliminate inconsistencies. Gather essential bike accessories like a heart rate monitor, cadence sensor, and a towel. Confirm that your bike is secure and the chain runs smoothly. Ensure your power meter is calibrated if you’re using one, and verify that your device displays correct data. Also, inspect your trainer for any signs of wear or damage. A quick pre-test check minimizes technical issues during the effort. Remember, reliable equipment setup is key to getting an accurate FTP measurement and staying comfortable throughout. Proper preparation boosts confidence and helps you nail your first FTP test. Additionally, understanding cryptocurrency risks can help you make informed decisions if you’re exploring investment options outside of cycling. Paying attention to equipment calibration and maintenance ensures consistent performance and results. Regularly checking your equipment’s performance consistency helps maintain accuracy over time. Incorporating routine equipment maintenance can prevent unexpected failures during training sessions and tests.
Follow Test Protocol
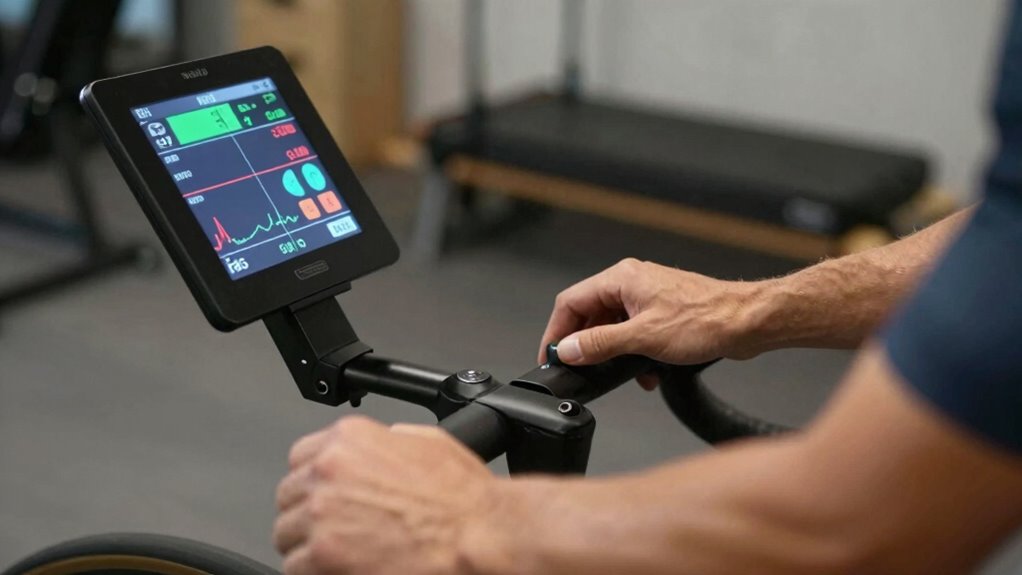
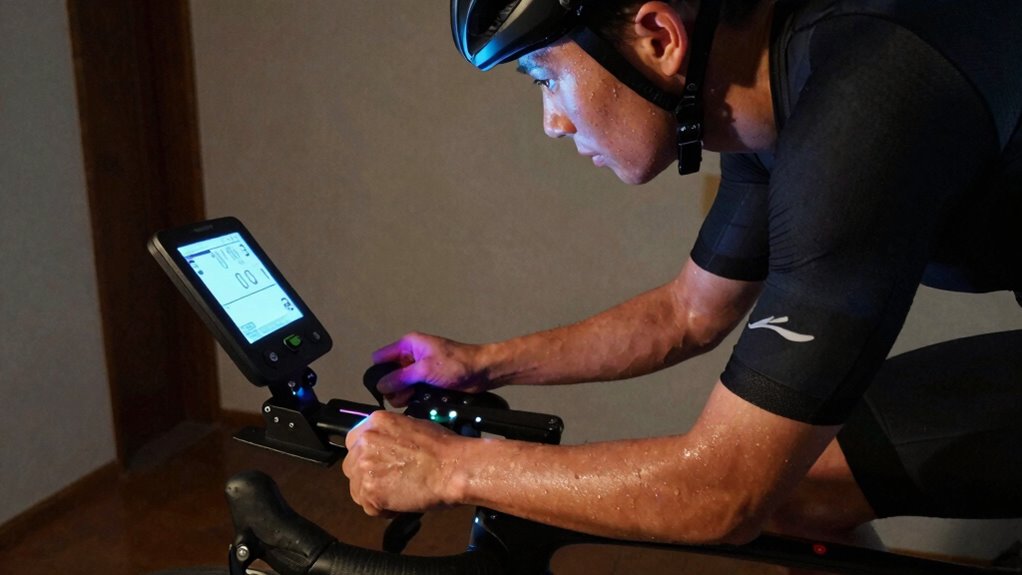
Once you’re ready to begin your FTP test, follow a clear, step-by-step protocol to guarantee accurate results and a smooth experience. Start by verifying your trainer is properly calibrated for power, performing a quick power calibration if needed to ensure trainer accuracy. Confirm trainer compatibility with your device and software, so data records correctly. Warm up thoroughly for 10–15 minutes, then gradually increase effort to reach your test intensity. Maintain steady power output during the test, avoiding sudden spikes, and monitor your cadence and breathing. Once you hit your maximum sustainable effort, hold it for the designated duration, typically 20 minutes. After completing the test, save your data immediately, and review your results for accuracy before adjusting your training zones. Additionally, checking your smartphone settings and connectivity can help ensure your data uploads smoothly and accurately.
Understanding Your FTP Results and Setting Training Zones
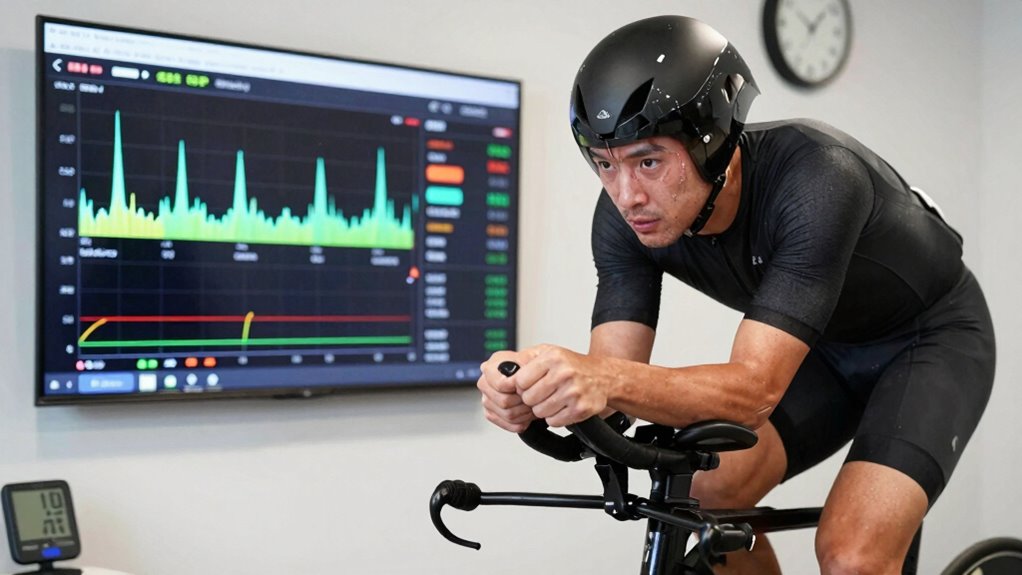
Your FTP result tells you how hard you can ride in an hour, which helps you create effective training zones. By understanding these zones, you can target specific fitness goals and improve your performance. Setting the right zones guarantees your workouts are efficient and aligned with your progress. Incorporating training zone principles ensures you maximize your cycling potential and avoid overtraining or undertraining. Knowing your disputed zone can help you identify areas for improvement and tailor your training plan accordingly.
Interpreting FTP Results
Understanding your FTP results is crucial for tailoring an effective training plan. Your FTP reflects your current fitness level, but it can be influenced by factors like power calibration and resistance accuracy on your trainer. Small errors in calibration can lead to misleading results, so verify your equipment is properly calibrated before testing. When interpreting your FTP, consider these key points:
- Your FTP should be consistent across multiple tests for accuracy
- Resistance accuracy impacts the reliability of your power data
- Use FTP as a baseline, not an absolute measure of fitness
- Minor fluctuations are normal; focus on long-term trends
- Adjust training zones based on your FTP, not your perceived effort
Getting precise results helps you train smarter, maximizing your progress.
Establishing Training Zones
Accurately establishing your training zones begins with analyzing your FTP results. Once you know your FTP, you can set precise zones for targeted training, such as endurance, tempo, and VO2 max. Properly defined zones help you optimize cadence, ensuring you maintain the right pedal rhythm for each effort. To improve performance, incorporate nutrition strategies that support your training intensity and recovery within each zone. For example, during high-intensity sessions, fueling appropriately prevents fatigue and enhances power output. Remember, training zones are dynamic; as your fitness improves, revisit your FTP and adjust zones accordingly. This approach ensures your workouts remain challenging yet achievable, allowing you to track progress effectively and avoid overtraining or undertraining.
Optimizing Workout Efficiency
Knowing how to interpret your FTP results is essential for setting effective training zones that maximize your workout efficiency. Once you understand your FTP, you can tailor your efforts to specific zones, ensuring each session targets your fitness goals. Proper bike ergonomics help prevent injury and improve power transfer, making your efforts more effective. Regular trainer calibration guarantees your power data remains accurate, which is vital for precise zone setting. When analyzing your FTP, consider these key points:
- Make certain your bike fit comfortably to maintain consistent power output
- Use calibrated equipment for reliable measurements
- Focus on gradual intensity increases within zones
- Track progress over time to adjust training zones accordingly
- Incorporate a variety of workouts to optimize gains
This approach helps you work smarter, not harder, maximizing your training impact.
Common Mistakes to Avoid During Your FTP Test and When Using ERG Mode
When you’re conducting an FTP test or riding in ERG mode, it’s easy to make mistakes that can skew your results or disrupt your workout. One common error is neglecting gear calibration, which can cause resistance inconsistencies, making your efforts inaccurate. Always double-check your smart trainer’s calibration before starting. Another mistake is poor erg mode troubleshooting; if your trainer isn’t responding correctly or suddenly drops resistance, it can throw off your effort and data. Make certain your device is properly connected and software is up to date. Avoid riding with distractions or adjusting resistance manually during ERG mode, as this can interfere with your target wattage. Staying attentive to these details helps ensure your test results are valid, and your workout remains effective.
Staying Motivated and Focused During Your First FTP Test
Starting your first FTP test can feel intimidating, but staying motivated and focused will help you push through the discomfort and achieve accurate results. To stay on track, use mental focus techniques like deep breathing or visualization to maintain concentration. Hydration strategies are equally important; drink water beforehand and keep sipping during the test to avoid fatigue. Keep your mind engaged by setting small goals, like hitting each interval or maintaining steady effort. Remember, your mindset influences performance, so stay positive and remind yourself of your training progress.
- Use visualization to picture success
- Break the test into manageable segments
- Focus on steady breathing and hydration
- Keep a mental checklist of your goals
- Stay positive and avoid self-criticism
Using Your FTP and ERG Data to Improve Your Cycling Training
After completing your FTP test, it’s time to put your data to work. Use your FTP and ERG data to tailor your training for better results. Start by reviewing your power calibration to verify your power readings are accurate; this is vital for reliable progress tracking. Incorporate erg mode updates to fine-tune resistance settings and optimize your workout sessions. Analyze your FTP zones to target specific energy systems and improve overall endurance and power. Track your progress over time to see how your FTP evolves, adjusting your training intensities accordingly. Consistently updating your erg mode settings ensures your workouts remain effective and aligned with your current fitness level. By actively managing this data, you’ll sharpen your training focus and accelerate your cycling performance.
Frequently Asked Questions
Can ERG Mode Be Used Effectively on All Types of Trainers?
ERG mode can be used effectively on many trainers, but trainer compatibility and ERG mode limitations matter. Not all trainers support ERG mode fully, especially older or cheaper models. You might experience issues like resistance slipping or inconsistent power output. To get the best results, verify your trainer is compatible with ERG mode and be aware of its limitations, so you can adjust your training approach accordingly.
How Often Should I Retake My FTP Test for Best Results?
You should retake your FTP test every 6 to 8 weeks to guarantee accurate performance tracking and adapt your training frequency accordingly. Regular testing allows you to monitor progress, identify plateaus, and adjust your training intensity. Don’t wait too long, as your fitness can improve quickly. Consistent testing keeps you motivated and helps tailor your workouts, making sure you’re always training at the right level for ideal results.
What Should I Do if My Trainer Doesn’t Support ERG Mode?
If your trainer doesn’t support ERG mode, don’t worry. You can explore ERG mode alternatives like manually adjusting resistance or using a different trainer compatible with ERG mode. Check your trainer’s compatibility to see if firmware updates or software workarounds exist. Alternatively, consider switching to a trainer that offers better compatibility, ensuring you can maintain structured workouts and accurate power training without ERG mode.
How Do I Troubleshoot Calibration Issues During an FTP Test?
If you face calibration issues during an FTP test, first check calibration accuracy and verify your trainer is compatible with your device. Recalibrate your trainer following the manufacturer’s instructions, making sure it’s on a flat surface and stable. If problems persist, update your trainer’s firmware or consider using an alternative calibration method. Proper calibration ensures accurate power readings, giving you reliable test results and a better training experience.
Is ERG Mode Suitable for Beginners or Only Advanced Cyclists?
ERG mode is beginner-friendly because it automatically adjusts resistance, allowing you to focus on pacing and form without constantly monitoring power output. While it’s excellent for beginners, advanced cyclists also use ERG mode for structured training and precise power targets. Whether you’re new or experienced, ERG mode helps optimize your efforts, making your workouts more efficient and effective, especially during structured intervals or FTP testing.
Conclusion
Think of your FTP test as a key opening new doors in your cycling journey. Mastering ERG mode and understanding your results are your compass and map, guiding you through uncharted territory. With each pedal stroke, you’re forging a path toward greater strength and endurance. Embrace the challenge, stay focused, and let your data be the lighthouse that keeps you on course. Your cycling voyage is just beginning—reach for those horizons.