To pack your bike for a flight, start by performing maintenance checks: tighten bolts, test brakes, and gear shifting. Disassemble the bike by removing pedals and wheels, securing each in padded bags or wrapping with foam tubing. Position the frame securely in a padded case or box, padding vulnerable areas like handlebars and joints. Label loose parts and mark the case as fragile. For detailed steps on packing effectively, keep exploring this guide.
Key Takeaways
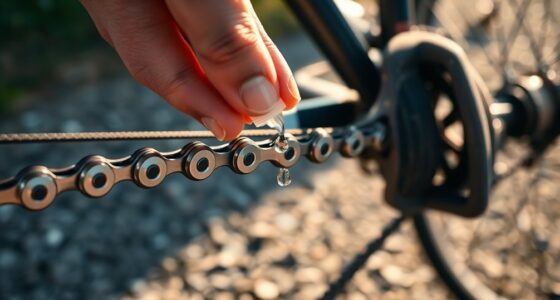
- Perform thorough bike maintenance, including checking tires, brakes, gears, and tightening bolts before disassembly.
- Remove pedals, deflate tires slightly, and loosen quick-release skewers or secure wheels with padding.
- Use padded bike bags, wheel bags, and foam tubing to protect frame, wheels, and vulnerable areas during packing.
- Secure all loose parts in labeled small bags and ensure the bike is firmly cushioned inside the travel case.
- Label the case with “Fragile” and “This Side Up,” and perform a final check for stability and proper packing.

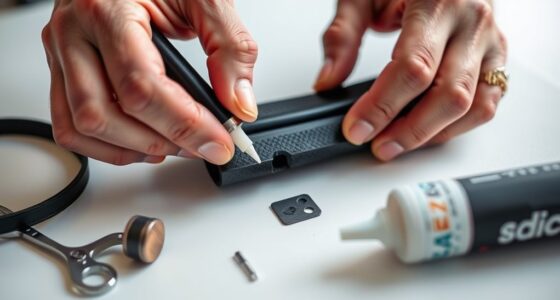
Traveling with your bike can be straightforward if you know how to pack it properly for a flight. The key is to prepare your bike in a way that protects it during transit while making the process as smooth as possible. Before you start packing, perform some bike maintenance to ensure your bike is in good shape. Check the tires, brake function, and gear shifting, and tighten any loose bolts. This not only ensures your bike is ready to ride once you arrive but also helps prevent damage during travel. Having the right travel accessories is essential—think padded bike bags, front and rear wheel bags, and sturdy frame protectors. These accessories are designed to safeguard sensitive components and make handling easier.
Begin by removing the pedals, as they can be a point of damage if left attached. Use a pedal wrench or Allen key to unscrew them, and store them in a small, labeled bag. Next, deflate the tires slightly to relieve pressure and prevent the tubes from bursting under pressure changes during flight. If your bike has quick-release skewers, loosen and remove the wheels, then secure them in wheel bags or wrap them with foam padding for extra protection. If not, secure the wheels to the frame, using travel accessories like wheel bags or padded wrap to prevent scratches and dents.
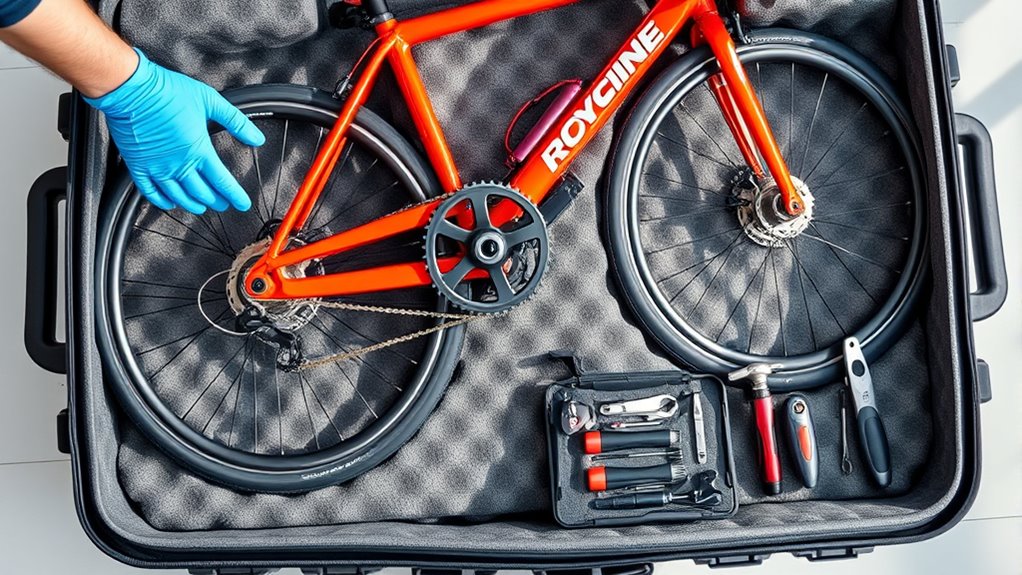
Once the wheels are removed, position your bike frame into a bike travel case or a sturdy, padded bike box. Many travelers prefer hard-shell cases for maximum protection, but high-quality padded bags can work well too. Use foam tubing or pipe insulation to cushion vulnerable areas like the frame joints and handlebars. Secure everything tightly, ensuring your bike won’t shift during transit. Remember to pack any loose parts, such as skewers, derailleur hangers, or extra hardware, in small bags and label them clearly.
Throughout the process, keep an eye on your bike maintenance checklist—making sure all components are tightened and secure. Using the right travel accessories can make a big difference in preventing damage and easing the packing process. Proper color accuracy and careful handling are crucial for ensuring your bike arrives in perfect condition. Once everything is packed, double-check that your bike is stable and well-cushioned inside its container. Label your case clearly with “Fragile” and “This Side Up” stickers to inform baggage handlers. By carefully preparing your bike with proper maintenance and quality travel accessories, you’ll minimize the risk of damage and ensure your bike arrives ready for your adventure.
Frequently Asked Questions
Are There Size Restrictions for Bike Cases on Airlines?
Yes, there are size restrictions for bike cases on airlines. You should check your airline’s specific bike case dimensions to make certain they meet the airline size restrictions, which typically range from 62 to 80 inches in total length, width, and height. Exceeding these limits may incur extra fees or require special arrangements. Always measure your bike case before packing to avoid surprises at the airport.
What Tools Are Needed to Assemble the Bike After Flight?
After your flight, you’ll need a bike tool kit and the assembly instructions to put your bike together. You should have a multi-tool, Allen wrenches, and screwdrivers handy for easy assembly. Follow the instructions carefully, tightening bolts and adjusting gears as needed. Having these tools ready guarantees you can quickly and safely reassemble your bike and get back on the road without hassle.
How Much Does It Typically Cost to Ship a Bike by Air?
Imagine your bike soaring through the skies; the cost estimates for air shipping vary, typically ranging from $50 to over $200, depending on size, weight, and destination. You can explore different shipping options, including specialized bike couriers or airline services, to find the best fit for your budget. Keep in mind, extra fees may apply for oversized or fragile items, so plan accordingly to guarantee smooth travels.
Can I Pack Additional Gear or Accessories in the Bike Case?
Yes, you can pack additional gear or accessories in your bike case. Use extra gear packing to organize items like helmets, shoes, or tools efficiently. Many cases have accessory storage compartments or pockets, making it easy to keep everything secure and accessible. Just guarantee your extra gear doesn’t exceed weight limits and is cushioned properly to prevent damage during transit. This way, your bike and gear arrive safe and ready to ride.
What Are the Best Practices for Insurance Coverage During Transit?
You might think insurance always covers transit damage, but verify your policy first. Investigate whether your insurance claims will handle potential bike damage or loss during transit. Check coverage limits to understand what’s protected and what’s not. To stay safe, consider purchasing additional transit insurance if needed. Always document your bike’s condition before and after travel, and keep receipts, so you’re prepared if you need to file a claim.
Conclusion
Now that you know how to pack your bike for a flight, you’ll be able to travel confidently and hassle-free. Remember, over 60% of travelers who pack their bikes properly experience fewer damages and delays. With the right preparation, you can enjoy your ride at your destination without stress. So, follow these steps, stay organized, and hit the road—your adventure awaits! Safe travels and happy cycling!