When fixing a flat tube, first remove the wheel and locate the leak by inflating slightly and listening or looking for bubbles with soapy water. Carefully clean and roughen the punctured area, then apply glue and firmly press the patch on for a few minutes. Reinflate the tube, check for leaks, and reinstall it into the tire. Keeping these steps in mind helps you efficiently repair flats and get back on your way — continue for detailed guidance.
Key Takeaways
- Inspect the tube for leaks by inflating and listening for hissing sounds or applying soapy water to find bubbles.
- Prepare the punctured area by cleaning and roughening it with a rasp tool before applying the patch.
- Apply adhesive and the patch securely, pressing out air bubbles, and hold until the glue sets according to kit instructions.
- Reinflate the tube carefully, check for leaks, and reapply the patch if necessary.
- Reinstall the tube, inflate to proper pressure, and test to ensure the repair holds securely.
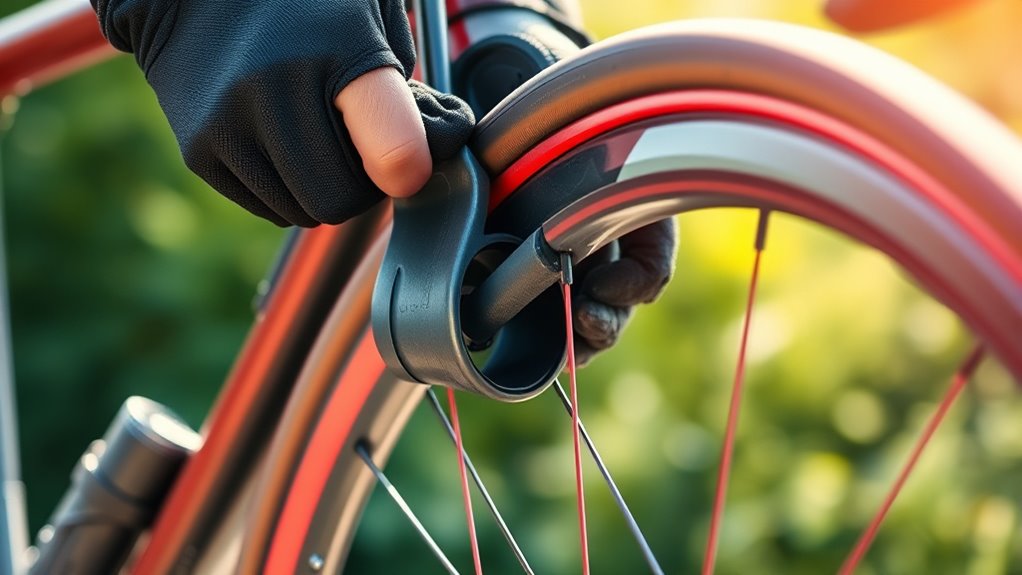
Ever found yourself stranded with a flat tire and no immediate help nearby? It’s a frustrating situation, but with the right tools and a little know-how, you can fix that flat and be back on the road faster than you might think. The first step is understanding the significance of checking the tire pressure and knowing how to use a patch kit effectively. When you notice a flat, don’t just assume it’s entirely ruined—sometimes, a simple patch can save the day. Before doing anything, inflate the tire slightly to check if the leak is slow or sudden. If you have a portable air compressor or a pump, use it to bring the tire’s pressure up to the recommended level. Maintaining proper tire pressure is vital, even in a repair situation, because it helps you identify leaks and ensures the tire is in good shape for the repair process.
Once you’ve identified the leak, it’s time to prepare your patch kit. Most patch kits include rubber patches, adhesive, and sometimes a small rasp tool for roughening the surface around the leak. Make sure the area around the puncture is clean and dry. Use the rasp tool to roughen the surface of the tube around the leak—this helps the patch adhere better. Apply the adhesive generously to the patch and the roughened area, then press the patch firmly onto the tube, making sure there are no air bubbles trapped underneath. Hold it in place for a few minutes to allow the glue to set. Some patch kits require a curing time—check the instructions on your kit to verify the patch bonds properly. Additionally, considering the importance of maintaining air quality for overall vehicle safety can be helpful if you’re working in an enclosed space.
After the patch has set, carefully reinflate the tire, again monitoring the tire pressure. Keep an eye on the patched area to confirm that the leak is sealed. If you notice any hissing or the tire deflates quickly, you might need to reapply the patch or locate a different puncture. Once you’re confident the repair is solid, reinstall the tube into the tire, ensuring it seats evenly, and pump up the tire to the correct pressure. Double-check the pressure with a gauge, and give the tire a gentle spin to confirm the patch is holding. Remember, a properly repaired tube with the right tire pressure will give you the best chance of making it safely to the next service station or repair shop. With patience and attention to detail, fixing a flat tube becomes manageable, saving you time and money in a pinch.
Frequently Asked Questions
How Long Does a Temporary Flat Fix Typically Last?
A temporary flat fix usually lasts between a few hours to a few days, depending on the sealant durability and riding conditions. You should see it as a short-term solution, so avoid long rides or high speeds. The sealant works by sealing small punctures quickly, but it isn’t meant for permanent repairs. Keep in mind that the effectiveness of a temporary repair diminishes over time, so plan for a proper fix soon.
Can Fix a Flat Be Used on All Types of Tubes?
Fix a Flat can be used on most types of tubes, but you need to verify tire compatibility first. Some tires, especially high-performance or specialty ones, may not work well with sealant or the fix. Sealant effectiveness varies depending on the tube material and tire design. Always read manufacturer instructions to guarantee compatibility, and test the repair to confirm it holds before riding long distances.
Is It Safe to Ride Immediately After Applying Fix a Flat?
Think of riding after applying Fix-A-Flat as sailing on a calm lake—initially smooth, but risking unseen rocks below. It’s generally safe to ride immediately, but you should follow safety precautions, like checking for leaks and proper inflation. Keep in mind, long-term effects might include reduced tire integrity, so avoid long distances or rough terrain. Always inspect your tire thoroughly before hitting the road for safe, confident riding.
What Should I Do if the Sealant Clogs My Valve?
If sealant clogs your valve, you should first remove the valve core with a valve core remover. Clean the valve and inspect for any damage. Reinstall the valve core, ensuring sealant compatibility to prevent future clogging. Regular valve maintenance helps keep your tires functioning properly. Always use sealant compatible with your valve type, and consider replacing the valve if clogs persist to avoid ongoing issues.
How Do I Properly Dispose of Used Fix a Flat Products?
You should dispose of used Fix a Flat products responsibly by checking local recycling programs that accept aerosol cans and sealants. Always guarantee the product is completely empty before recycling. This helps reduce environmental impact and prevents hazardous materials from contaminating the land or water. If recycling isn’t available, follow your local waste disposal guidelines for safe disposal. Proper disposal keeps your community safe and protects the environment.
Conclusion
Now that you’ve learned how to fix a flat tube, you’re almost ready to hit the road again. But hold on—what if the same tire flattens once more, or worse, there’s a hidden issue you haven’t spotted? Don’t rush. Take a breath, double-check your work, and stay prepared. With this skill in your toolkit, you’re more confident than ever—yet, the road always holds surprises. Are you ready for what’s next?