To bed-in your disc brakes the right way, start with a safe, open space and gradually apply light to moderate pressure, increasing your stops over about 10 controlled decelerations from 30-40 mph. Avoid stopping completely or overheating the rotor, and always let brakes cool between stops. Proper bedding creates an even transfer layer, reduces noise, and improves braking performance. Keep in mind, many skip these steps—continue on to learn how to do it right.
Key Takeaways
- Follow a structured bed-in process: gradually increase braking force over multiple controlled stops from 30-40 mph.
- Avoid stopping abruptly; instead, release brakes between stops to allow cooling and prevent overheating.
- Ensure rotors are clean and free of debris before starting the bed-in procedure.
- Create an even transfer layer by maintaining smooth, controlled stops without locking up the wheels.
- Monitor brake temperature and heat buildup to optimize pad-rotor contact and prevent glazing or uneven wear.

Bicycle Disc Brake Kit,Mechanical Disc Brake Kit,Including Front and Rear Mechanical Disc Brake Calipers with 160mm Rotor for Mountain Bikes,Folding Bikes,Road Bikes
Mechanical disc brake caliper:The brake can provide excellent braking force,which is easy to install and improves braking force.The…
As an affiliate, we earn on qualifying purchases.
As an affiliate, we earn on qualifying purchases.
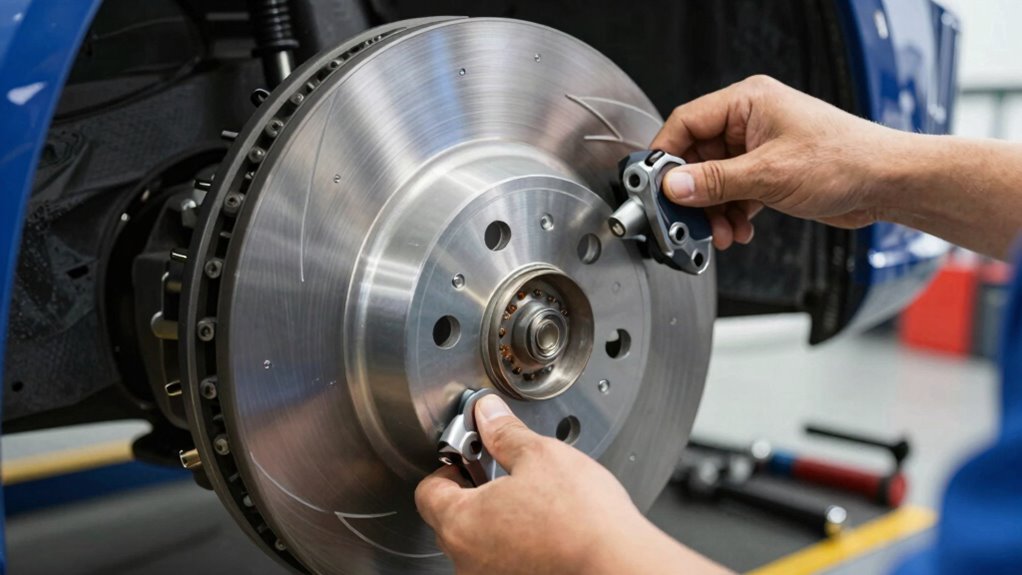
What Is Bed-In for Disc Brakes and Why Is It Important?
Bed-in is a crucial process that prepares your disc brakes for peak performance. During bed-in, you gradually heat up the rotors and pads through controlled braking, which helps create an even transfer layer for ideal contact. This process reduces the risk of brake fade during intense riding or braking situations by preventing uneven pad and rotor contact. Proper bed-in also minimizes rotor wear, ensuring the surface remains smooth and consistent. Without it, your brakes might feel spongy or less responsive, and you could face uneven wear that shortens their lifespan. Additionally, contrast ratio plays a role in how well you can assess brake effectiveness during testing. By following the correct bed-in procedure, you ensure your brake system operates efficiently, providing consistent stopping power and extending the life of your rotors and pads. Understanding the material properties involved in brake components can also help you optimize your bed-in process for better results. Performing a proper brake bedding procedure is essential for achieving optimal performance and longevity of your disc brakes.
bike disc brake rotor cleaner
As an affiliate, we earn on qualifying purchases.
As an affiliate, we earn on qualifying purchases.
How to Bed-In Your Disc Brakes the Right Way

To properly bed-in your disc brakes, start by finding a safe, open space where you can perform multiple controlled stops. Begin with light pressure to accelerate brake pad materials and rotor surface finish adaptation. Gradually increase the braking force over a series of about 10 stops from moderate speed, around 30-40 mph. Avoid coming to a complete stop each time; instead, release the brake after each stop to let components cool. This process helps transfer an even layer of brake pad material onto the rotor surface finish, guaranteeing peak performance. Keep stops smooth and controlled, avoiding sudden, harsh braking. Proper bed-in ensures your rotor surface finish and brake pad materials work together effectively, leading to better braking performance and longer-lasting brakes. Effective brake bed-in also relies on maintaining consistent braking technique to prevent uneven pad transfer and rotor glazing. Additionally, understanding the thermal behavior of your braking system can help prevent issues like fading or uneven wear. Being aware of the heat buildup during braking can help you optimize the bed-in process and avoid overheating the components. Monitoring brake temperature throughout the process can further improve the quality of the bed-in and ensure optimal braking performance. Incorporating an awareness of industry trends can help you stay informed about the latest materials and techniques for optimal brake care.
mountain bike disc brake pads
As an affiliate, we earn on qualifying purchases.
As an affiliate, we earn on qualifying purchases.
Common Mistakes to Avoid When Bed-Inning Your Brakes
While bed-inning your brakes is essential for peak performance, many riders make common mistakes that can compromise the process. One mistake is stopping too abruptly during the bedding process, causing brake fade and uneven wear. Instead, you should gradually increase brake force and avoid prolonged stops that generate excessive heat. Another error is not following the proper number of stops or cooling periods, which can lead to inconsistent bedding and reduce braking efficiency. Also, neglecting to clean the rotors beforehand can trap debris, affecting pad contact. Failing to prevent brake fade during bedding results in uneven pad distribution, which harms braking power and shortens brake lifespan. Additionally, overlooking proper brake pad bedding techniques, can hinder the process, leading to suboptimal performance. Ensuring correct rotor surface preparation can significantly improve bedding outcomes and overall braking performance. To ensure even heat distribution, it’s beneficial to monitor brake temperatures during the bedding process. Incorporating proper bedding procedures is crucial for achieving optimal brake performance and longevity. Proper initial brake bedding can help prevent uneven pad wear and improve overall braking consistency. Avoid these mistakes to ensure your brakes bed-in correctly and perform reliably under all conditions.
performance disc brake rotors
As an affiliate, we earn on qualifying purchases.
As an affiliate, we earn on qualifying purchases.
How Proper Bed-In Improves Braking Power and Reduces Noise
Properly bedding in your brakes guarantees they develop ideal contact between the pads and rotors, which directly enhances braking power. When you follow the correct pad bedding process, you create a uniform transfer layer that improves friction efficiency. This layer helps prevent brake fade, especially during heavy use, by reducing the heat buildup that causes fading. Additionally, proper bedding minimizes noise, such as squealing or chattering, by ensuring even pad contact. When pads and rotors aren’t bedded correctly, uneven contact can lead to vibrations and increased noise. Taking the time to properly bed in your brakes ensures better initial bite, more consistent performance, and quieter operation, all while reducing the chances of uneven pad wear and the need for future adjustments. Proper bedding also aligns with best practices for brake system maintenance, ensuring longevity and optimal performance. Ensuring proper component alignment during bedding can further enhance overall braking efficiency and noise reduction.
Troubleshooting Brakes That Feel Off After Bed-In
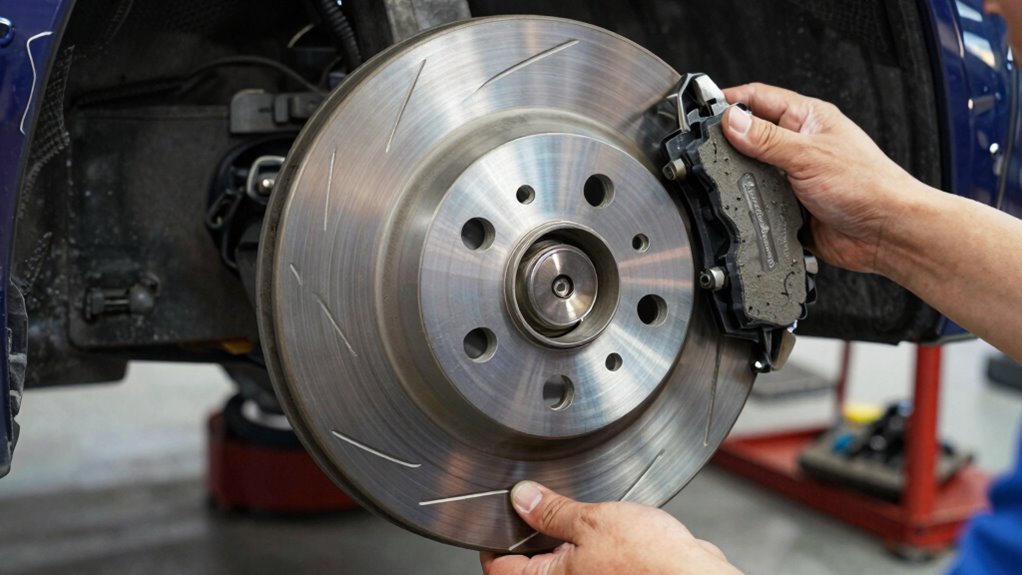
If your brakes still feel uneven or unresponsive after bed-in, it’s a sign something might be off. First, perform a thorough brake pad inspection to check for uneven wear or contamination. Next, examine the rotor surface for glazing, scoring, or dirt—these issues can hinder braking performance. Proper rotor surface preparation is essential; lightly sanding or cleaning the rotor can restore ideal contact. Sometimes, uneven pad seating causes pulling or squealing. Refer to the table below for common troubleshooting steps:
| Symptom | Likely Cause | Solution |
|---|---|---|
| Brakes feel soft or spongy | Air in brake lines | Bleed the brakes |
| Uneven braking | Rotor surface issues | Clean or resurface rotor |
| Noise after bed-in | Contaminated pads or rotor | Replace pads or clean rotor |
| Pulling to one side | Uneven brake pad wear | Inspect and replace pads if needed |
Proper brake bedding techniques play a crucial role in ensuring optimal braking performance and longevity.
Frequently Asked Questions
How Often Should I Repeat the Bed-In Process?
You should repeat the bed-in process whenever your driving habits change considerably, such as after installing new brake pads or rotors, or if you notice decreased brake performance. Doing so helps maximize brake pad longevity and guarantees ideal braking. Typically, a single bed-in is enough, but if you switch back to aggressive driving or experience issues, redoing the process can restore proper brake pad and rotor contact for safer, longer-lasting brakes.
Can Bed-In Procedures Differ for Various Brake Pad Materials?
Did you know that different pad materials can require unique bed-in procedures? For example, ceramic pads need a gentler process, avoiding high brake temperatures that cause glazing. In contrast, metallic pads can handle higher brake temperatures and may need a more aggressive bed-in. Always follow manufacturer instructions for your specific pad material to guarantee maximum performance and longevity. Adjust your process accordingly for the best results.
What Signs Indicate My Brakes Were Not Bed-In Properly?
If your brakes weren’t bed-in properly, you’ll notice brake squeal and uneven brake wear. Squealing often signals glazing or improper bedding, while uneven wear indicates inconsistent pad contact or bedding issues. You might also experience reduced braking performance or vibrations when braking. These signs mean you should revisit the bedding process, ensuring you properly heat the pads and rotors to achieve ideal contact and prevent future problems.
Is It Necessary to Bed-In Brakes After Every Brake Pad Replacement?
Is it necessary to bed-in brakes after every pad replacement? Absolutely, because just like a painter needs to prime their canvas, your brake pad materials need proper bedding to guarantee ideal performance. Different brake rotor types and pad materials require specific bedding procedures for maximum grip and longevity. Skipping this step can lead to uneven wear, reduced braking power, and noise, so always follow the manufacturer’s bedding instructions after changing pads.
How Does Weather Affect the Bed-In Process and Results?
Weather substantially affects the bed-in process because moisture interference from rain or humidity can reduce braking effectiveness, leading to inconsistent results. Temperature impact also plays a role; cold weather can make brake surfaces and pads less responsive, requiring more time to achieve proper bedding. To get the best results, perform the process in dry, moderate conditions whenever possible, and allow brakes to warm up gradually to ensure ideal performance.
Conclusion
Properly bed-in your disc brakes, and you’ll enjoy better stopping power and less noise. Some might think it’s unnecessary or time-consuming, but skipping this step can leave your brakes feeling spongy or uneven. Taking a few minutes to do it right guarantees essential performance and safety. Don’t overlook this vital process — your bike’s braking efficiency depends on it. Trust me, the extra effort is well worth the smoother, more reliable ride.