To aim your bike lights for safety, start by adjusting the front light so it points slightly downward, illuminating the road directly ahead without shining into others’ eyes. Confirm the beam is level with your handlebars or just above for the best view and to prevent glare. Test your setup by riding in a safe area, observing how the light hits the road, and making adjustments as needed. Keep your lights properly aligned for maximum safety—learn more about precise aiming techniques below.
Key Takeaways
- Aim the front light slightly downward to illuminate the road directly ahead without blinding others.
- Position lights at handlebar height or slightly above for optimal visibility and minimal glare.
- Adjust the beam side-to-side to prevent excessive outward pointing and reduce glare for oncoming traffic.
- Test and fine-tune the light alignment by riding a short distance, ensuring proper illumination and no glare.
- Use high-quality, adjustable lights to improve beam control, durability, and overall safety during nighttime riding.
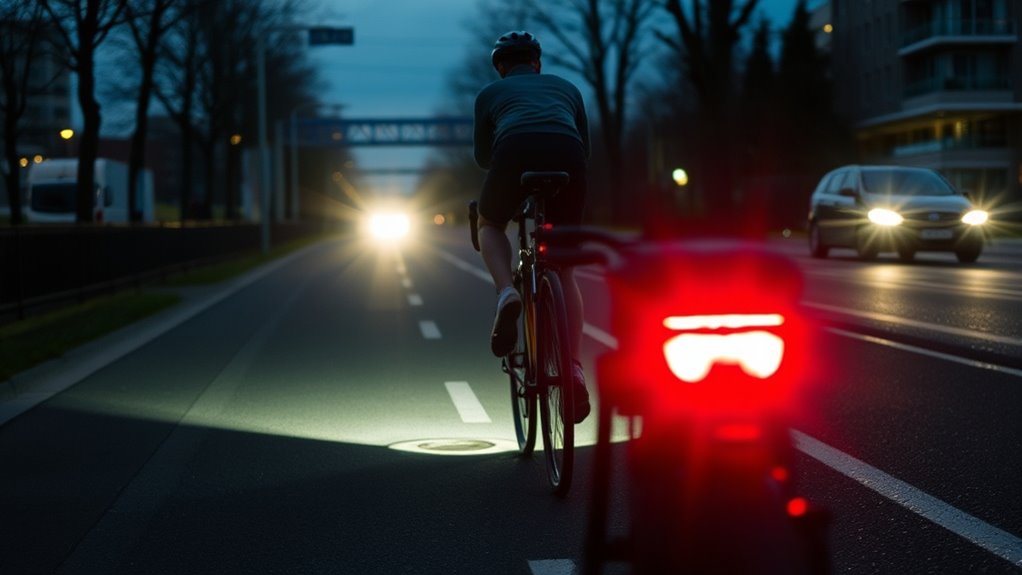
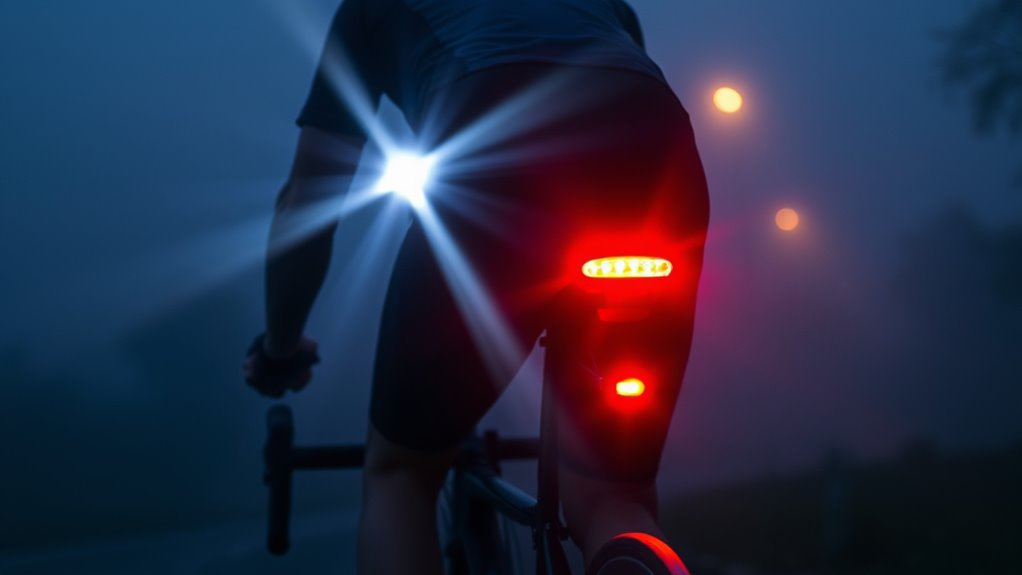
Properly aiming your bike lights is essential for safe riding, especially at night or in low-visibility conditions. When you’re out on the road after dark, your lights do more than just help you see; they also alert others to your presence. To maximize their effectiveness, you need to focus on beam alignment and light positioning. These elements ensure that your lights illuminate the right areas without blinding oncoming traffic or creating blind spots.
Start by adjusting the beam alignment of your bike lights. The goal is to direct the light so it’s focused on the road ahead without shining into the eyes of drivers, pedestrians, or fellow cyclists. Most bike lights have adjustable mounts or lenses that allow you to tilt the beam up or down. Position the beam slightly downward so it illuminates the road surface directly in front of you. This helps you see obstacles, potholes, or debris clearly and prevents glare that could impair the vision of others. Proper beam alignment also involves checking the side-to-side angle, making sure your lights aren’t pointing too far outward, which can cause unnecessary light scatter and reduce your visibility from a distance.
Adjust your bike lights downward and side-to-side for optimal visibility without causing glare.
Next, pay close attention to light positioning. Your front light should be mounted at a height that balances visibility and safety. Typically, it should be level with your handlebars or slightly higher, ensuring the light beam hits the road without casting shadows or creating blind spots. If it’s too low, you’ll have limited forward visibility; too high, and you risk blinding oncoming cyclists or drivers. For the rear light, position it so that it’s clearly visible from behind. Many cyclists mount rear lights on the seat post or rear rack, making sure they’re not blocked by clothing or bags. This ensures that vehicles approaching from behind can see you clearly, especially in traffic.
It’s also important to test your light setup before heading out. Ride a short distance in a safe area and observe how the beam hits the road and how well the light positioning makes you visible. Adjust as needed, ensuring the beam isn’t too narrow or too wide and that the lights don’t cause glare. Regular checks and adjustments are essential, particularly if you change your bike’s accessories or add new lights. Additionally, understanding the high-quality technology involved in your bike lights can help you choose models that offer better beam control and durability.

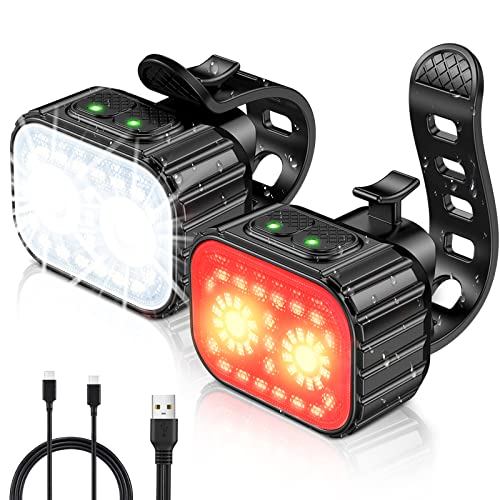
Victoper Bike Light, High Lumens Super Bright Bicycle Lite, 6+4 Modes USB Rechargeable Bike Headlight & Taillight Set, Waterproof Safety Bike Front & Rearlight for Road, Gifts for Father's Day
- High Lumens Brightness: Super bright LED bike lights for visibility
- Multiple Lighting Modes: 6 front and 4 rear adjustable modes
- Durable & Waterproof: Shockproof, IPX4 waterproof for tough conditions
As an affiliate, we earn on qualifying purchases.
As an affiliate, we earn on qualifying purchases.
Frequently Asked Questions
How Do I Adjust My Bike Lights for Different Riding Conditions?
To adjust your bike lights for different riding conditions, start by tweaking the light angle so the beam points directly ahead without blinding others. For better visibility in dark or foggy conditions, focus the beam more tightly to increase brightness and range. In well-lit areas, lower the lights or soften the beam focus to prevent glare. Regularly check and fine-tune your light angle and beam focus to stay safe and visible.
Are There Legal Requirements for Bike Light Positioning?
Yes, bike light regulations require you to follow legal mounting standards. You need to guarantee your front light is mounted at a height visible to others, usually around 350-900mm from the ground, and your rear light must be clearly visible from behind. These legal standards help keep you safe and compliant, so always check local laws to confirm your bike light positioning meets legal requirements and enhances your visibility.
Can I Use the Same Light Settings at Night and During the Day?
Think of your bike lights as a spotlight on a stage—they need to adapt to the scene. You shouldn’t use the same brightness levels and beam angles at night and during the day. At night, turn up the brightness and widen your beam to ensure visibility. During the day, lower the brightness and narrow the beam to conserve battery and avoid blinding others. Adjusting these settings maintains your safety in every lighting condition.
How Often Should I Check and Realign My Bike Lights?
You should check and realign your bike lights monthly or more often if you ride frequently. Regularly inspect your lights for proper battery maintenance, ensuring they’re charged and functioning well. Adjust the beam for ideal light brightness, making sure you’re visible and can see clearly. Proper alignment helps others notice you and improves your safety, especially during night rides or in low-light conditions. Consistent checks keep your lights effective and reliable.
What Are the Best Practices for Mounting Bike Lights Securely?
Like a knight securing his armor, you should use proper mounting techniques and securing methods to keep your bike lights firmly in place. Attach lights to sturdy parts of your bike with adjustable straps, brackets, or mounts designed for your model. Tighten all screws and fasteners securely, avoiding loose fittings. Regularly check and tighten your mounts to ensure your lights stay steady and functional during every ride.
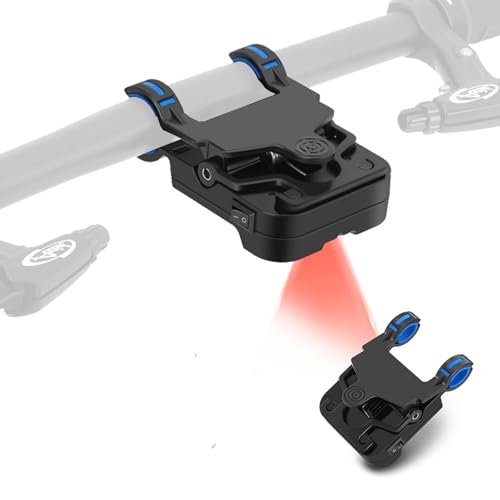
Bicycle Laser Calibrator, Rechargeable Bike Wheel Handlebar Seat Alignment Tool, High-Precision Infrared Light for Road/Mountain/Folding Bikes- ±0.5mm Accuracy, IP54 Waterproof, 30s Quick Installation
- Precise Wheel and Handlebar Alignment: Calibrates with ±0.5mm accuracy for safety
- Fast, Tool-Free Installation: Sets up in 30 seconds with adjustable clamp
- Universal Compatibility: Fits 22.2mm-31.8mm handlebars and wheels
As an affiliate, we earn on qualifying purchases.
As an affiliate, we earn on qualifying purchases.
Conclusion
By aiming your bike lights correctly, you improve your visibility and safety on the road. Imagine riding at dusk, and your front light is pointed just right, illuminating the path ahead without blinding others. For example, a cyclist who adjusted their lights after a close call discovered they could see hazards earlier and avoid accidents. Take the time to aim your lights properly—it’s a simple step that keeps you safer and makes riding at any time more secure.

Bike Rack Tail Light with 2 Modes Steady and Flashing, Bicycle Rear Rack Light Easy to Install on Cargo Rack, Fit 50mm Bolt Holes Mount, Taillight for Bicycle
- Super Bright LED Lights: Visible over 100 meters with 4 LEDs
- Two Lighting Modes: Steady and flashing modes for visibility
- Tool-Free Installation: Fits 0-50mm bolt holes on cargo racks
As an affiliate, we earn on qualifying purchases.
As an affiliate, we earn on qualifying purchases.
Cuvccn Bike Lights Super Bright, Rechargeable Bicycle Lights Set Multiple Modes, Waterproof Bike Lights for Night Riding/Cycling Safety, Front and Back Bike Reflectors Light, Long Battery Life
- High Brightness & Multiple Modes: 2 LEDs with 19 auxiliary LEDs, multiple modes
- Long Battery Life & Indicator: Up to 58 hours runtime, low-battery indicator
- Waterproof Design: IPX6 waterproof for rainy conditions
As an affiliate, we earn on qualifying purchases.
As an affiliate, we earn on qualifying purchases.