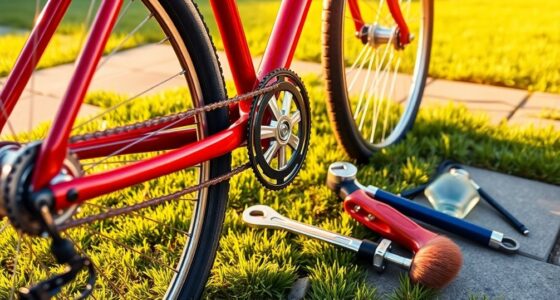

When you get a flat, start by removing the wheel from your bike using tools or a quick-release skewer. Deflate and carefully remove the tire to access the inner tube. Locate the puncture by listening for escaping air or submerging the tube in water. Patch the hole with a repair kit or replace the tube entirely. Reassemble the tire and reattach the wheel, ensuring everything is secure. Keep going, as you’ll find more detailed steps inside.
Key Takeaways
- Remove the wheel from the bike, ensuring it is completely free before handling the tube.
- Locate and mark the puncture by deflating the tube and submerging it in water to find bubbles.
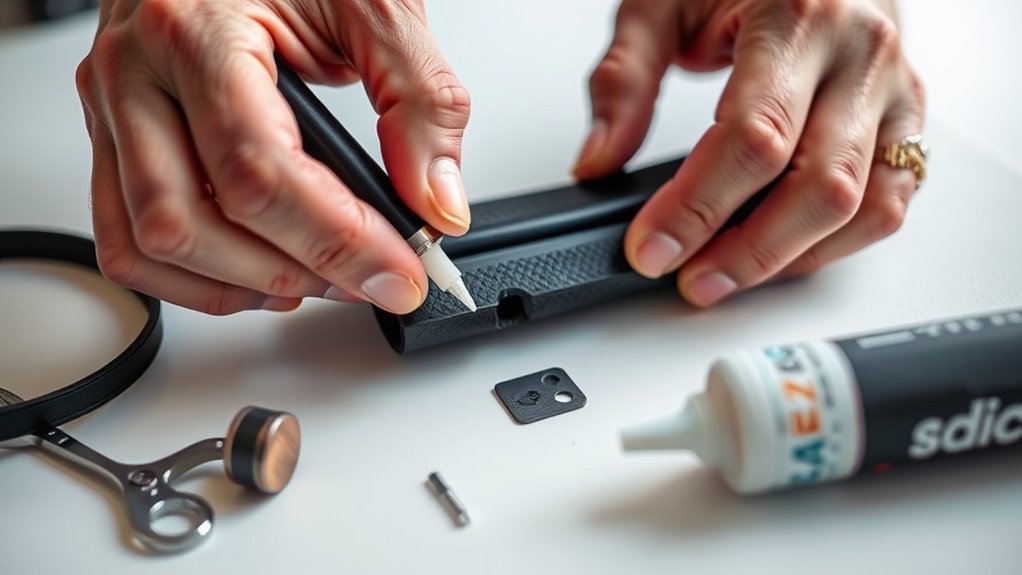
- Patch the puncture with a proper rubber patch after roughening the area and allowing it to set.
- Replace the inner tube with a new or patched one, ensuring it seats properly inside the tire.
- Reinstall the tire and wheel, inflate to recommended pressure, and check for proper seating and secure attachment.

Have you ever experienced the sudden frustration of a flat tire? It happens when you least expect it, leaving you stranded and eager to get back on the road. Fortunately, fixing it doesn’t have to be complicated. Whether you decide to patch the inner tube or replace it altogether, knowing the steps can save you time and money. First, you’ll need to remove the wheel from your bike. Use your bike tools or a quick-release lever to loosen the axle nuts or quick-release skewer, then carefully take the wheel off. Once the wheel is free, deflate the inner tube completely. If air is still inside, it can make the tube harder to handle and locate the puncture.
Next, carefully remove the tire from the rim. Be gentle to avoid damaging the rim or the tire bead. You can do this by inserting tire levers between the tire and rim, working your way around until the tire pops free. Once the tire is loose, pull out the inner tube. Now it’s time to locate the puncture. Inflate the tube slightly and listen for escaping air, or submerge the tube in water and look for bubbles. Once you spot the leak, mark it or remember its location. If you’re patching the tube, dry it thoroughly and roughen the surrounding area of the puncture with sandpaper or a patching tool. Apply the patch according to the instructions, pressing firmly and letting it set for the recommended time.
If you decide the tube is too damaged or the patch doesn’t hold, replacing the inner tube is your best option. Make sure you have a new tube that fits your wheel size. Before installing the new tube, slightly inflate it to give it some shape, preventing it from twisting or getting pinched when you mount the tire. Insert the valve stem into the rim hole first, then carefully work the tube into the tire, starting at the valve and working your way around. Be cautious not to pinch the tube between the tire and rim. Once the tube is inside, carefully put the tire back onto the rim, ensuring the bead seats properly. Inflate the tube to the recommended pressure, check for any bulges or pinched areas, then reinstall the wheel onto your bike.
Finally, make sure everything is secure before heading out again. Puncture repair may seem intimidating at first, but with patience and the right tools, you can quickly get back on your ride. Whether patching or replacing, knowing how to handle a flat helps you stay confident and prepared for your cycling adventures.

Smelish 80pcs Bike Tire Repair Kit, Self-Adhesive Bike Tire Patch Kit
- Quick Emergency Patches: Pre-applied patches for fast repairs
- Self-Adhesive Patches: No glue needed for some patches
- Complete Repair Kit: Includes patches, tools, and accessories
As an affiliate, we earn on qualifying purchases.
As an affiliate, we earn on qualifying purchases.
Frequently Asked Questions
How Often Should I Check My Inner Tube for Punctures?
You should check your inner tube for punctures before every ride and periodically during longer rides. Regular inspections help you catch small leaks early, preventing sudden flats. Look for signs of air loss, such as decreased pressure or hissing sounds. If you notice any issues, address them promptly with repairs or replacements. Staying vigilant keeps your ride smooth and reduces the risk of unexpected breakdowns on the road.
Can I Repair Multiple Punctures on the Same Tube?
You can repair multiple punctures on the same tube if they’re small and close together, but it’s not always ideal. Always inspect the tube thoroughly to verify there aren’t any hidden damages or large holes. If the punctures are numerous or large, replacing the inner tube is a better choice for safety and durability. Remember, proper patching requires clean, dry surfaces and following patch kit instructions.
What Tools Are Essential for a Quick Patch Job?
Ever wondered what tools can save your ride in a pinch? For a quick patch job, you’ll need a tire levers to remove the tube, a patch kit with rubber patches and adhesive, and a pump to restore pressure. Keep a small multitool handy for any additional adjustments. With these essentials, you can tackle punctures swiftly and get back on the road without fuss or delay.
How Do I Prevent Future Punctures?
To prevent future punctures, you should regularly inspect your tires for embedded debris or cracks. Keep your tires properly inflated; under-inflation increases the risk of flats. Avoid riding over sharp objects or rough terrain when possible. Consider using puncture-resistant tires or liners for added protection. Additionally, rotate your tires periodically and check for wear, so you catch potential issues early and reduce the chances of getting a flat.
Is It Better to Patch or Replace an Old Inner Tube?
Imagine riding smoothly on a calm, flat road, but that old inner tube’s cracks and weak spots threaten your journey. You might patch it, which works if the damage is small and you trust the repair. However, if the tube is worn or riddled with multiple issues, replacing it offers peace of mind and a safer ride. Trust your eye—sometimes a fresh start outperforms a quick fix.
Smelish 80pcs Bike Tire Repair Kit, Self-Adhesive Bike Tire Patch Kit
- Quick Emergency Patches: Pre-applied patches for fast repairs
- Self-Adhesive Patches: No glue needed for some patches
- Complete Repair Kit: Includes patches, tools, and accessories
As an affiliate, we earn on qualifying purchases.
As an affiliate, we earn on qualifying purchases.
Conclusion
Now that you’ve learned how to patch or replace an inner tube, you’re like a skilled surgeon ready to breathe new life into your bike. With a few simple steps, you can turn a flat tire into just a minor hiccup on your journey. Remember, every puncture is just a tiny obstacle on your path—conquer it, and keep riding smoothly toward your next adventure. Your bike’s heartbeat is in your hands!

UYIii Bicycle Tire Levers 3 Pack – Ultra Strong Tire Removal Tool for Road or Mountain Bike Tires.
- Designed for Bicycle Tires: Fits closely for easy removal
- Self-Lubricating Plastic: Rounded edges prevent rim scratches
- Ergonomic and Safe: Thumb grooves and textured finish for grip
As an affiliate, we earn on qualifying purchases.
As an affiliate, we earn on qualifying purchases.

Hydencamm 2 Pack 700×25-32c FV60mm Presta Valve 700c Inner Tube, Butyl 700x25C/26C/28C/32C with 2 Tire Levers, 700cc Bike Tube Compatible with 700x25C 700x26C 700x28C 700x32C Inner Tube
- Compatible Tire Sizes: Fits 700x25c to 700x32c tires
- Presta Valve Length: 60mm long Presta valve included
- Enhanced Durability: 14% thicker inner wall for safety
As an affiliate, we earn on qualifying purchases.
As an affiliate, we earn on qualifying purchases.